Hasegawa 1/48 Scale Bf 109G-10

There’s not much to report on the construction of this one. It’s another of the rescued shelf queens from the recent Canada trip. When I found it during that visit I discovered a fully built model almost ready for paint requiring only the canopy to be attached and masked in order to begin.
So, what to do with it? I considered a captured night fighter, the well known White 44 as the obvious choice. But no, there’s little challenge in that one and as the sole redeeming feature of modeling wartime Luftwaffe aircraft (for me) is the fascinating variance in their paint schemes it had to be something more esoteric than White 44.

Eventually I settled on Yellow 2 of JG(K)27 of which the only pictures I know of show a post-war derelict airframe missing engine covers, wings, canopy, and even a full view of what was left. Challenge accepted!

To begin I took a look at the accepted norms of late war 109’s in terms of camouflage. My choice was 74/75/76, 75/83/76 or 81/82/76. Various sources have Yellow 2 as either of the first two of those choices. The pictures available are some help but they are overexposed and are open to interpretation.
I chose 75/83/76 as it seemed to me that the darker coloureds more green than grey. That however is a problematic conclusion too! Recent research has suggested that 83 could have been a blue rather than green! According to my reading there’s evidence for both… what to do? Paint it, of course. I went with green as, well, it’s my model and that’s what I wanted to do. 🙂
It took several passes (attempts) to get some mottling that I was reasonably happy with. I used both 75 and 74 for the mottling. Next I freehanded the upper surfaces. Something didn’t look right though.
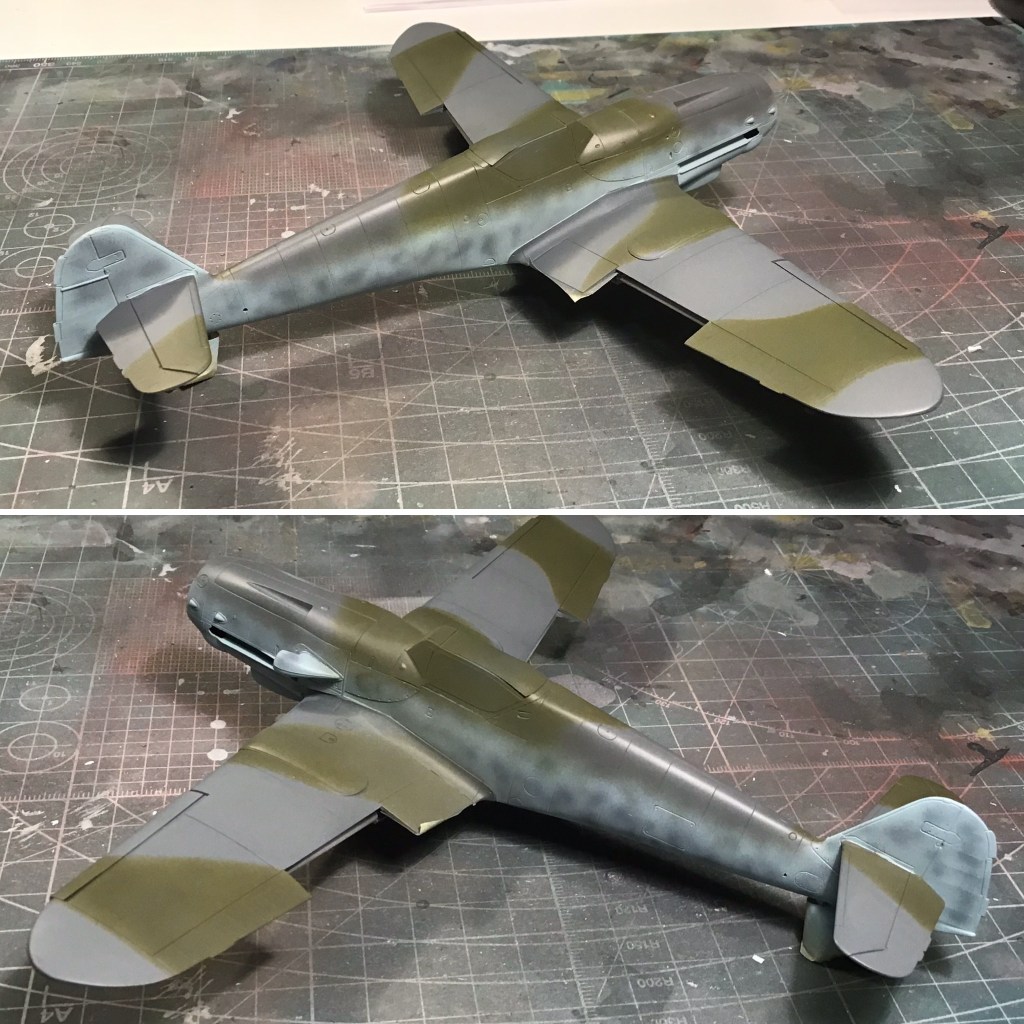
After pondering the result for a couple of days I eventually decided that the upper surface colours came too far down the fuselage sides, the blend from upper to sides wasn’t subtle enough and the mottling simply wasn’t very good. Repaint!
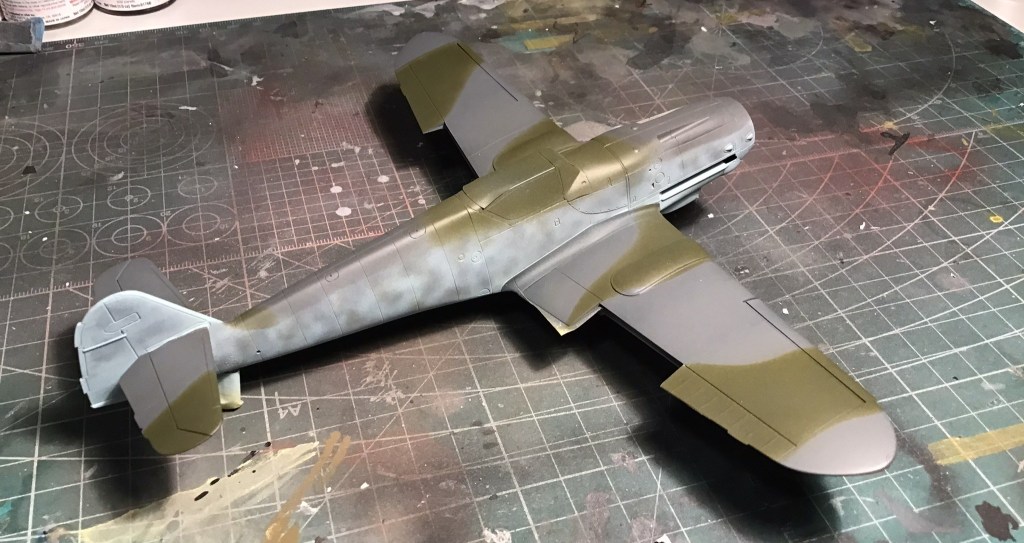
For the second attempt I re-covered the sides with 76 and then worked the mottle with less precision and simply went back and forth with all three colours filling, covering and blending until I was happy (enough). Then, and only then I masked and the upper surfaces and I was finally satisfied with the base scheme.

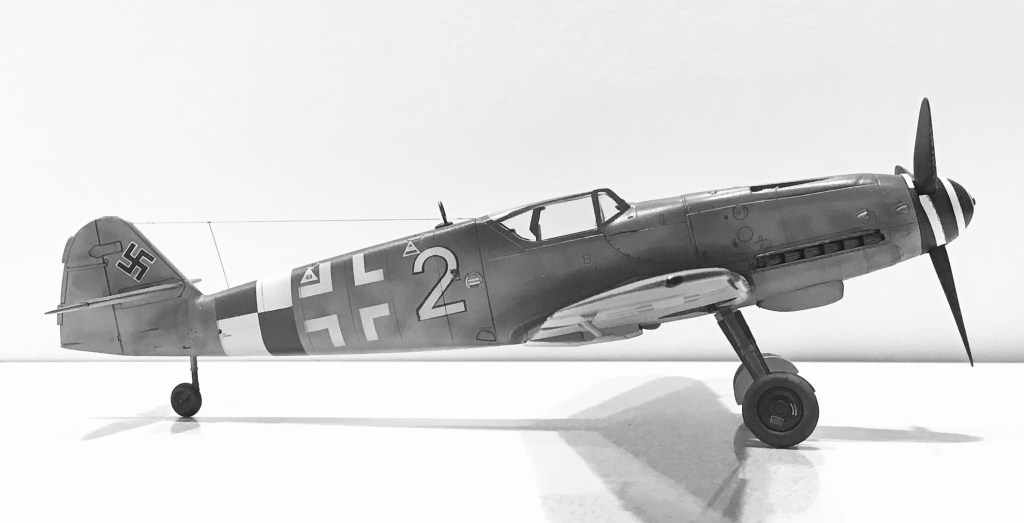
I really like painted markings so I used Montex masks for them, including the rather tricky Yellow 2. It’s not perfect but it’s acceptable.

The green and white fuselage band was also painted. It’s checkered because this aircraft was part of a JG(K) unit; these were bomber units that were converted to fighter units at the end of the war in last ditch measures to continue the defence of Germany against the allied onslaught. In this case the colour assigned the parent squadron JG27 was green, hence the green/white checker pattern. The effort was largely in vain however, the vastly more experienced and proficient pilots of the USAAF 8th AF slaughtered those unfortunate bomber pilots who were flying fighter aircraft they could barely fly, let alone fight in.
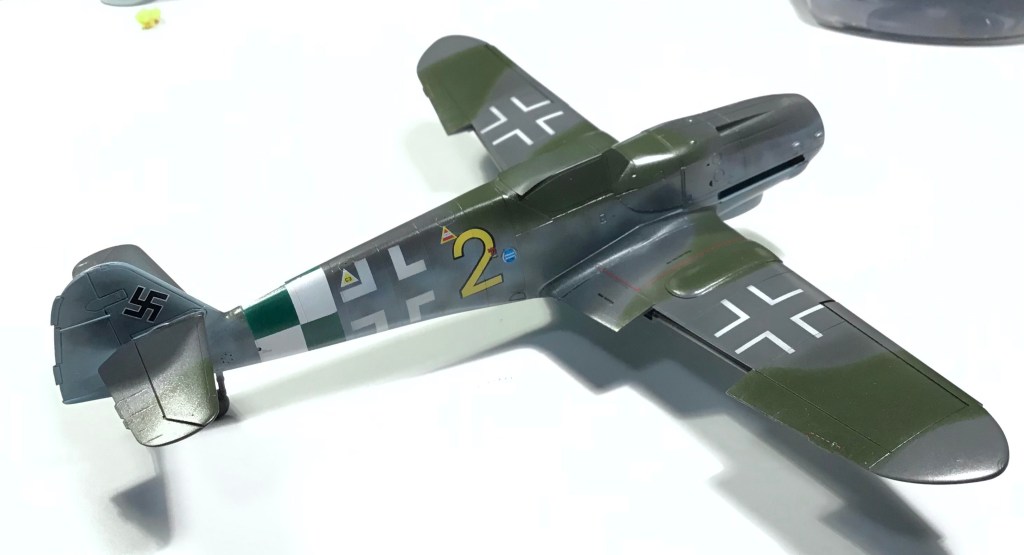
With the markings complete, I applied a clear coat and used decals for the remainder of the markings, essentially the stencils and swastika (I’ve explained elsewhere why I always apply those to my models).
I was quite restrained with the weathering because I expect this airframe wouldn’t have seen much action by reason that it still existed. It’s an assumption, but one with some logic behind it.

After attaching the final bits and pieces it was complete.

A late war Bf109G-10 – Gallery


References and Credits
Copyright: I claim original work and Copyright 2019 for the text in this article and the photos of the model. Except where noted otherwise, I sourced all other images and photos from the internet and are used under fair-use. Any copyrighted images will be removed or credited forthwith upon request by its rightful owner.


Leave a comment