Atonement
Some years ago, my wife asked me to make a model for her and even bought the kit as a Christmas present. On Christmas Day I unwrapped a Revell 1/48 PT-17 Kaydet. We looked at some photos on the internet and she chose an unusual scheme, that of a recall aircraft.

This will be a challenge, I thought. A biplane is bad enough, but a strippy biplane would be quite the thing… Undaunted however, I set about building and painting it and after a time it was finished. She was very happy with it, and it took pride of place in the display cabinet. The full story of the build can be found elsewhere on the site, Earning Their Stripes.
In 2021 we decided to move and during the packing process I looked at all the models which would require careful packing and decided to sell a few of them to reduce the workload. Most of those I choose were the more fragile models that would likely be damaged in any event.
You know where this is going, right?
Needless to say, and something of an understatement, my wife was disappointed that I sold her biplane. A few months later Christmas rolls around, and under the tree I find…
ICM 1/32 PT-17 Kaydet

Build
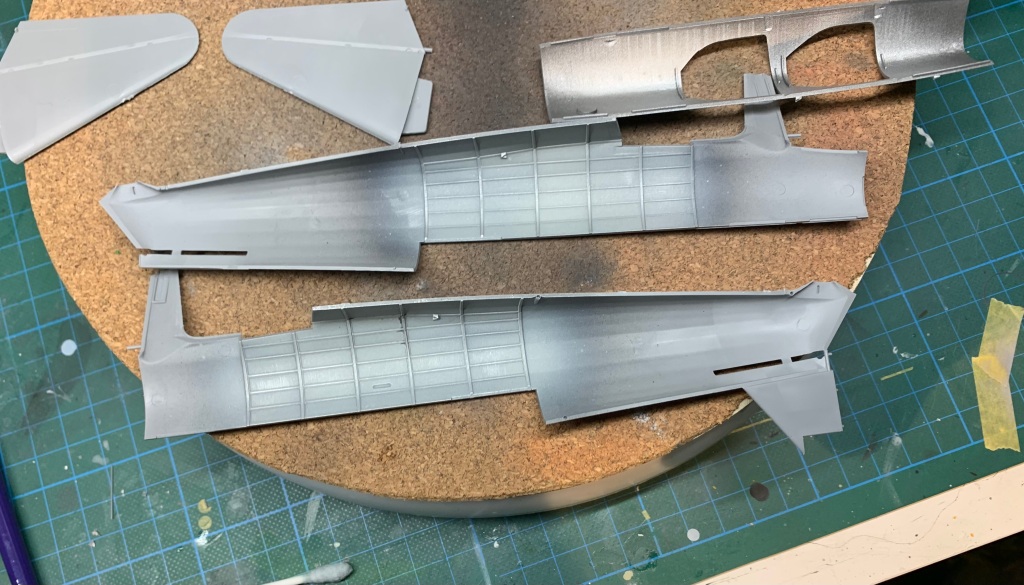
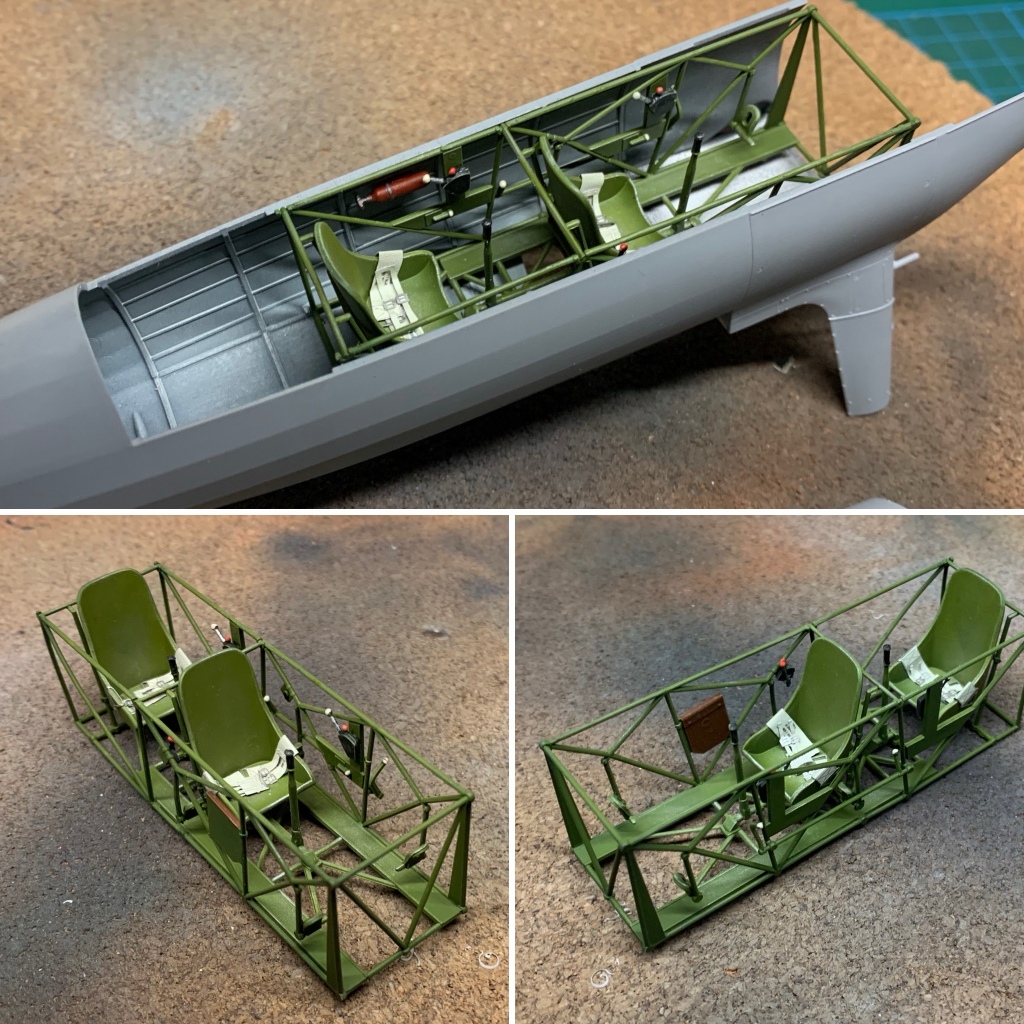
The kit is a relatively simple one for its scale but beautifully moulded and flash free. Assembly was very straight forward with no fit issues. I took a bit of time in the cockpit and added an aftermarket instrument panel and some seat belts but otherwise it’s build out of the box.
Click on any of the images below to scroll through the gallery.


Paint and Markings
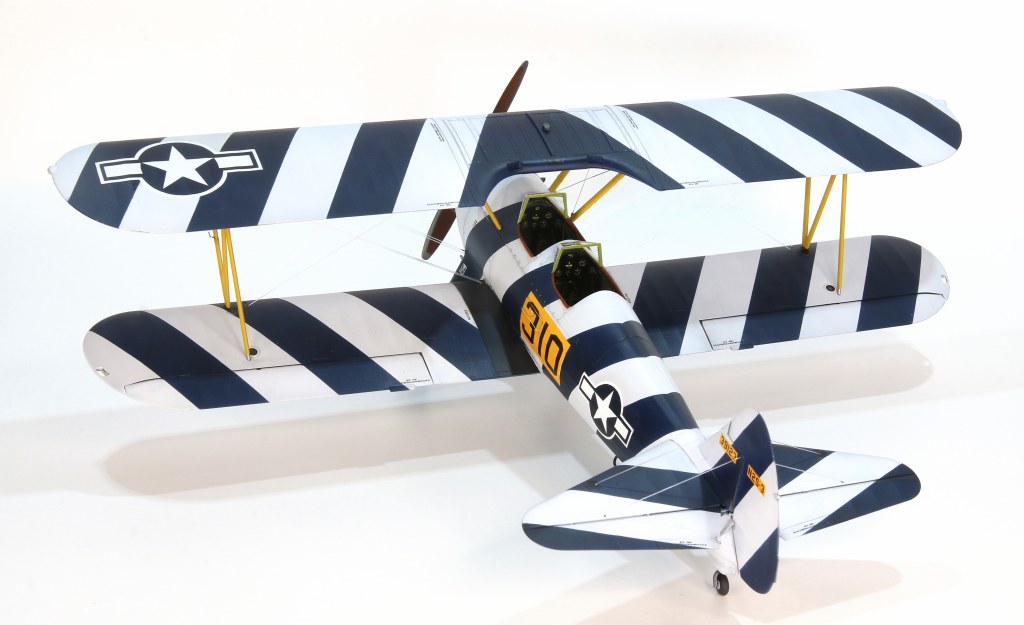
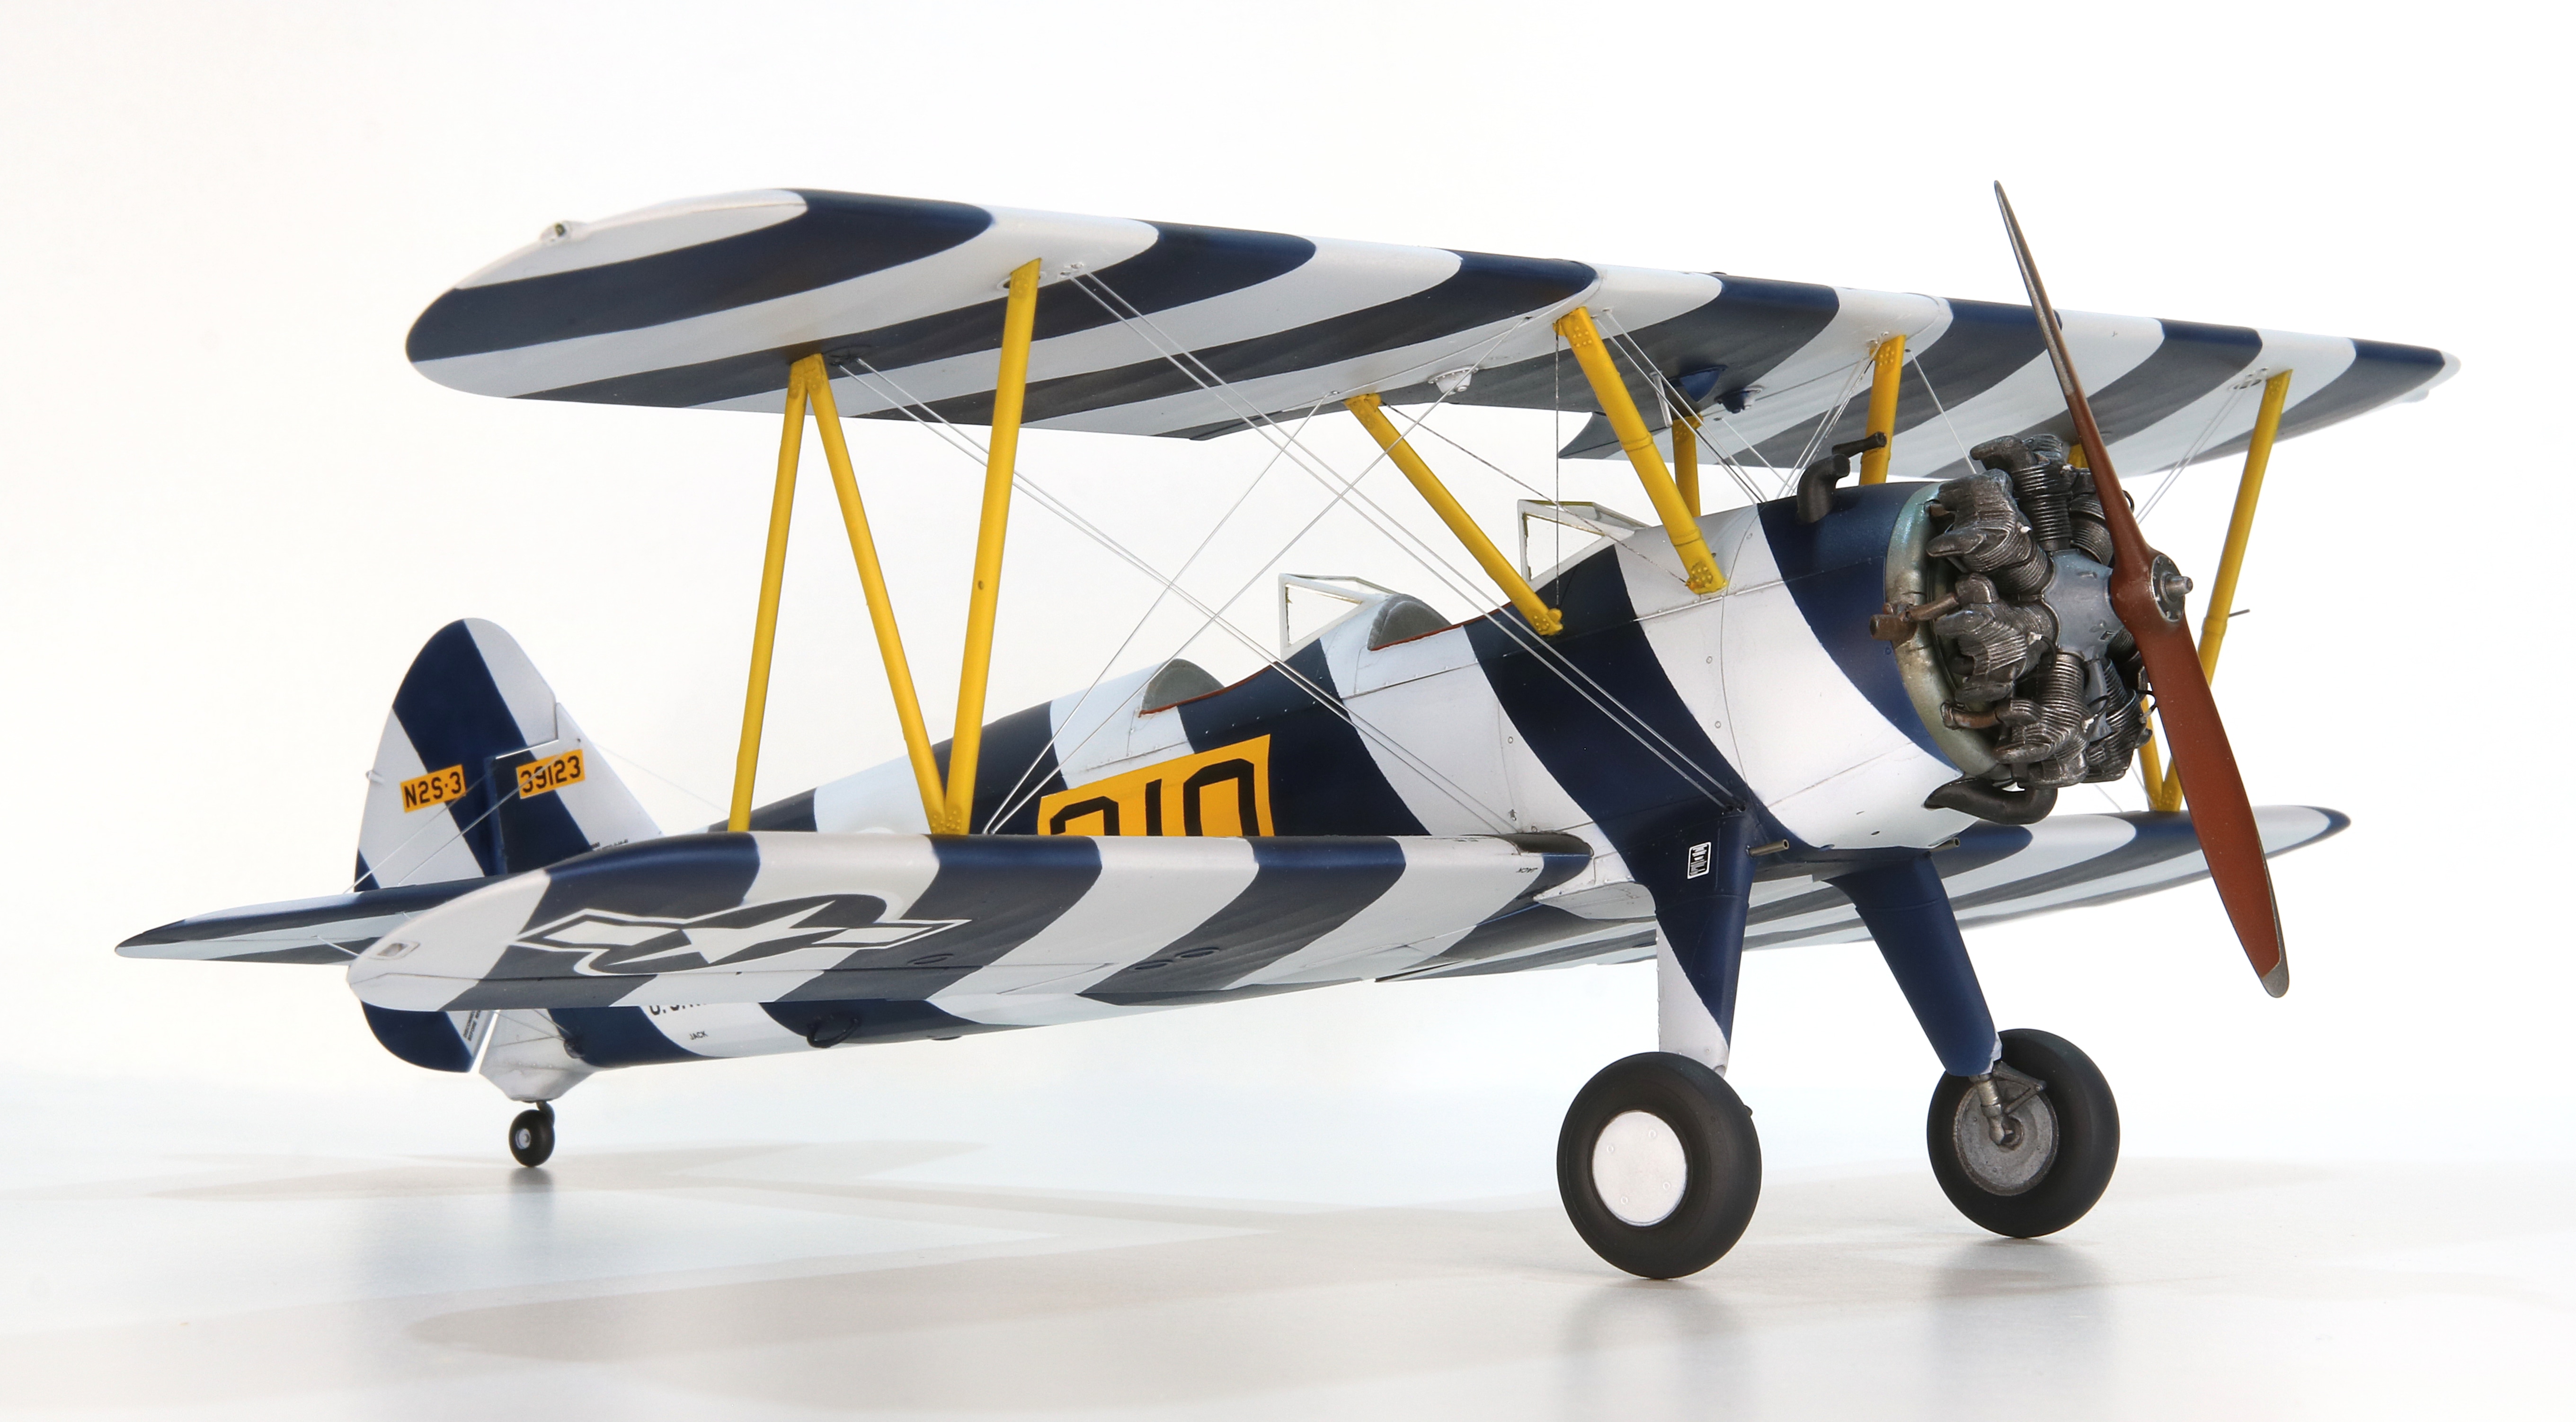
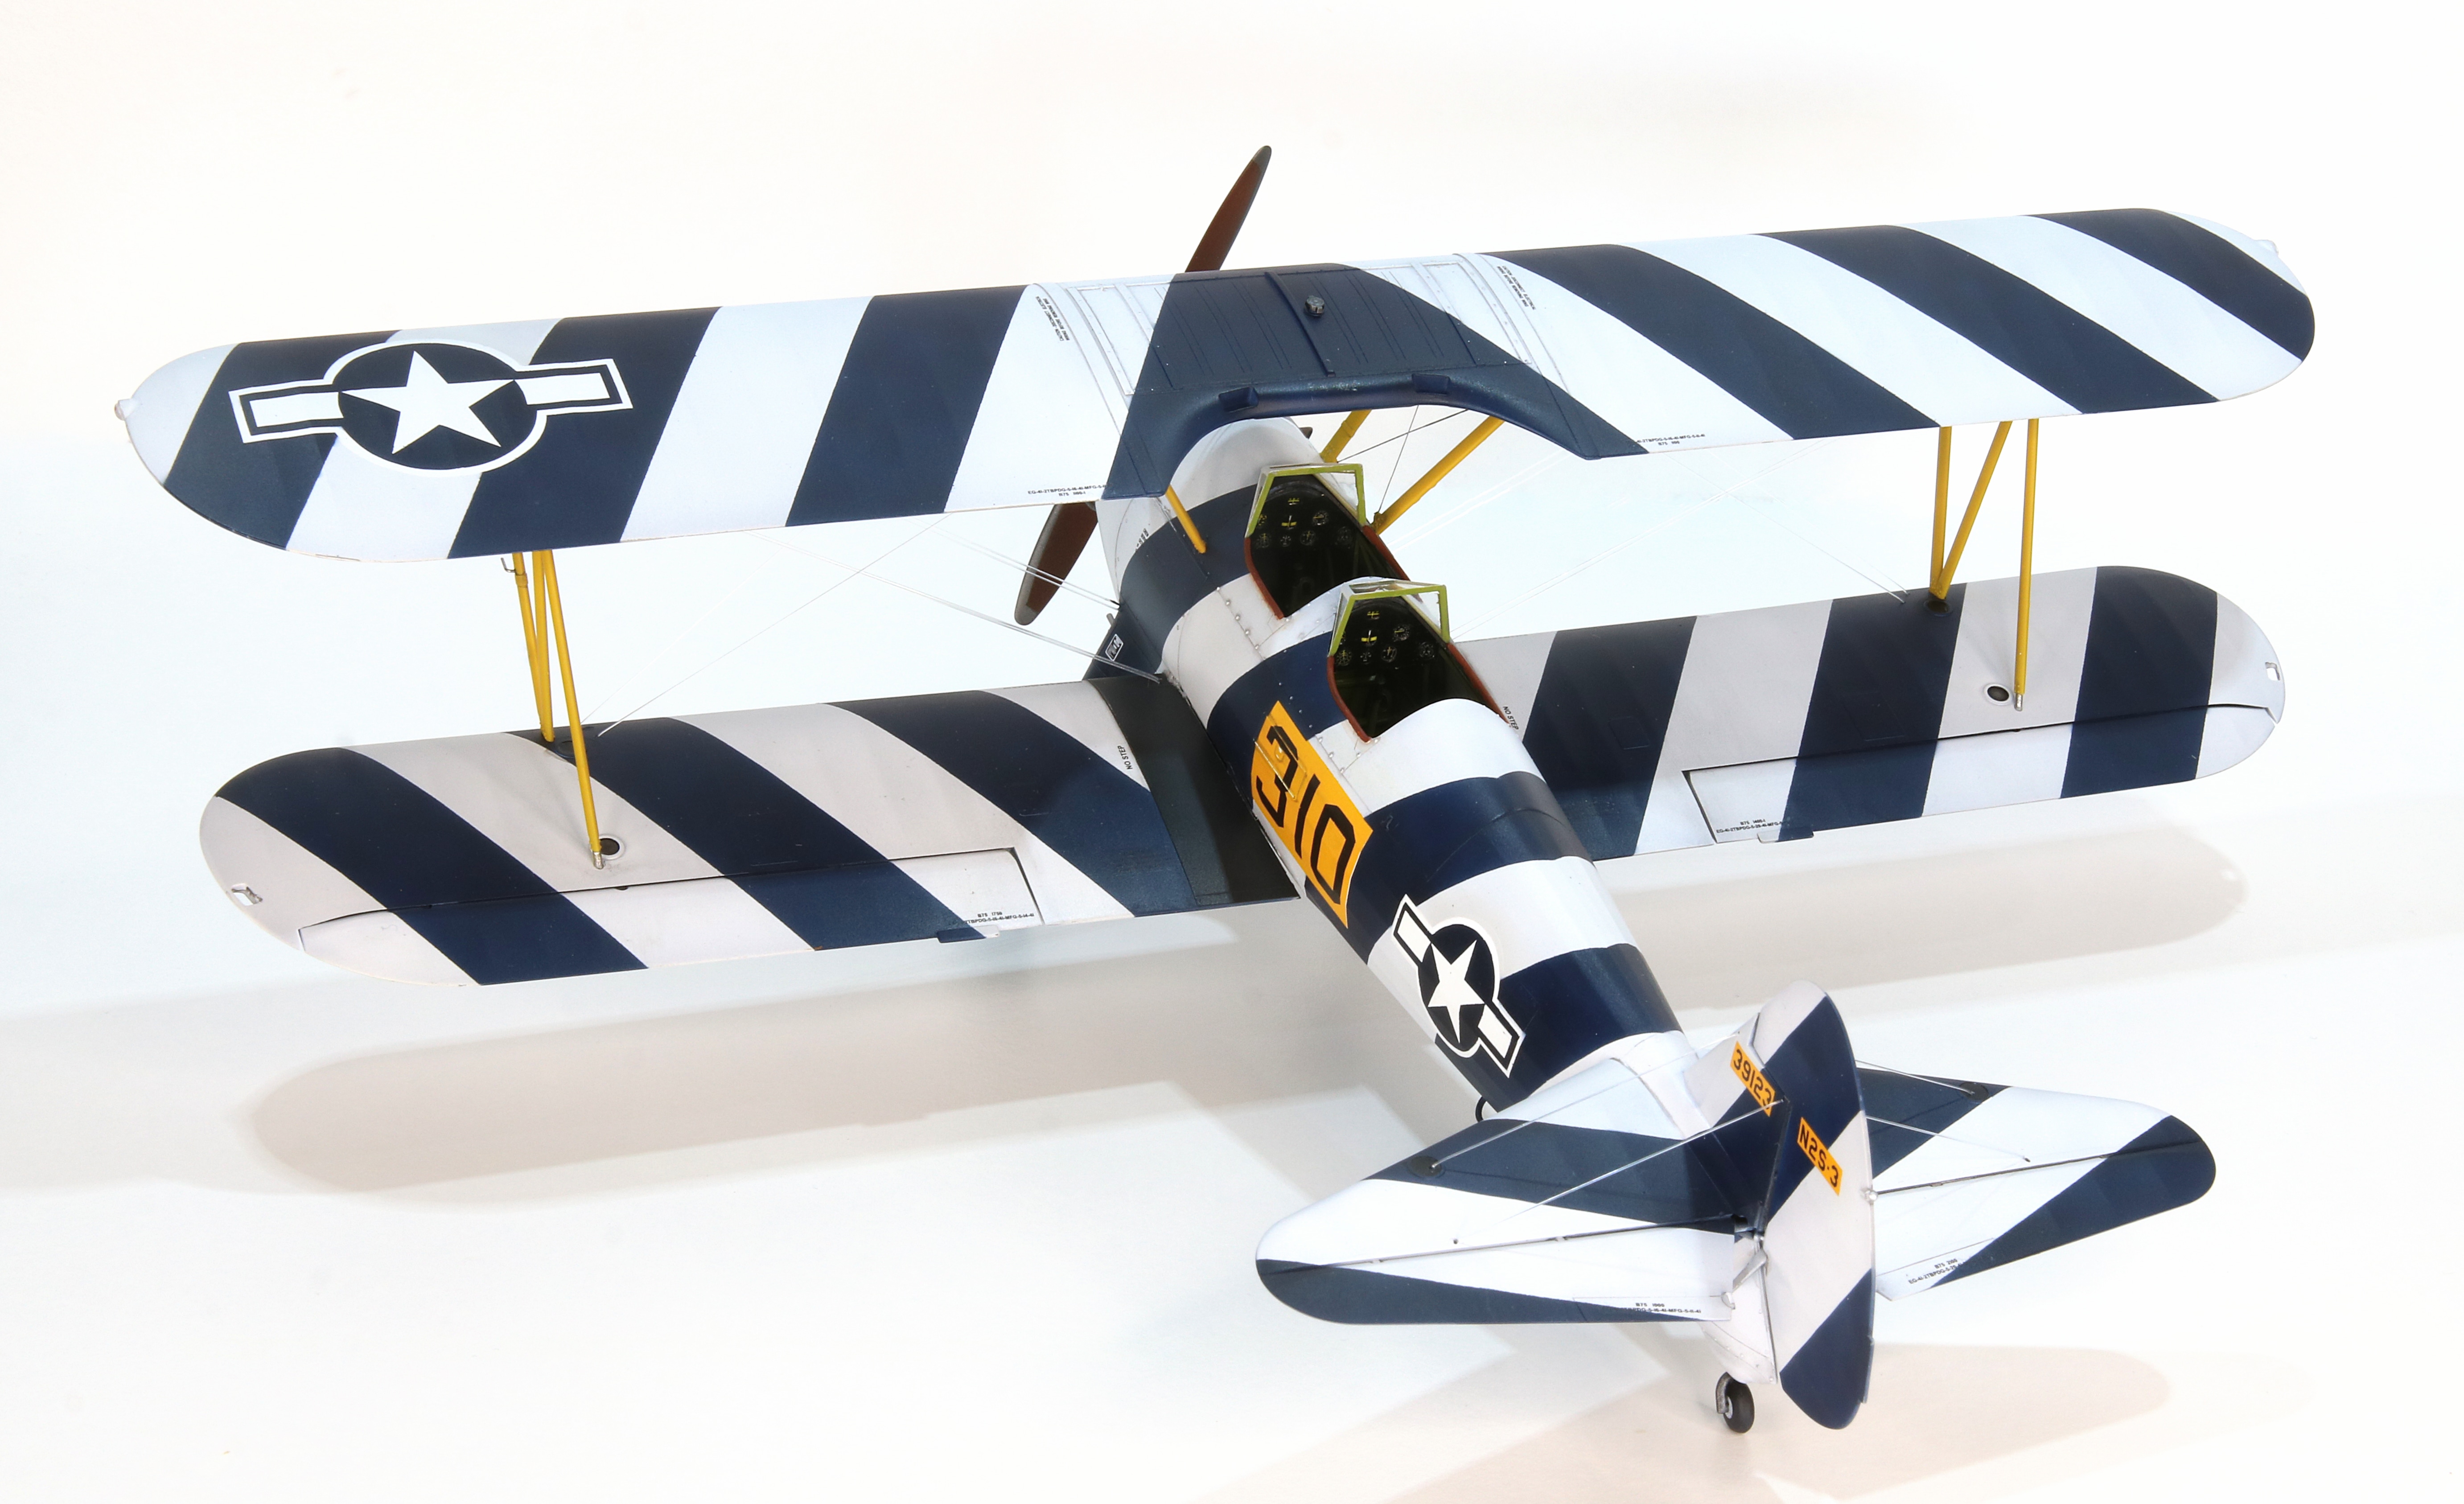
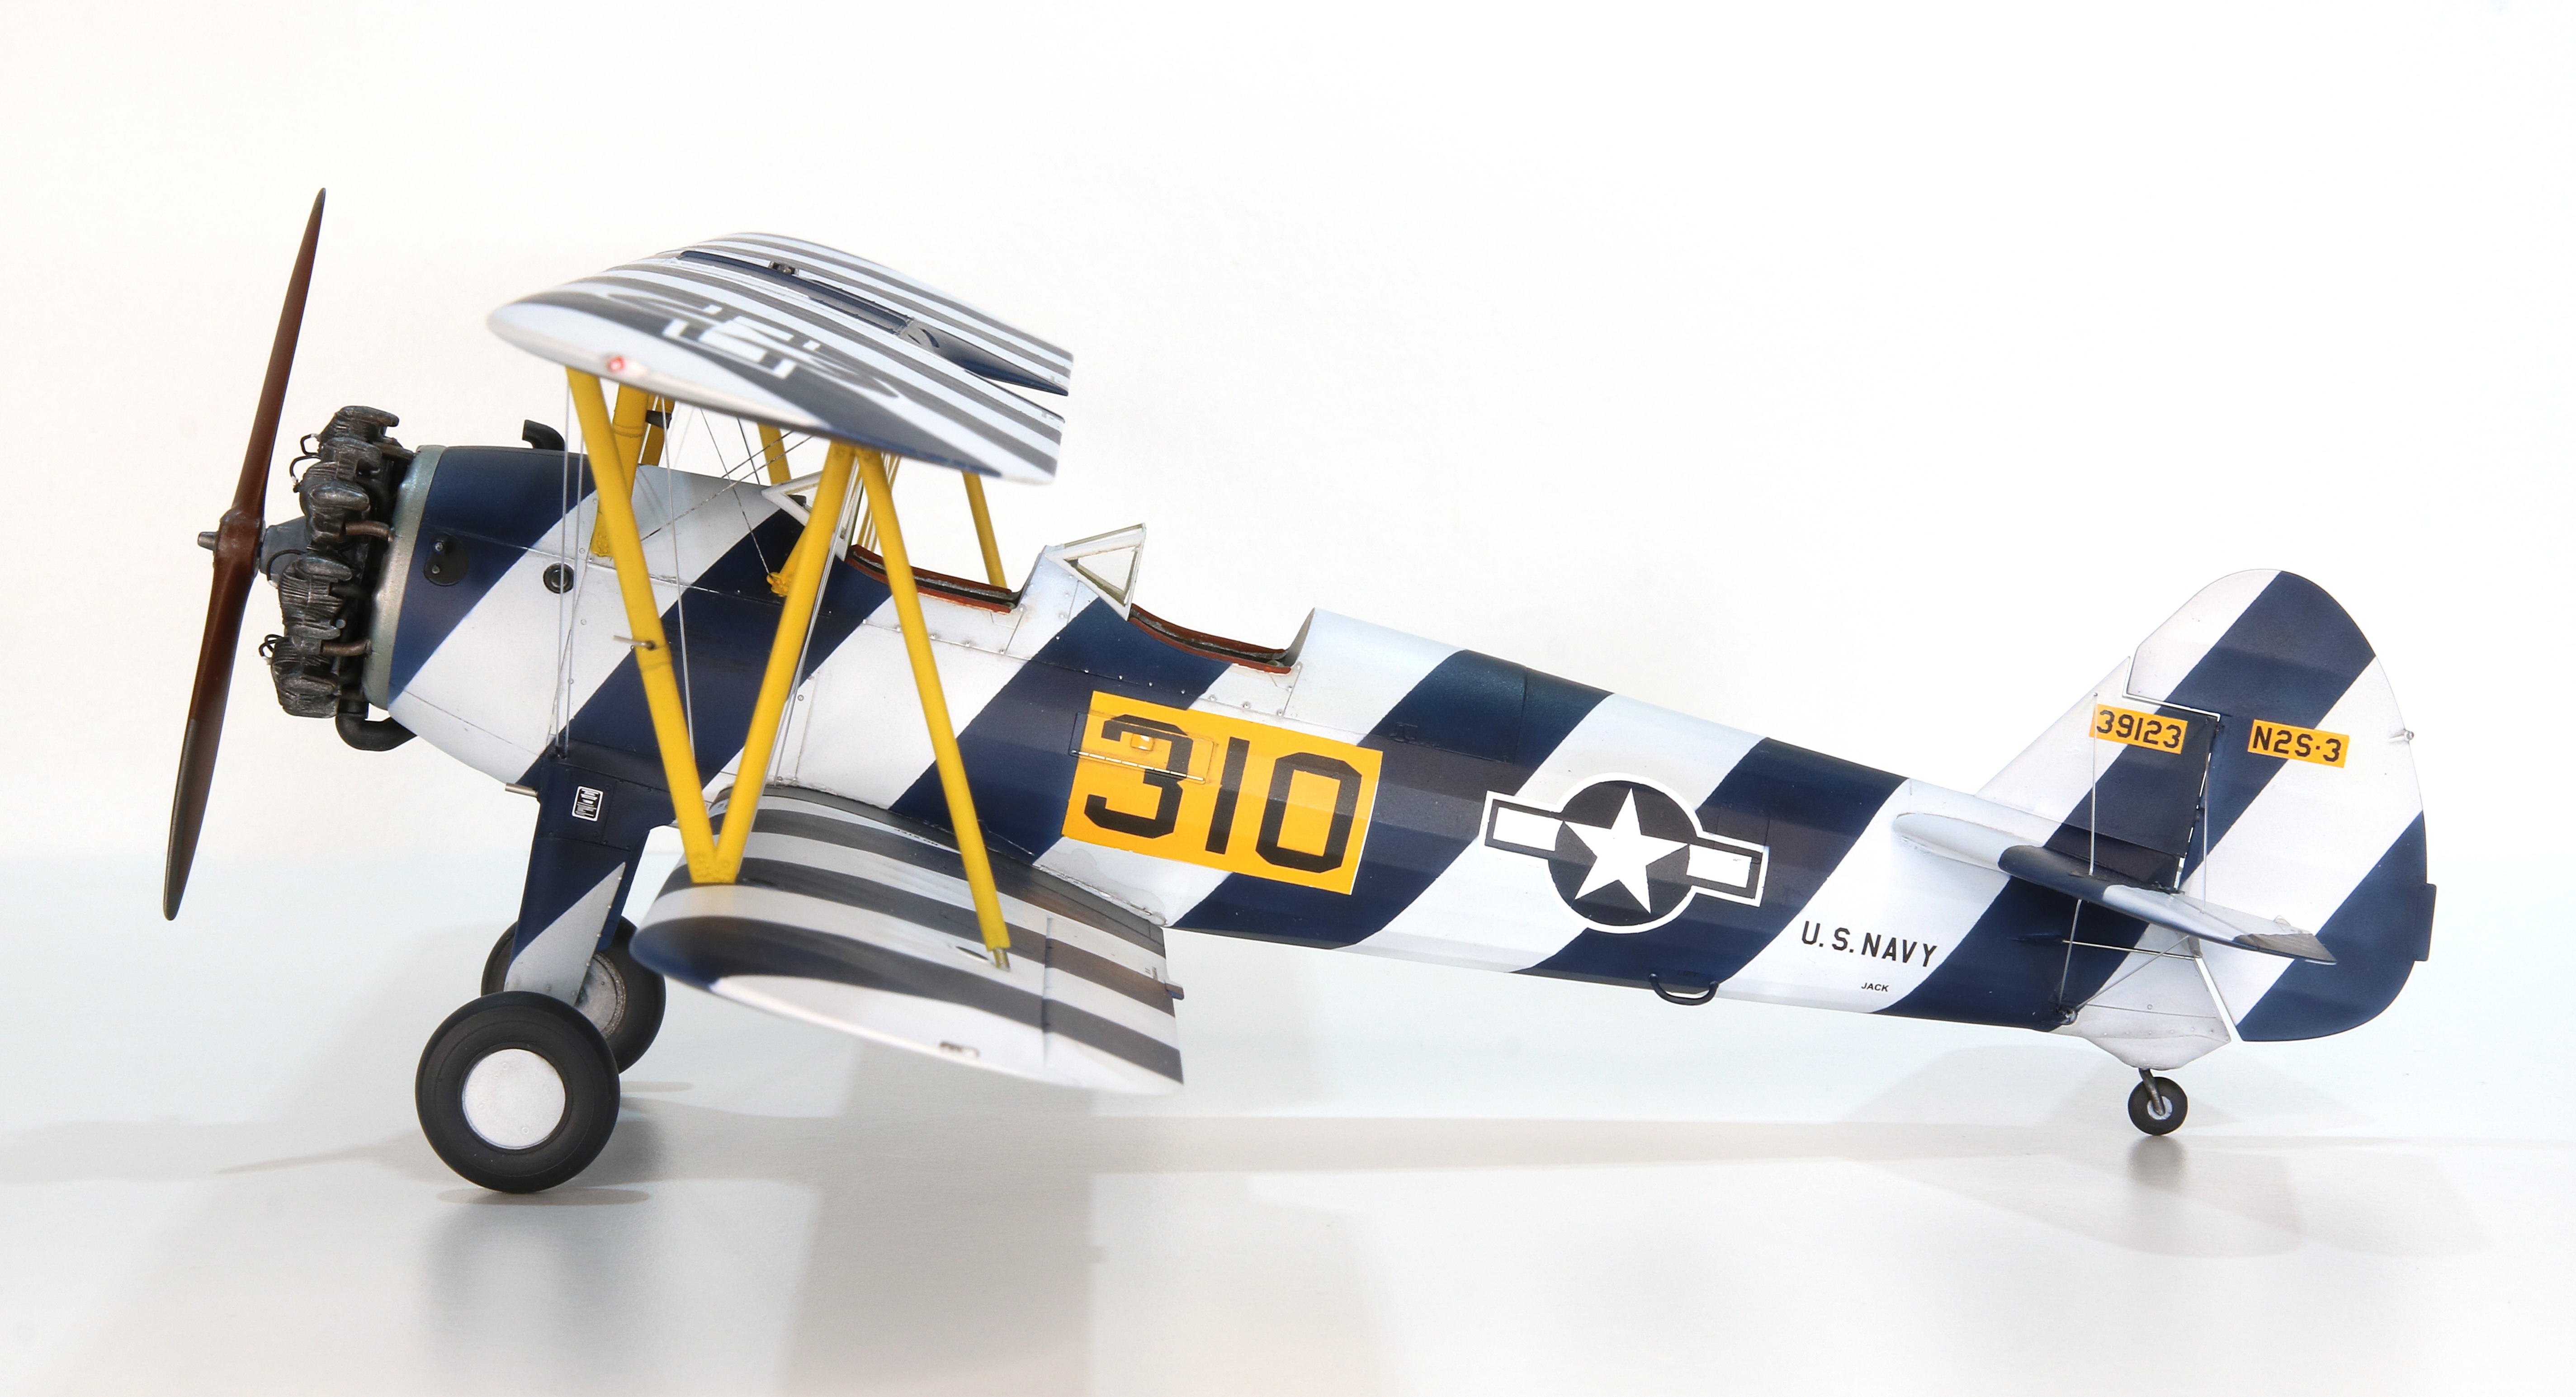
Of course, the real challenge is the paint. I chose to do a slightly different version than my previous effort with an airframe number still visible on its original yellow background.
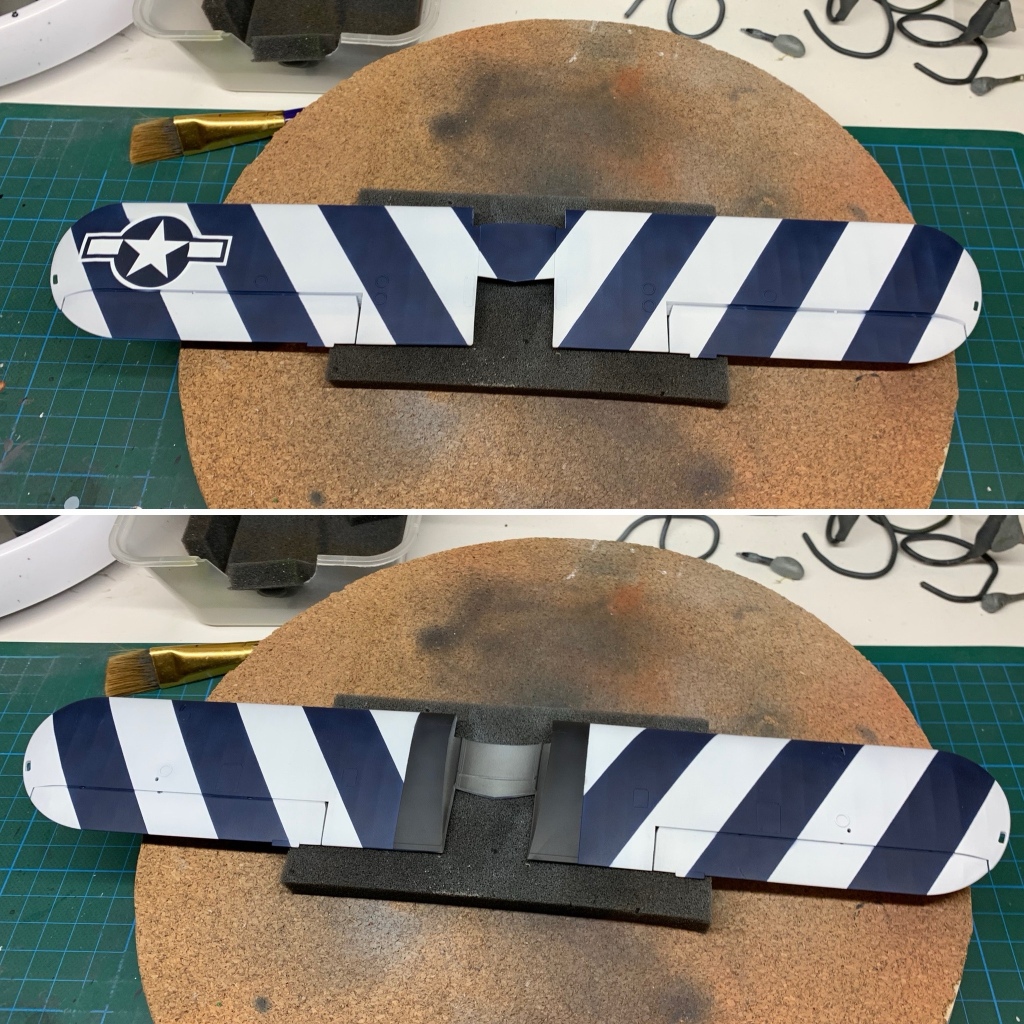
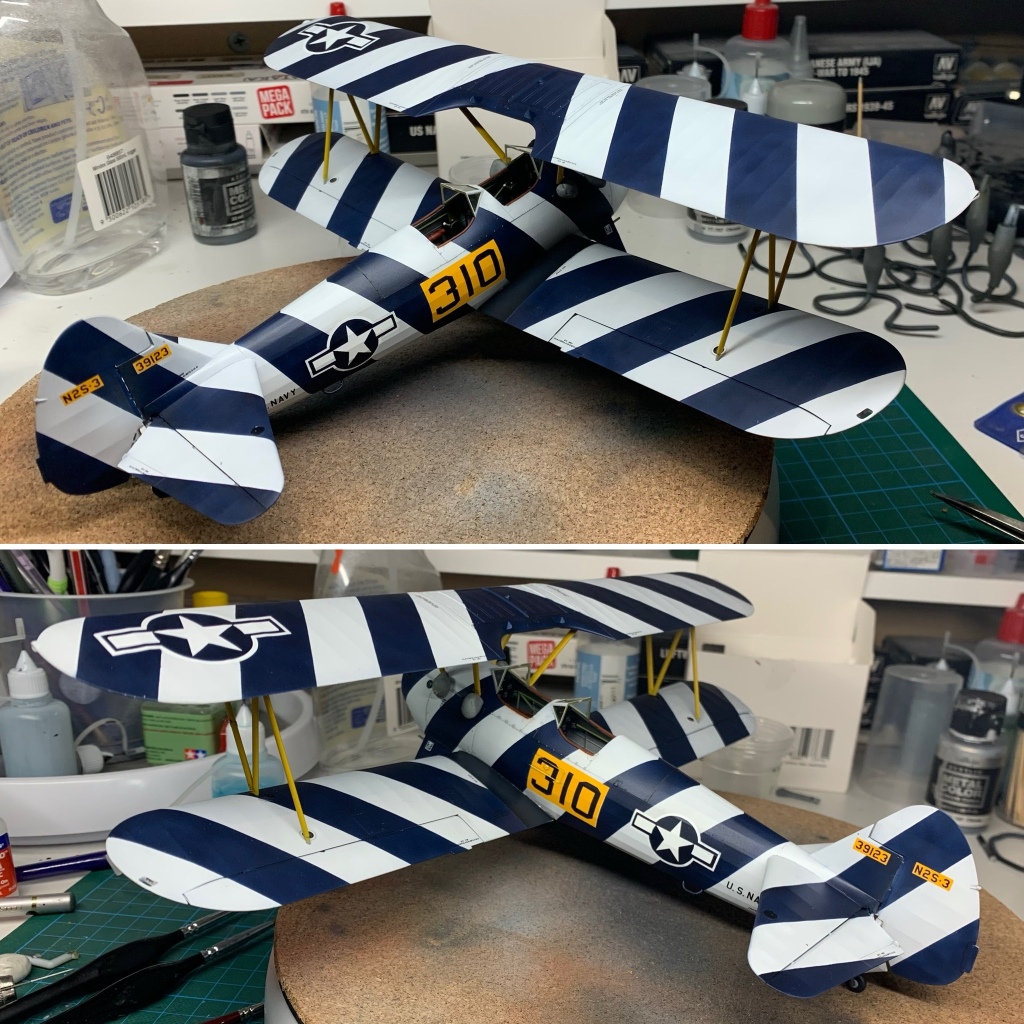
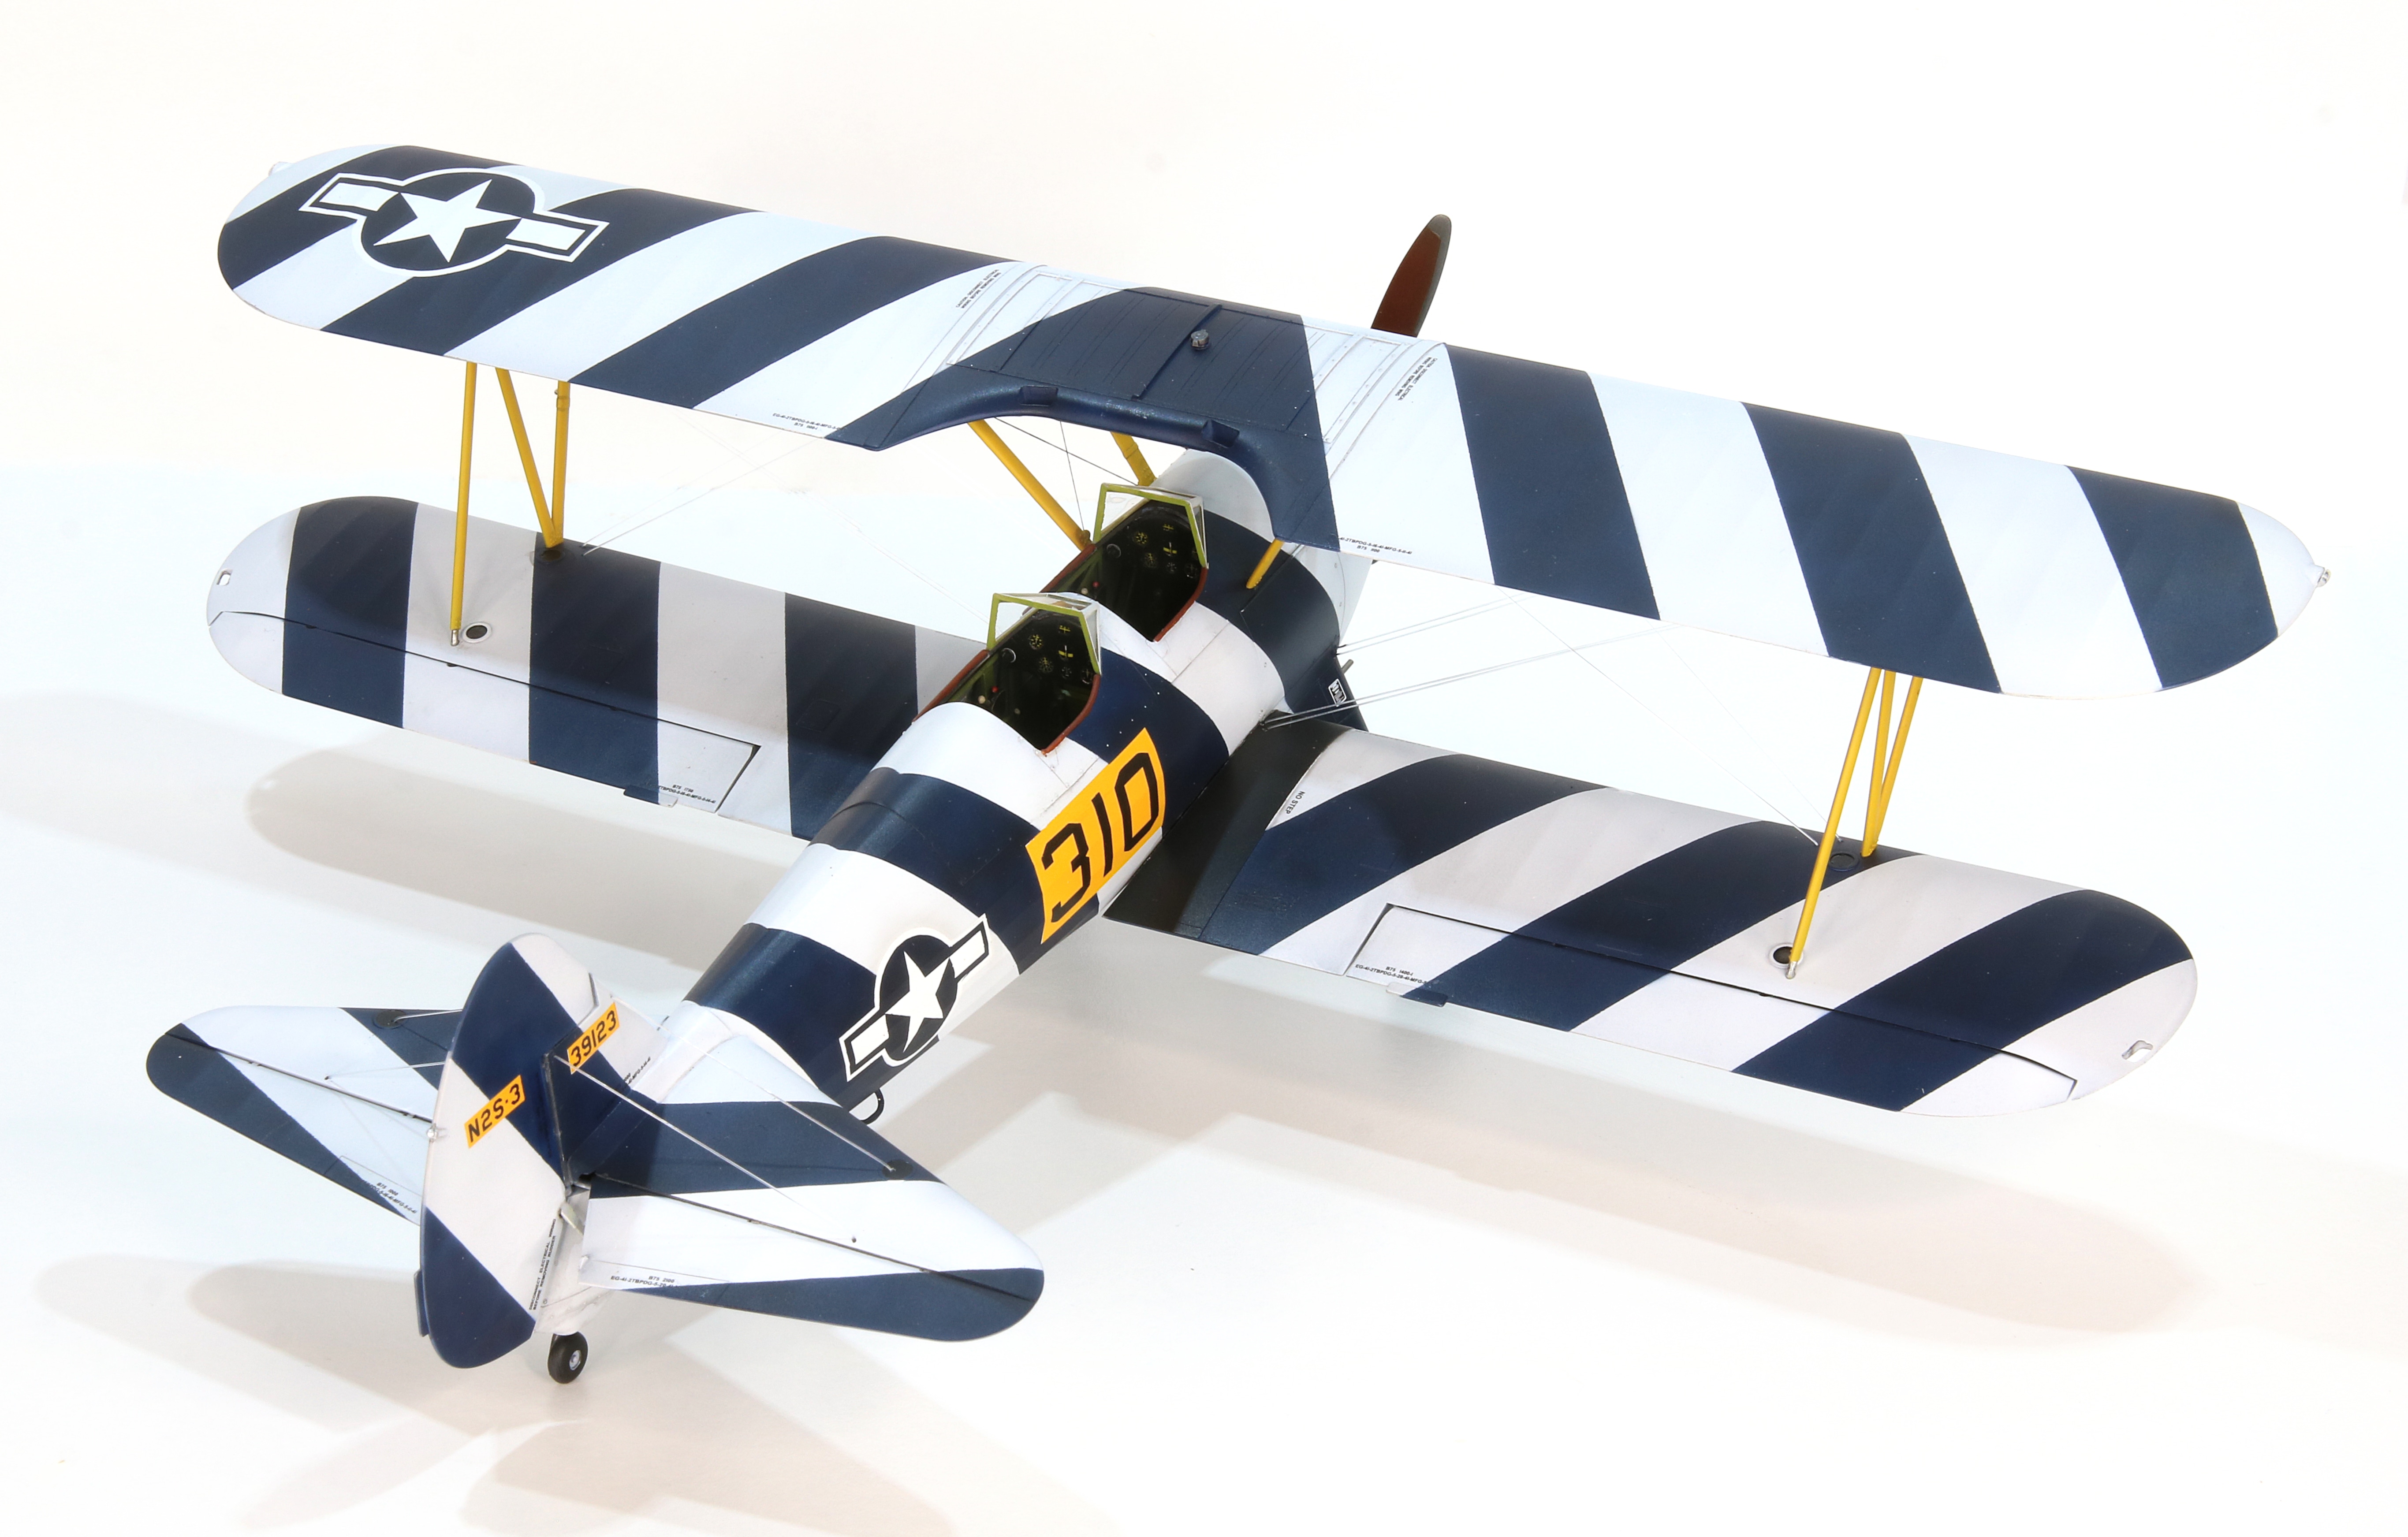
I started with the upper wing as a practice. White first, then careful masking to paint the stripes. As usual I painted the markings too, which meant some careful thought on masking because I didn’t want to go back and forth with the white and blue. With the white painted, I masked the for blue stripes and masked the white of the Stars and Bars and applied the blue. The process worked and I was happy with the outcome.
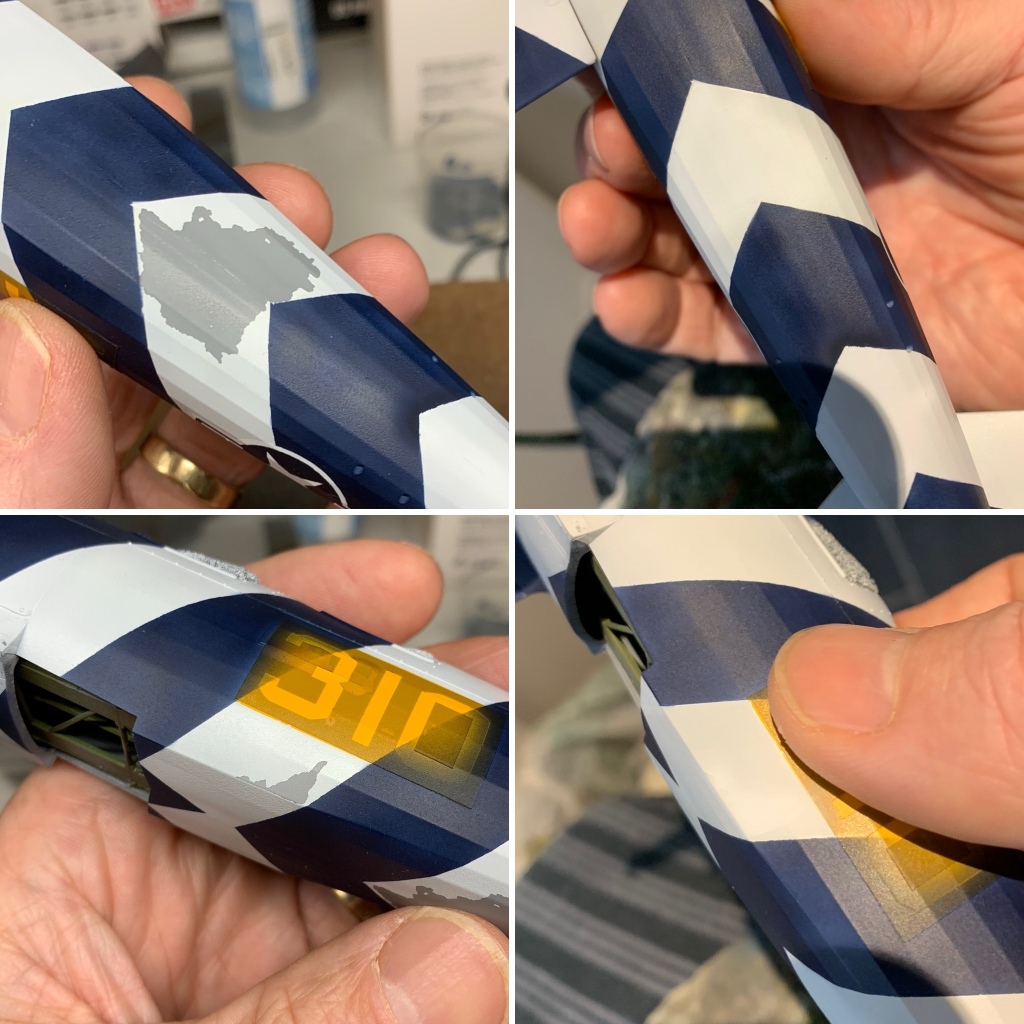
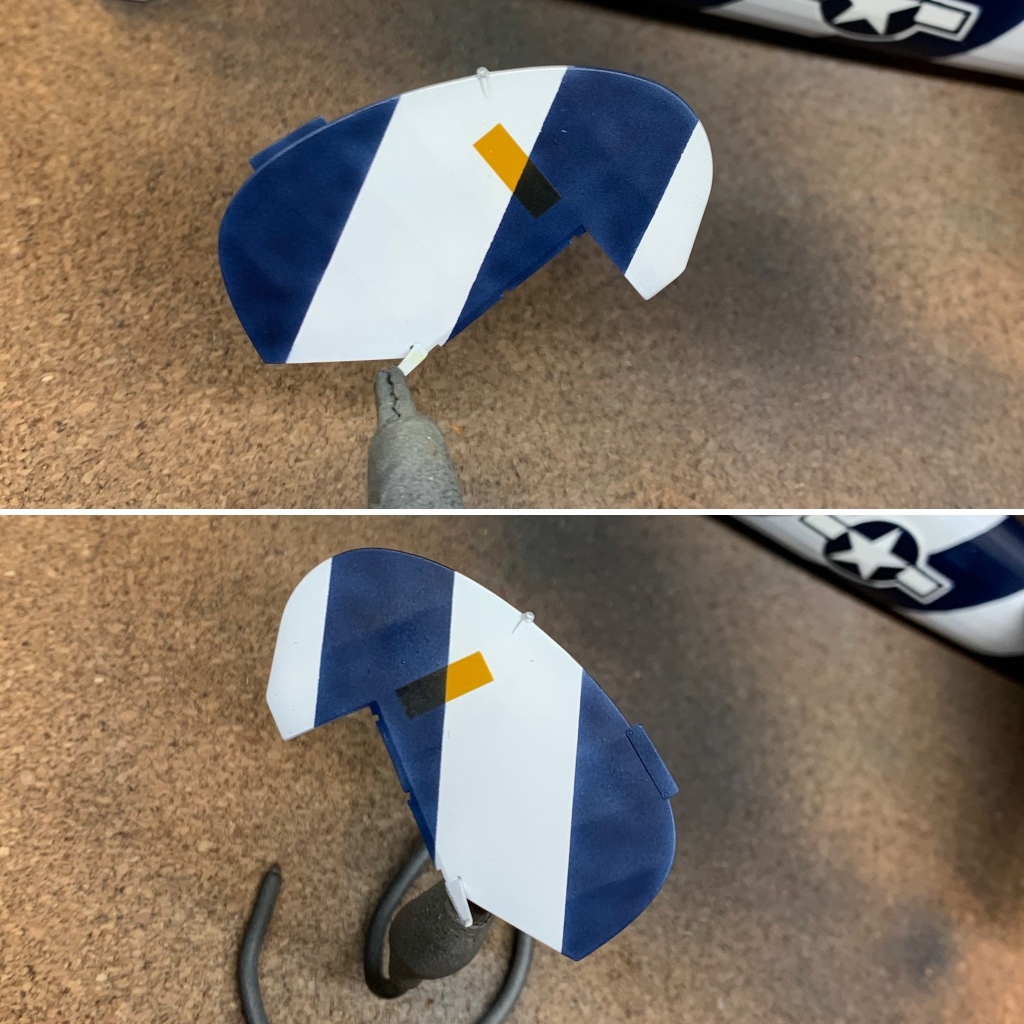
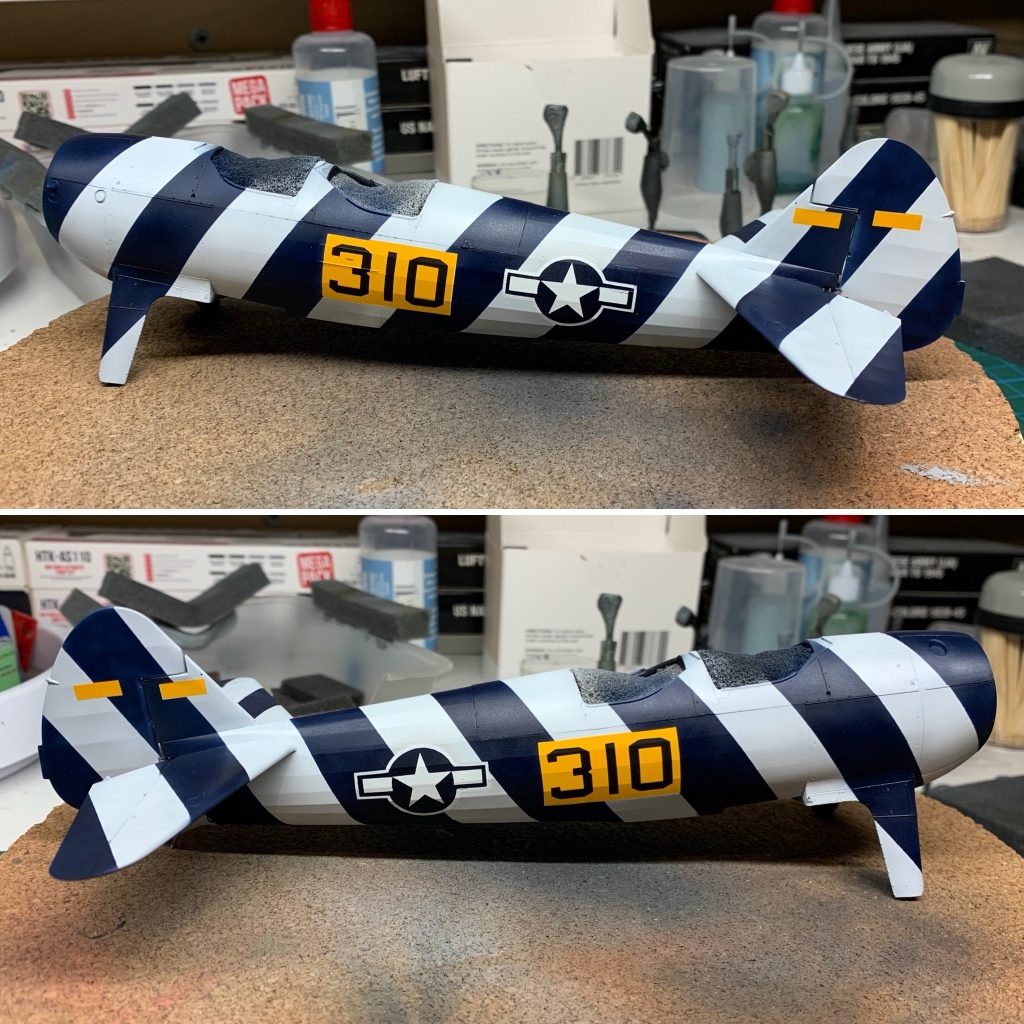
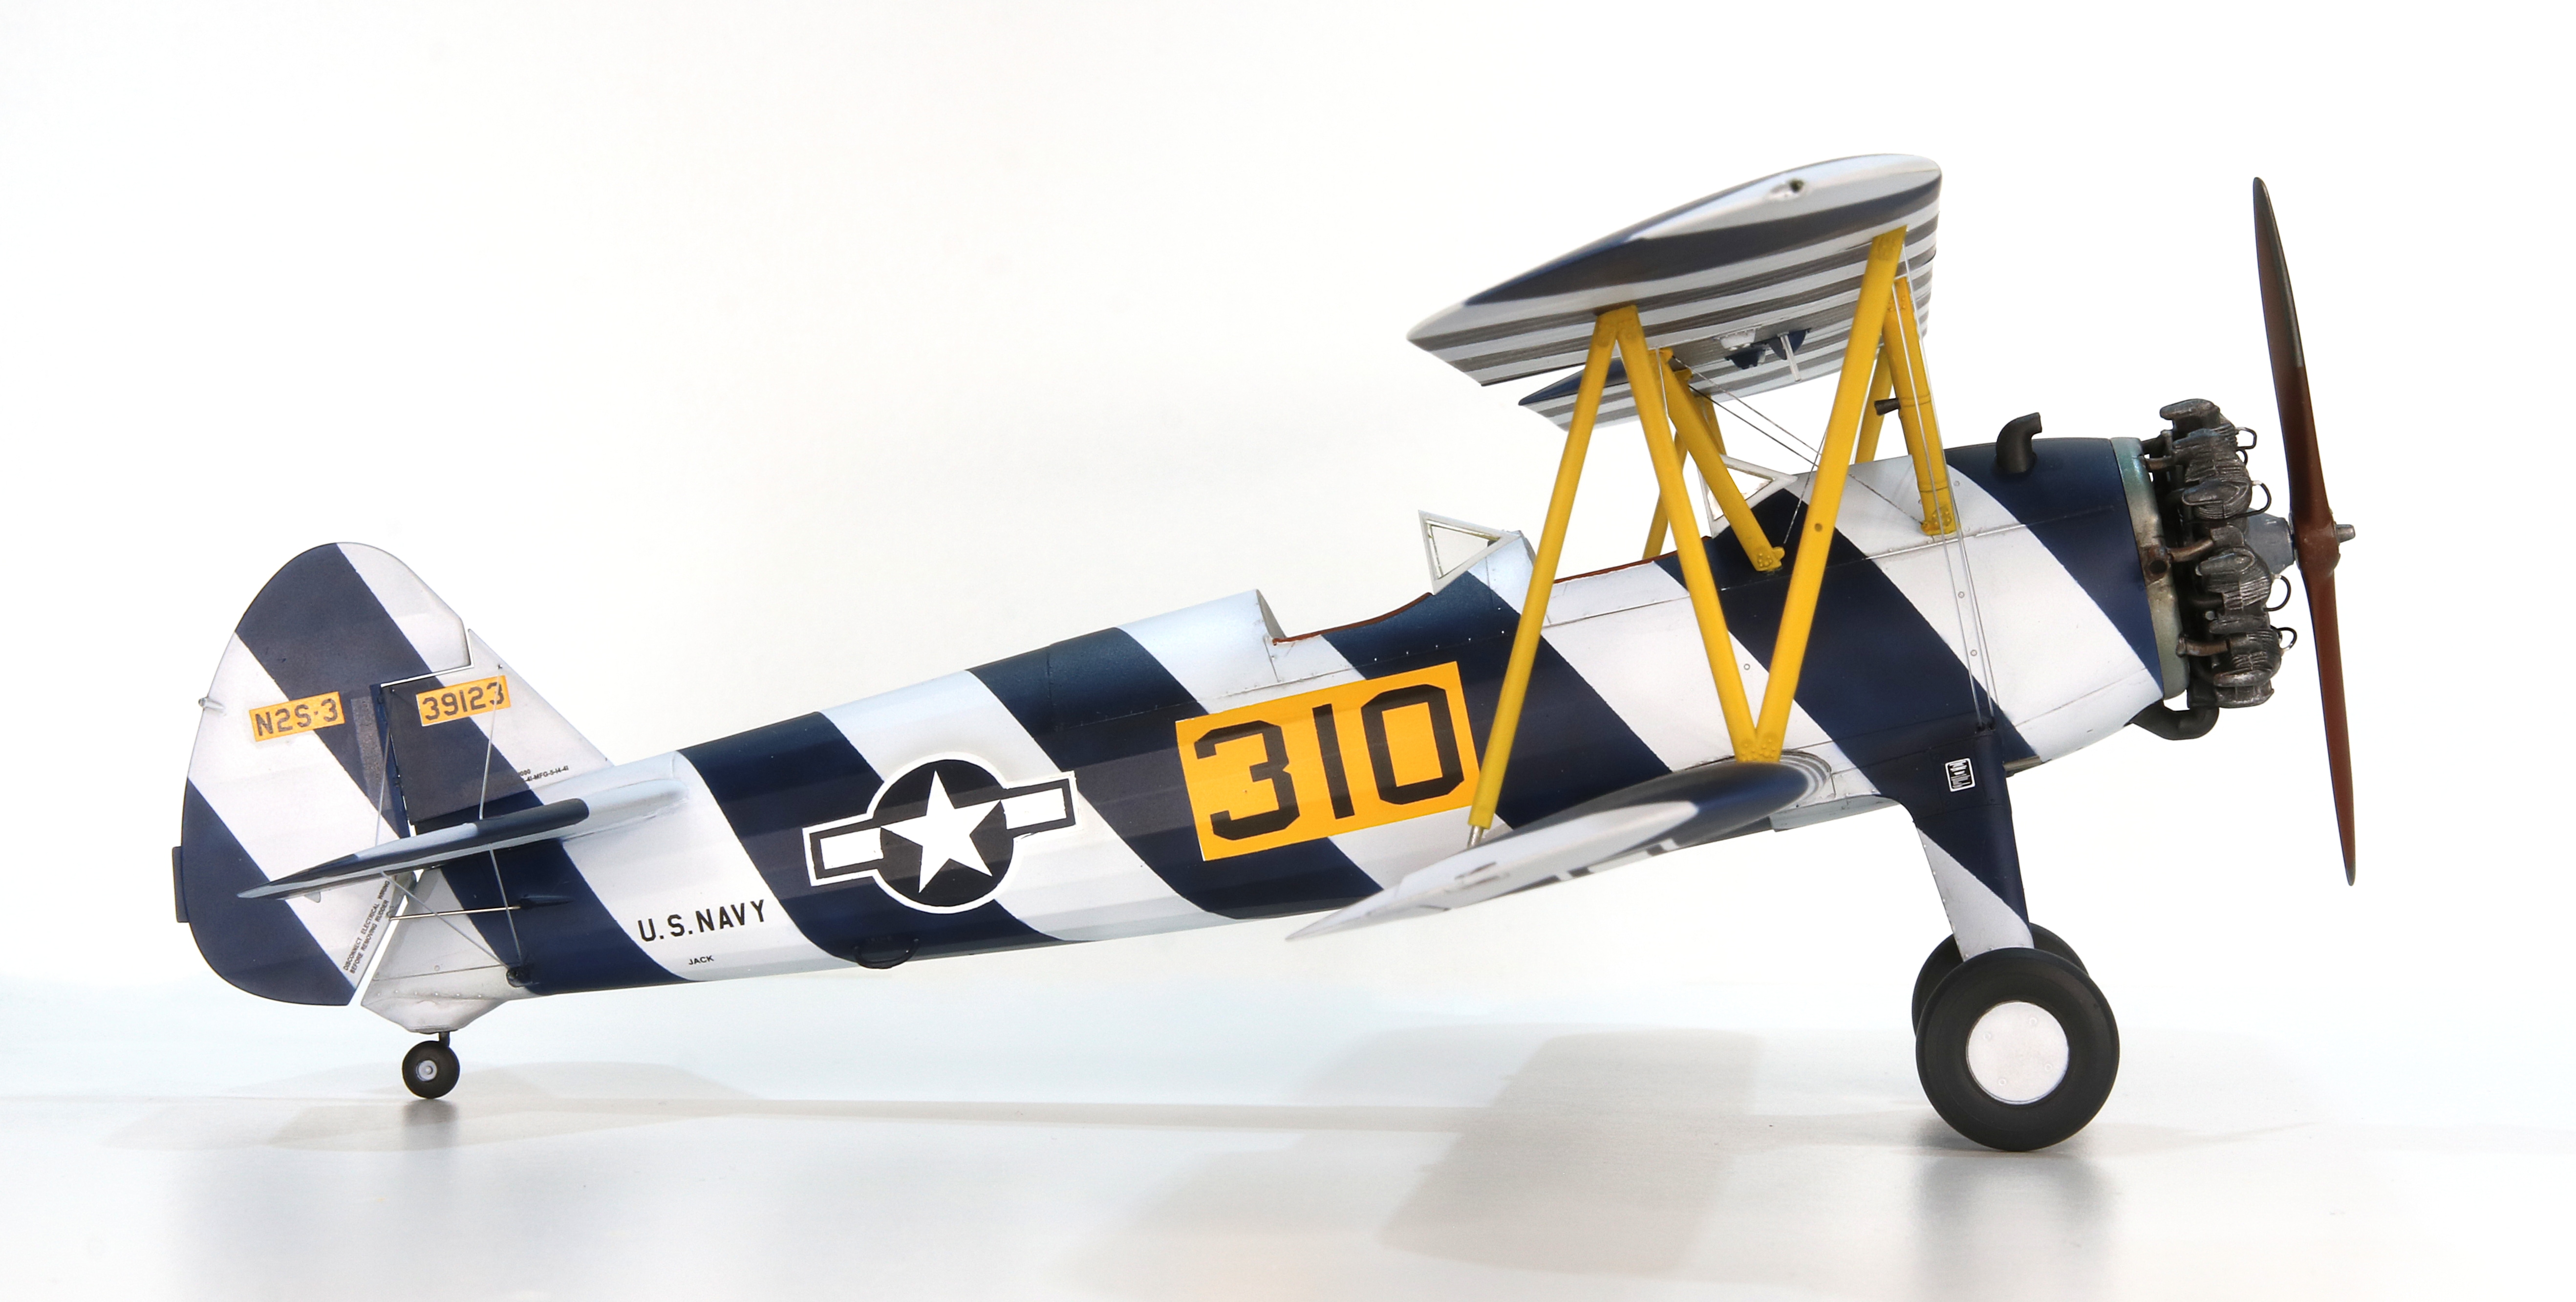
The fuselage was approached in the same way, though I painted the yellow first, masked it, and then the white. After the white, I masked for the blue and the insignia and painted the blue. Last, I used black for the aircraft and serial numbers.
Click on any of the images below to scroll through the gallery.


Details
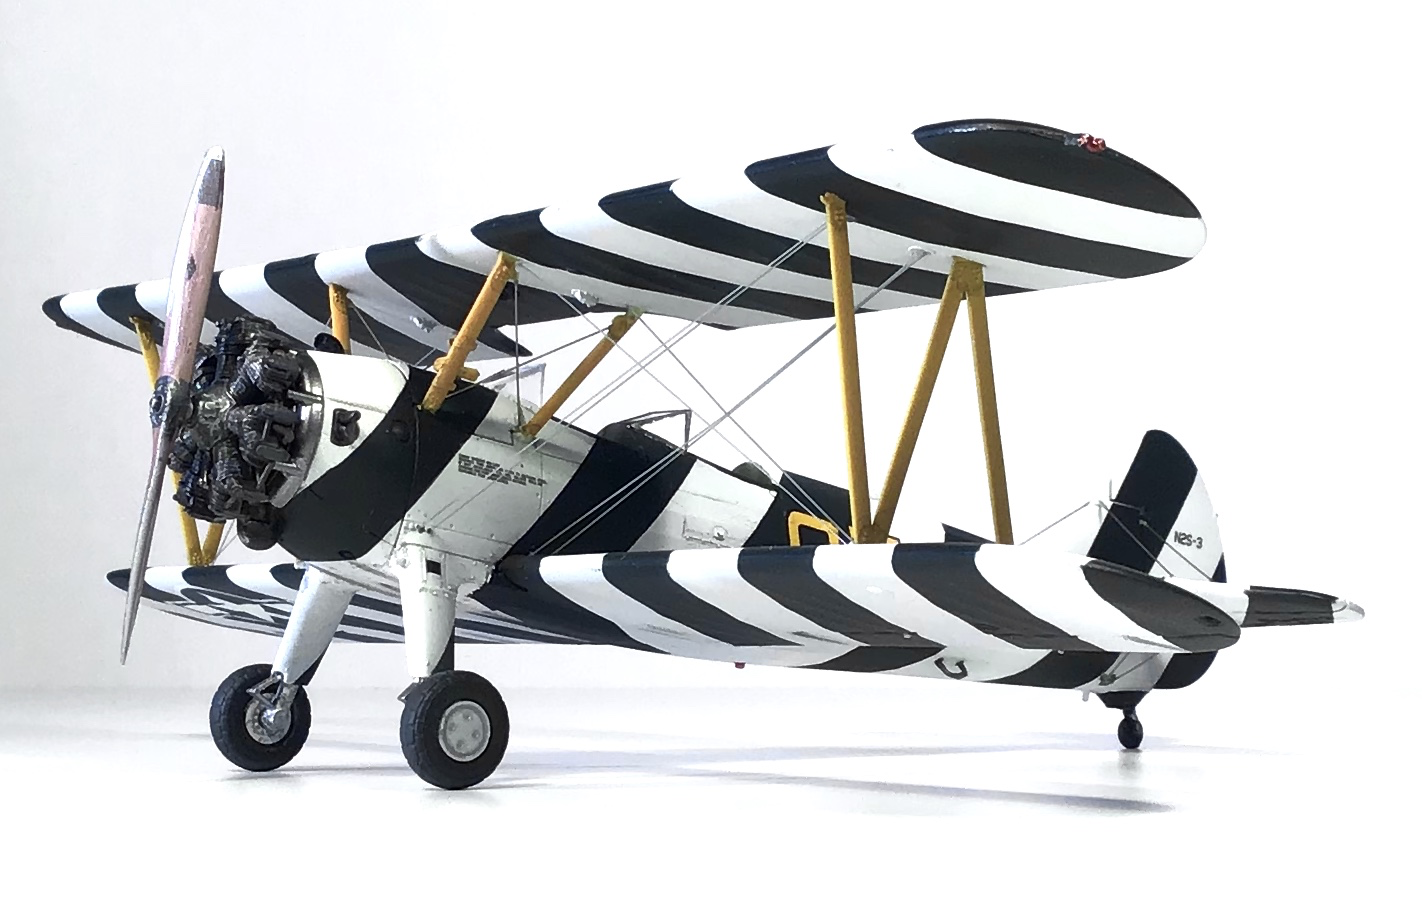
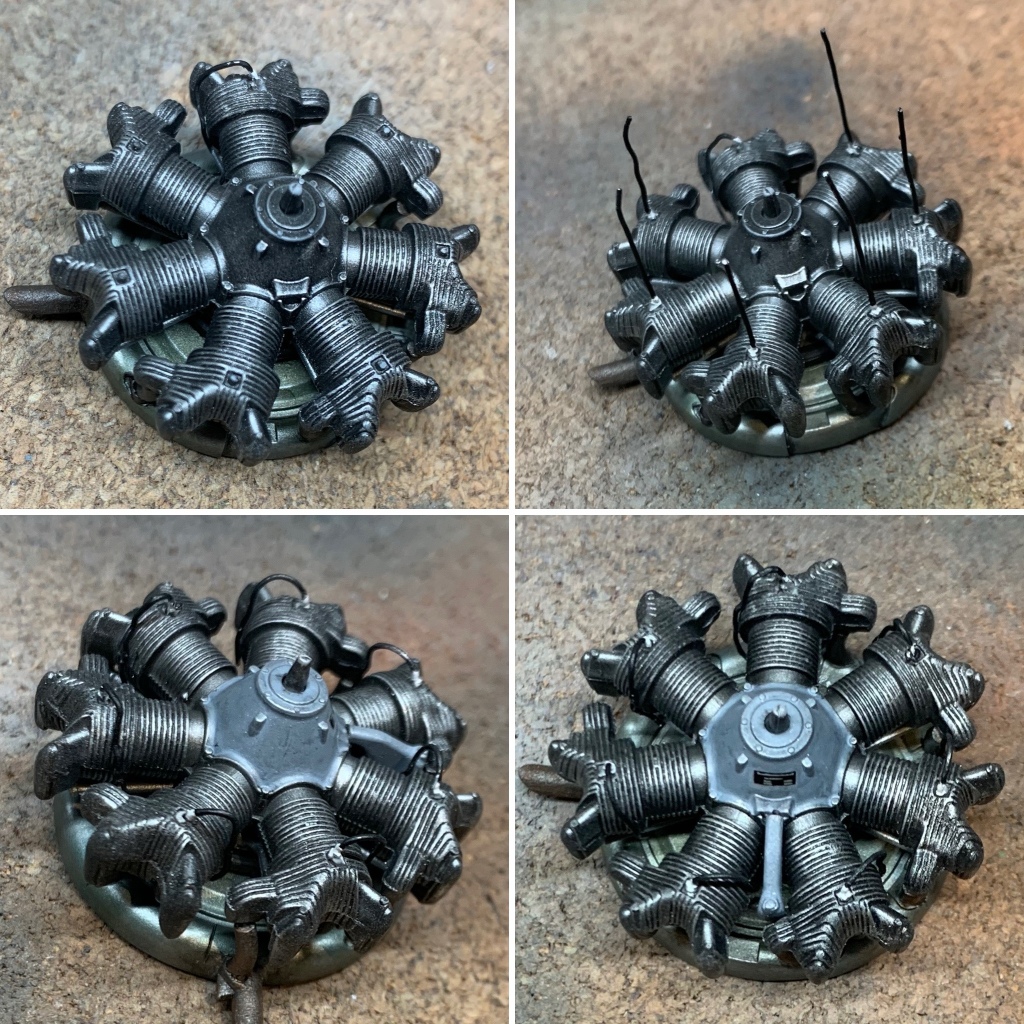
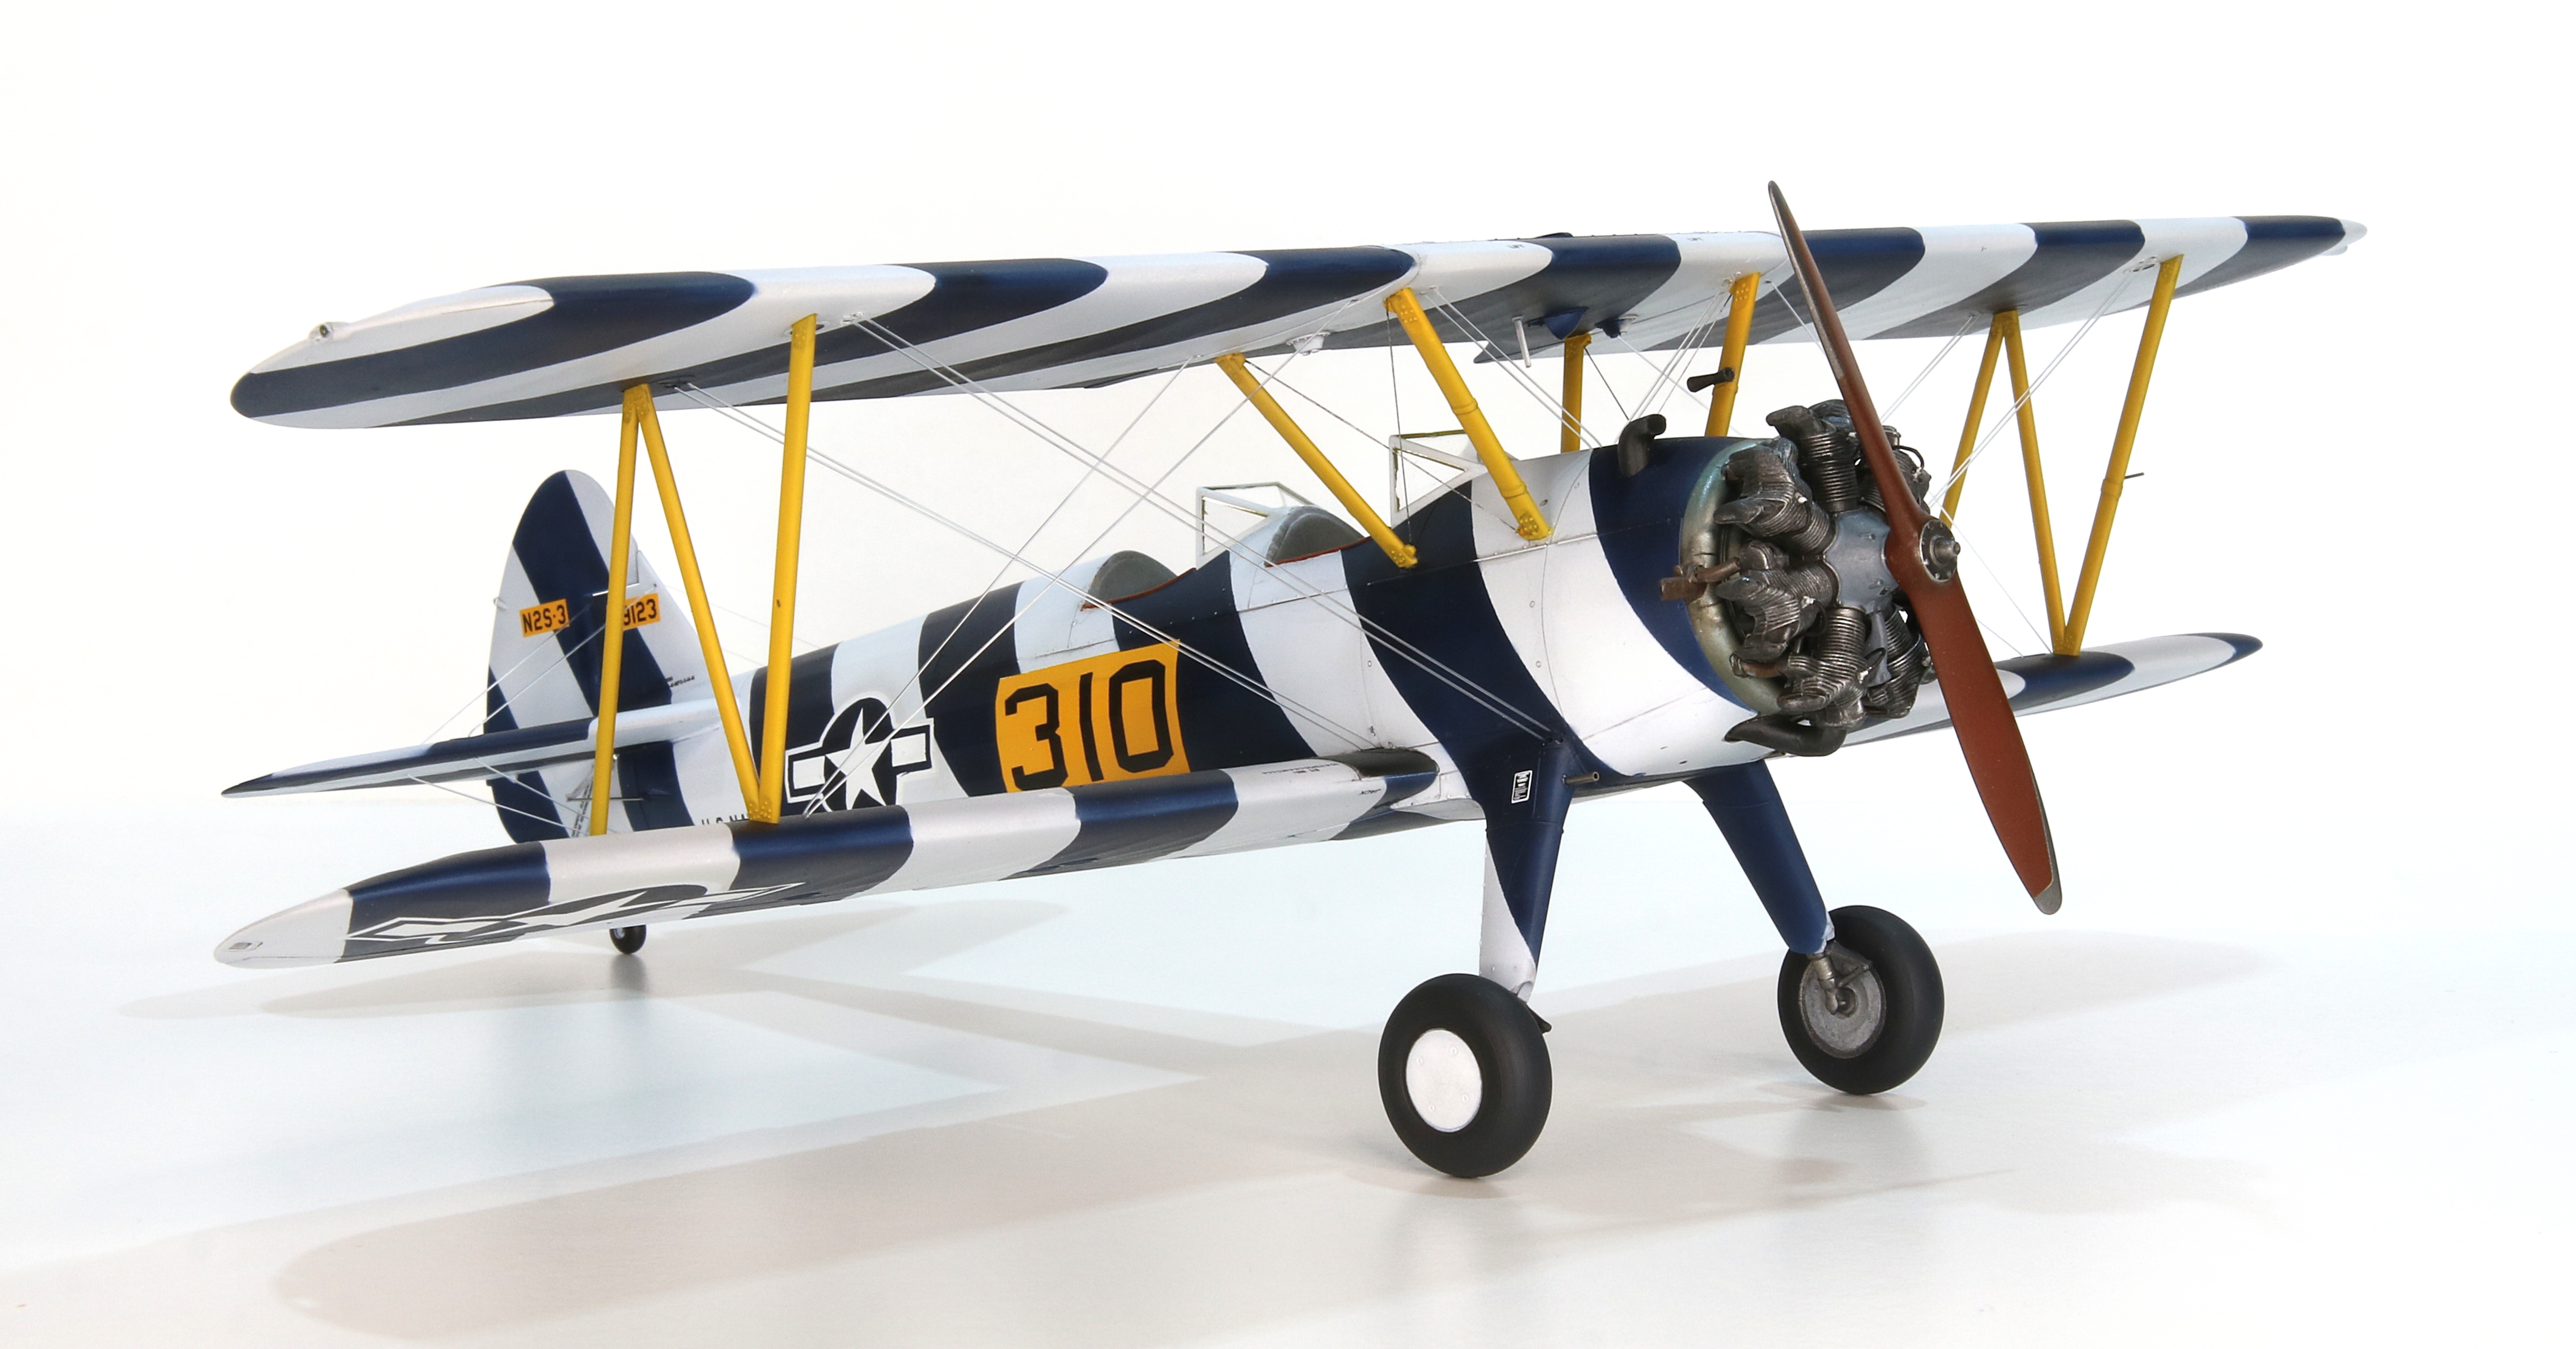
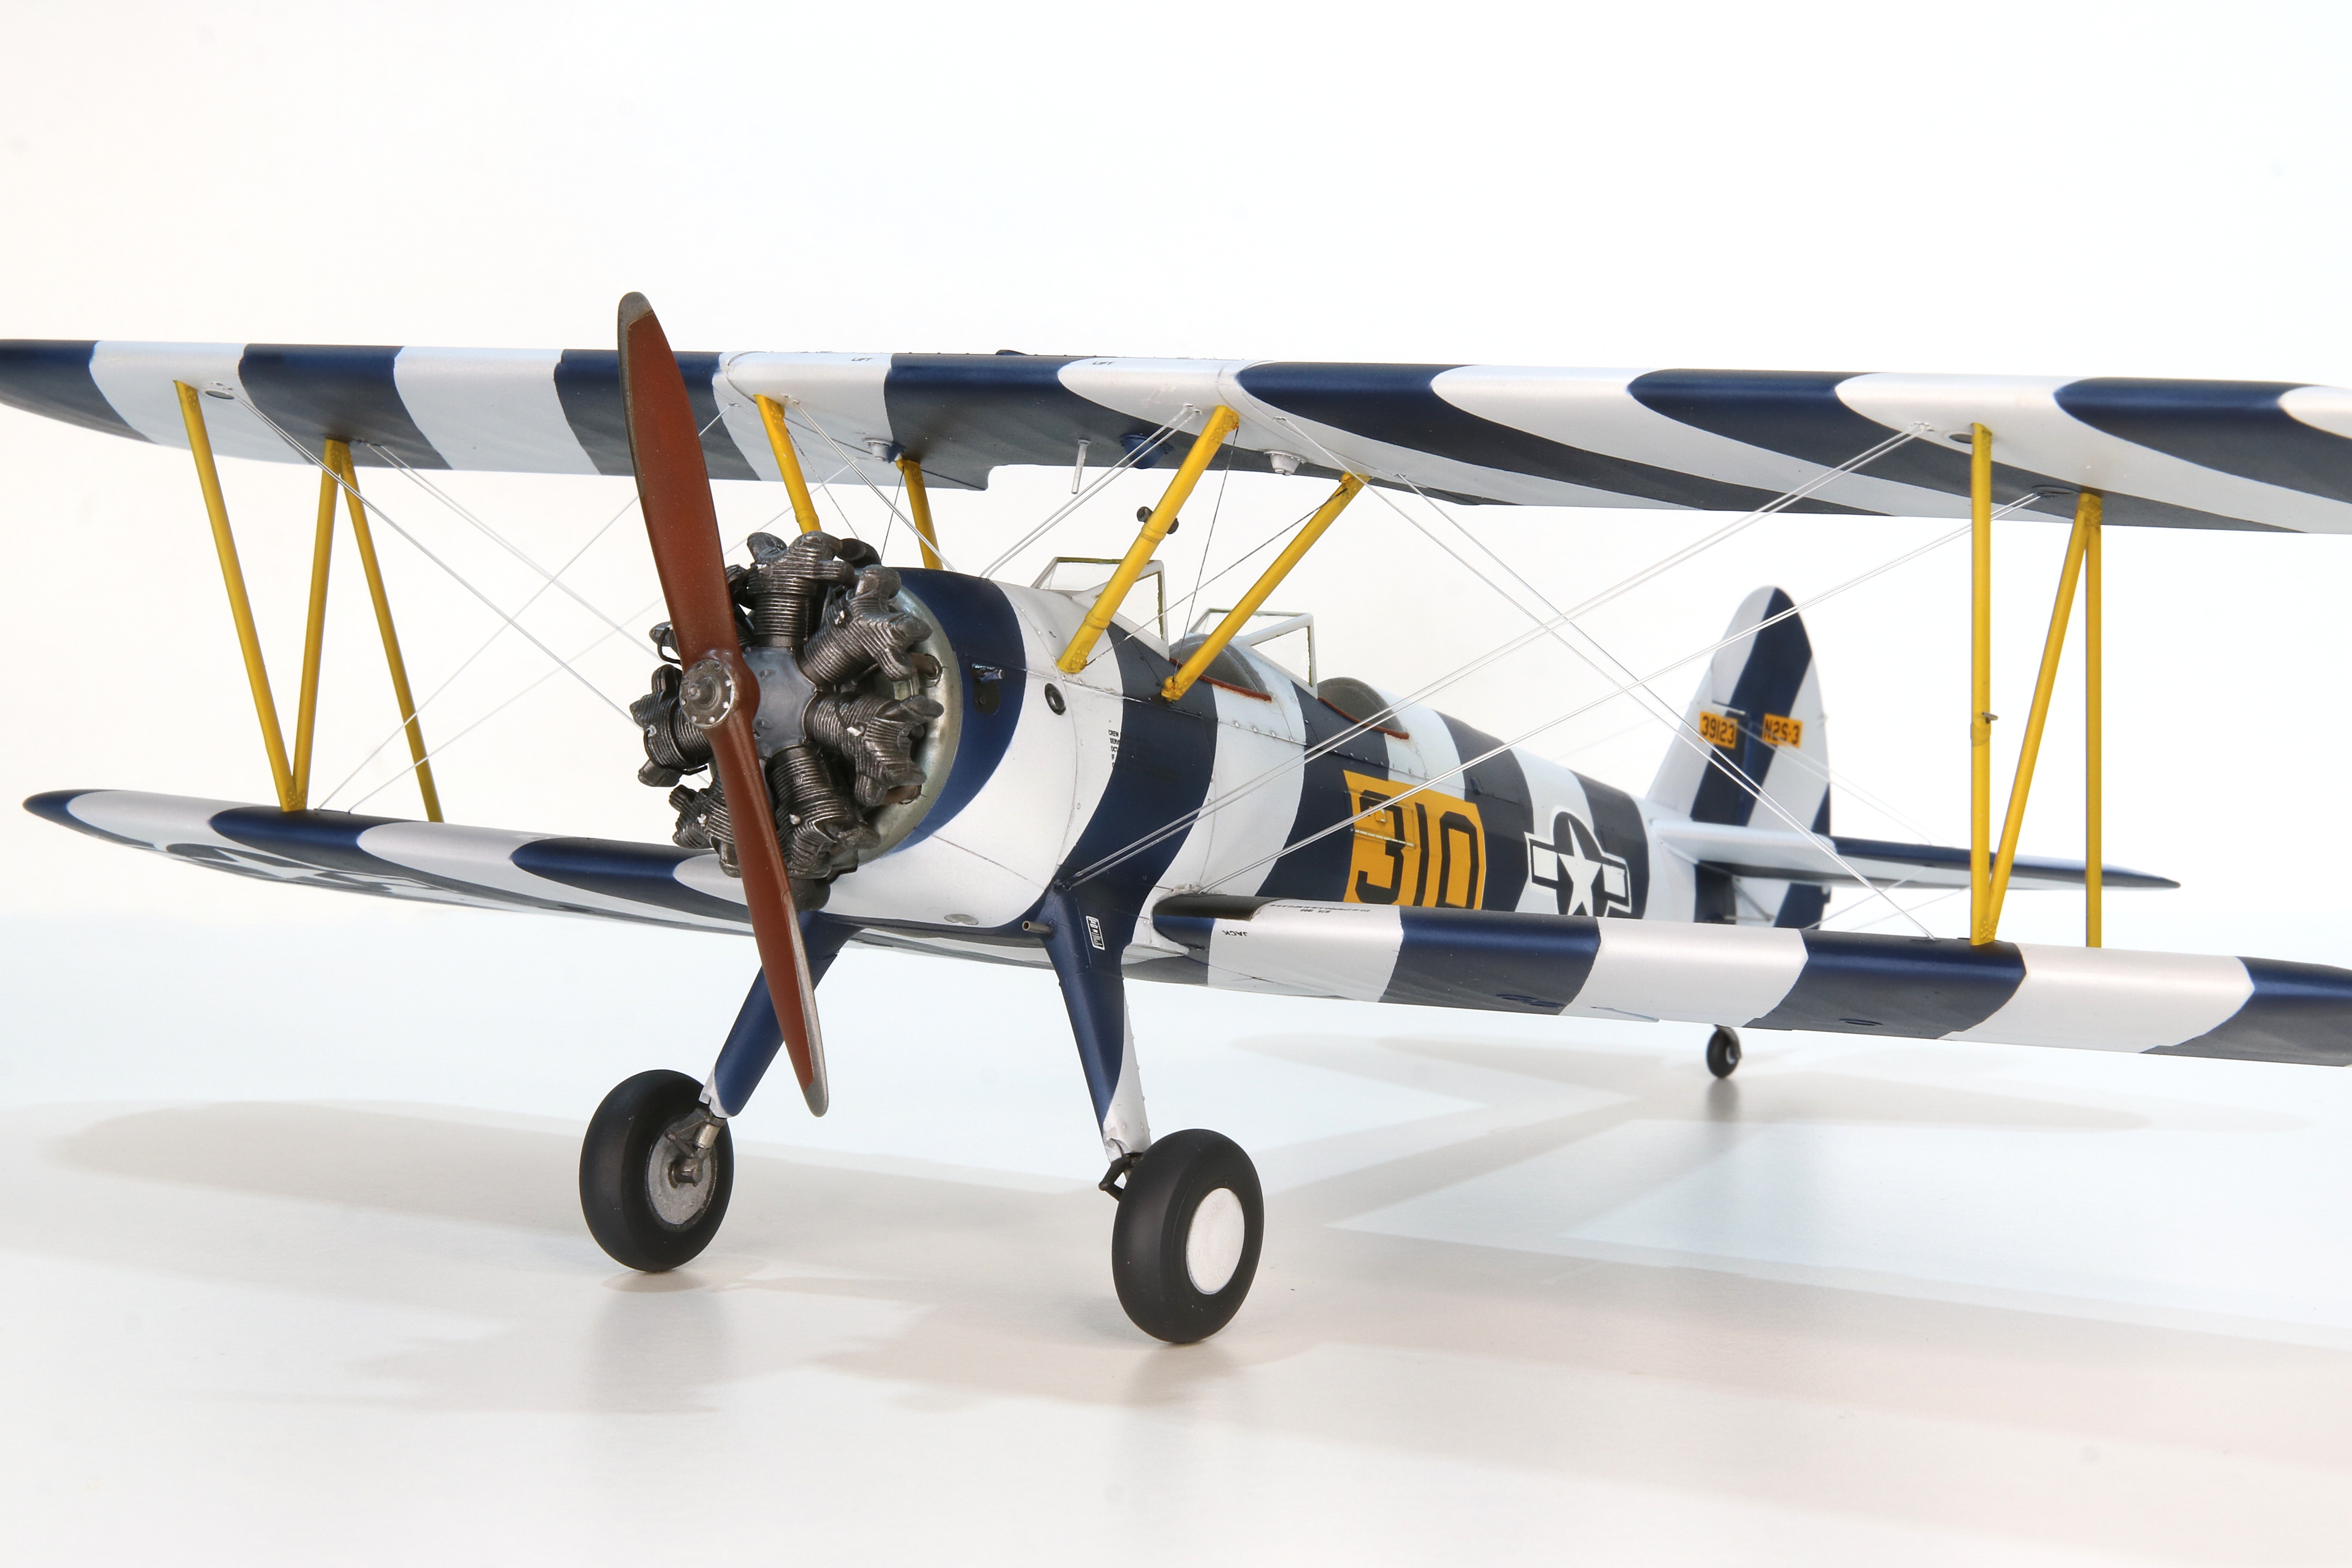
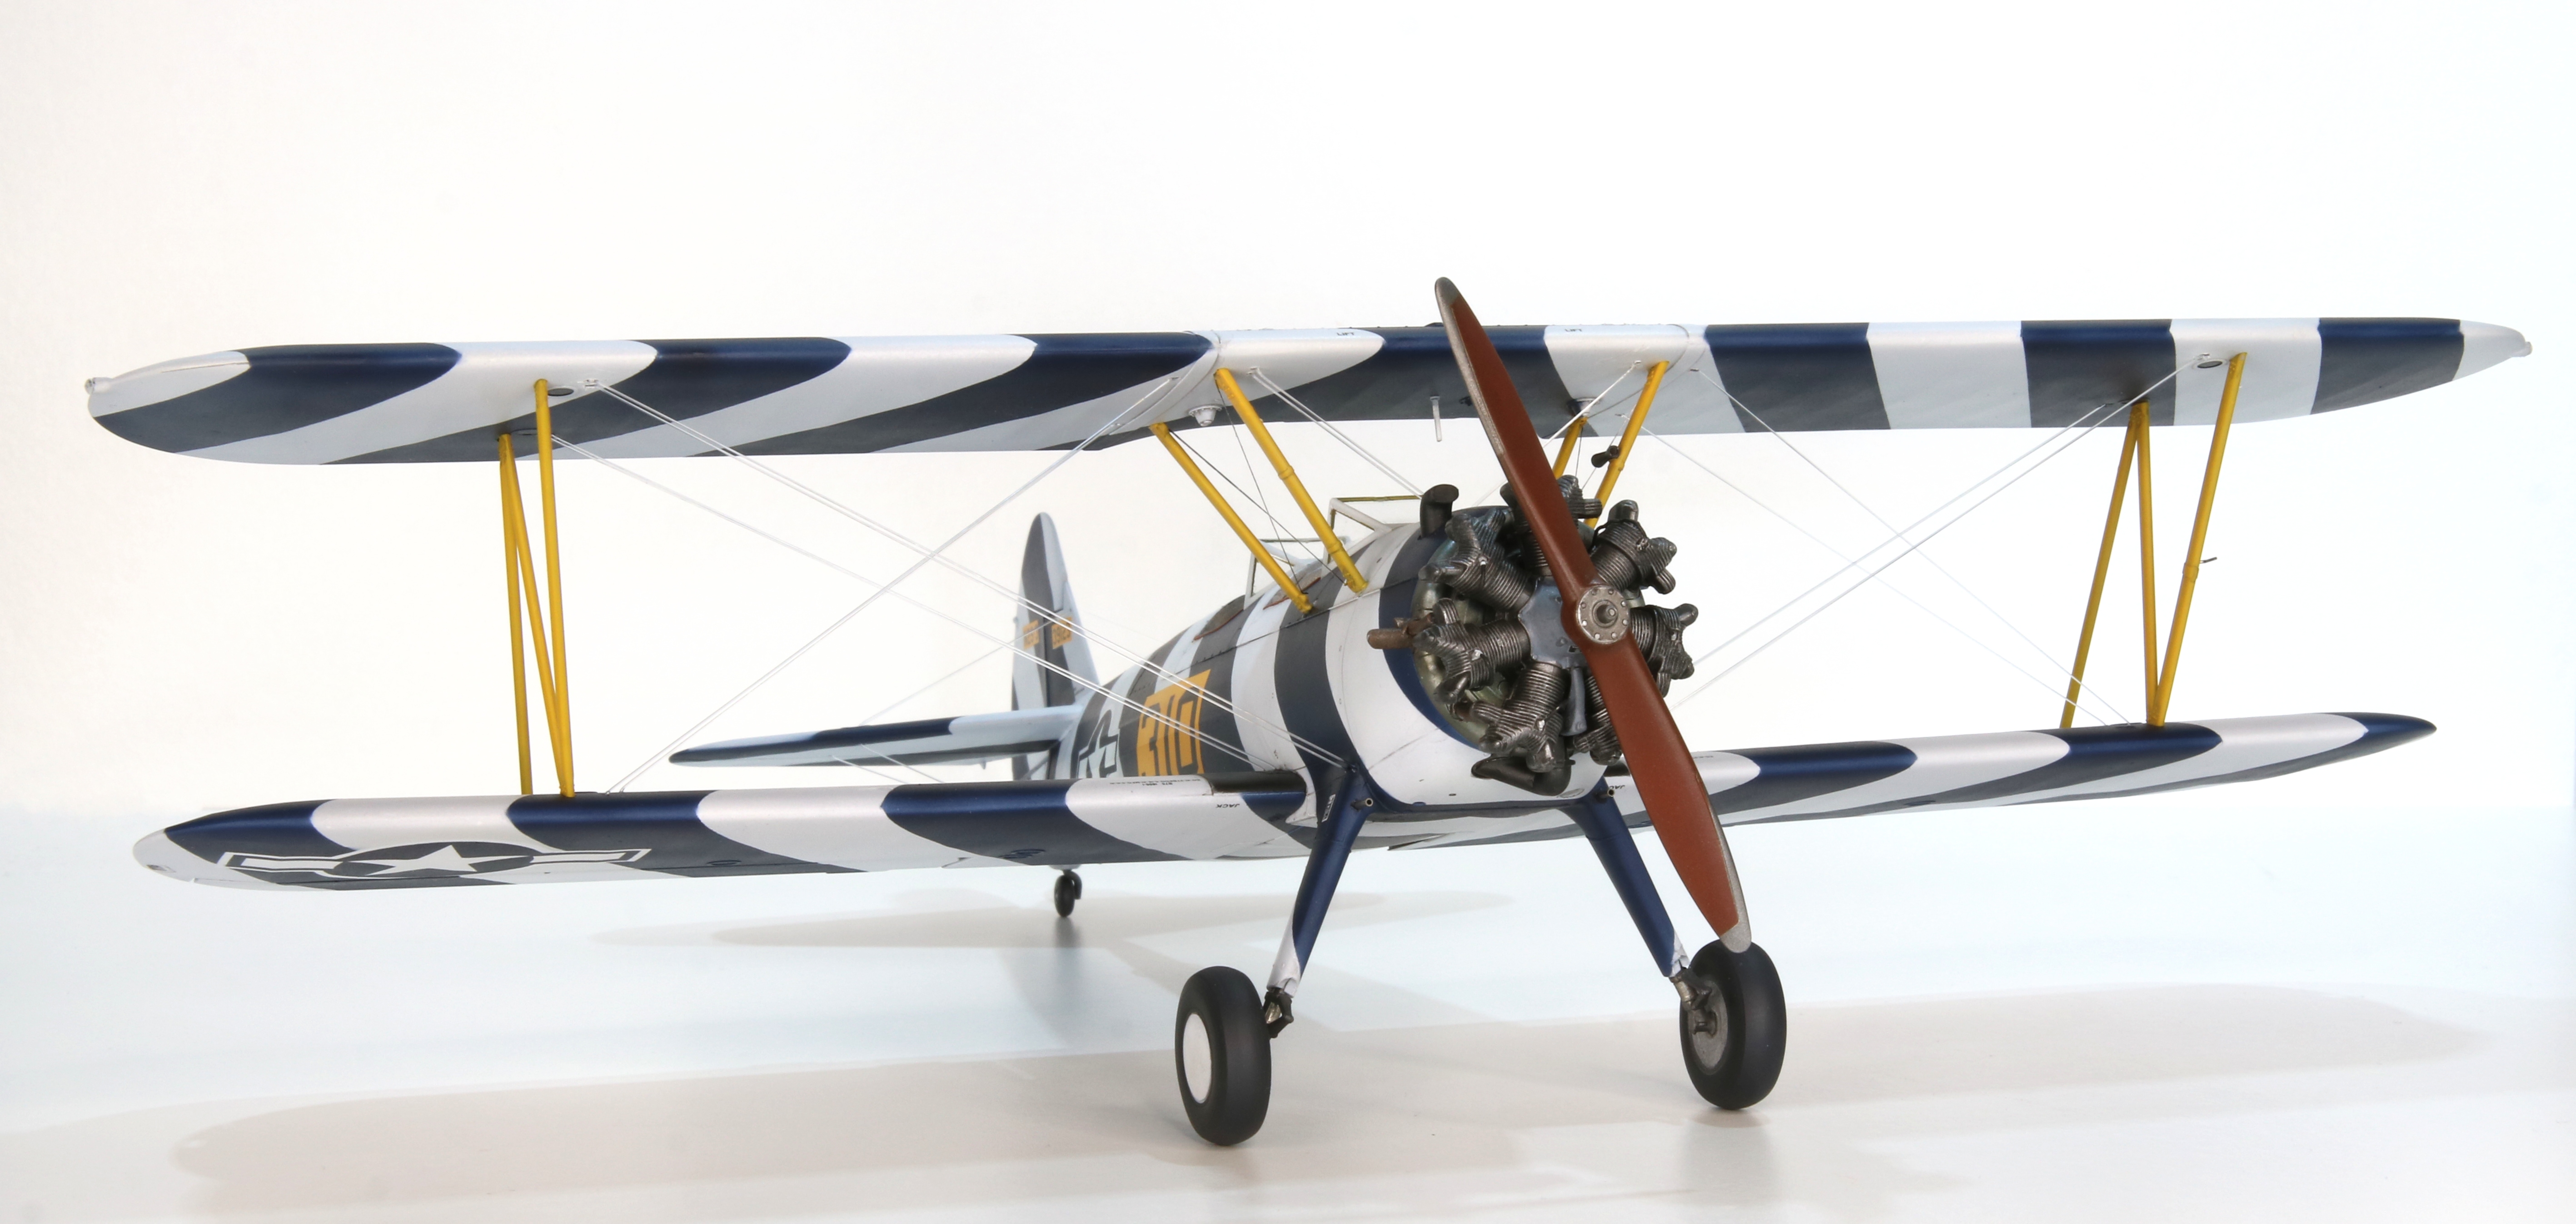
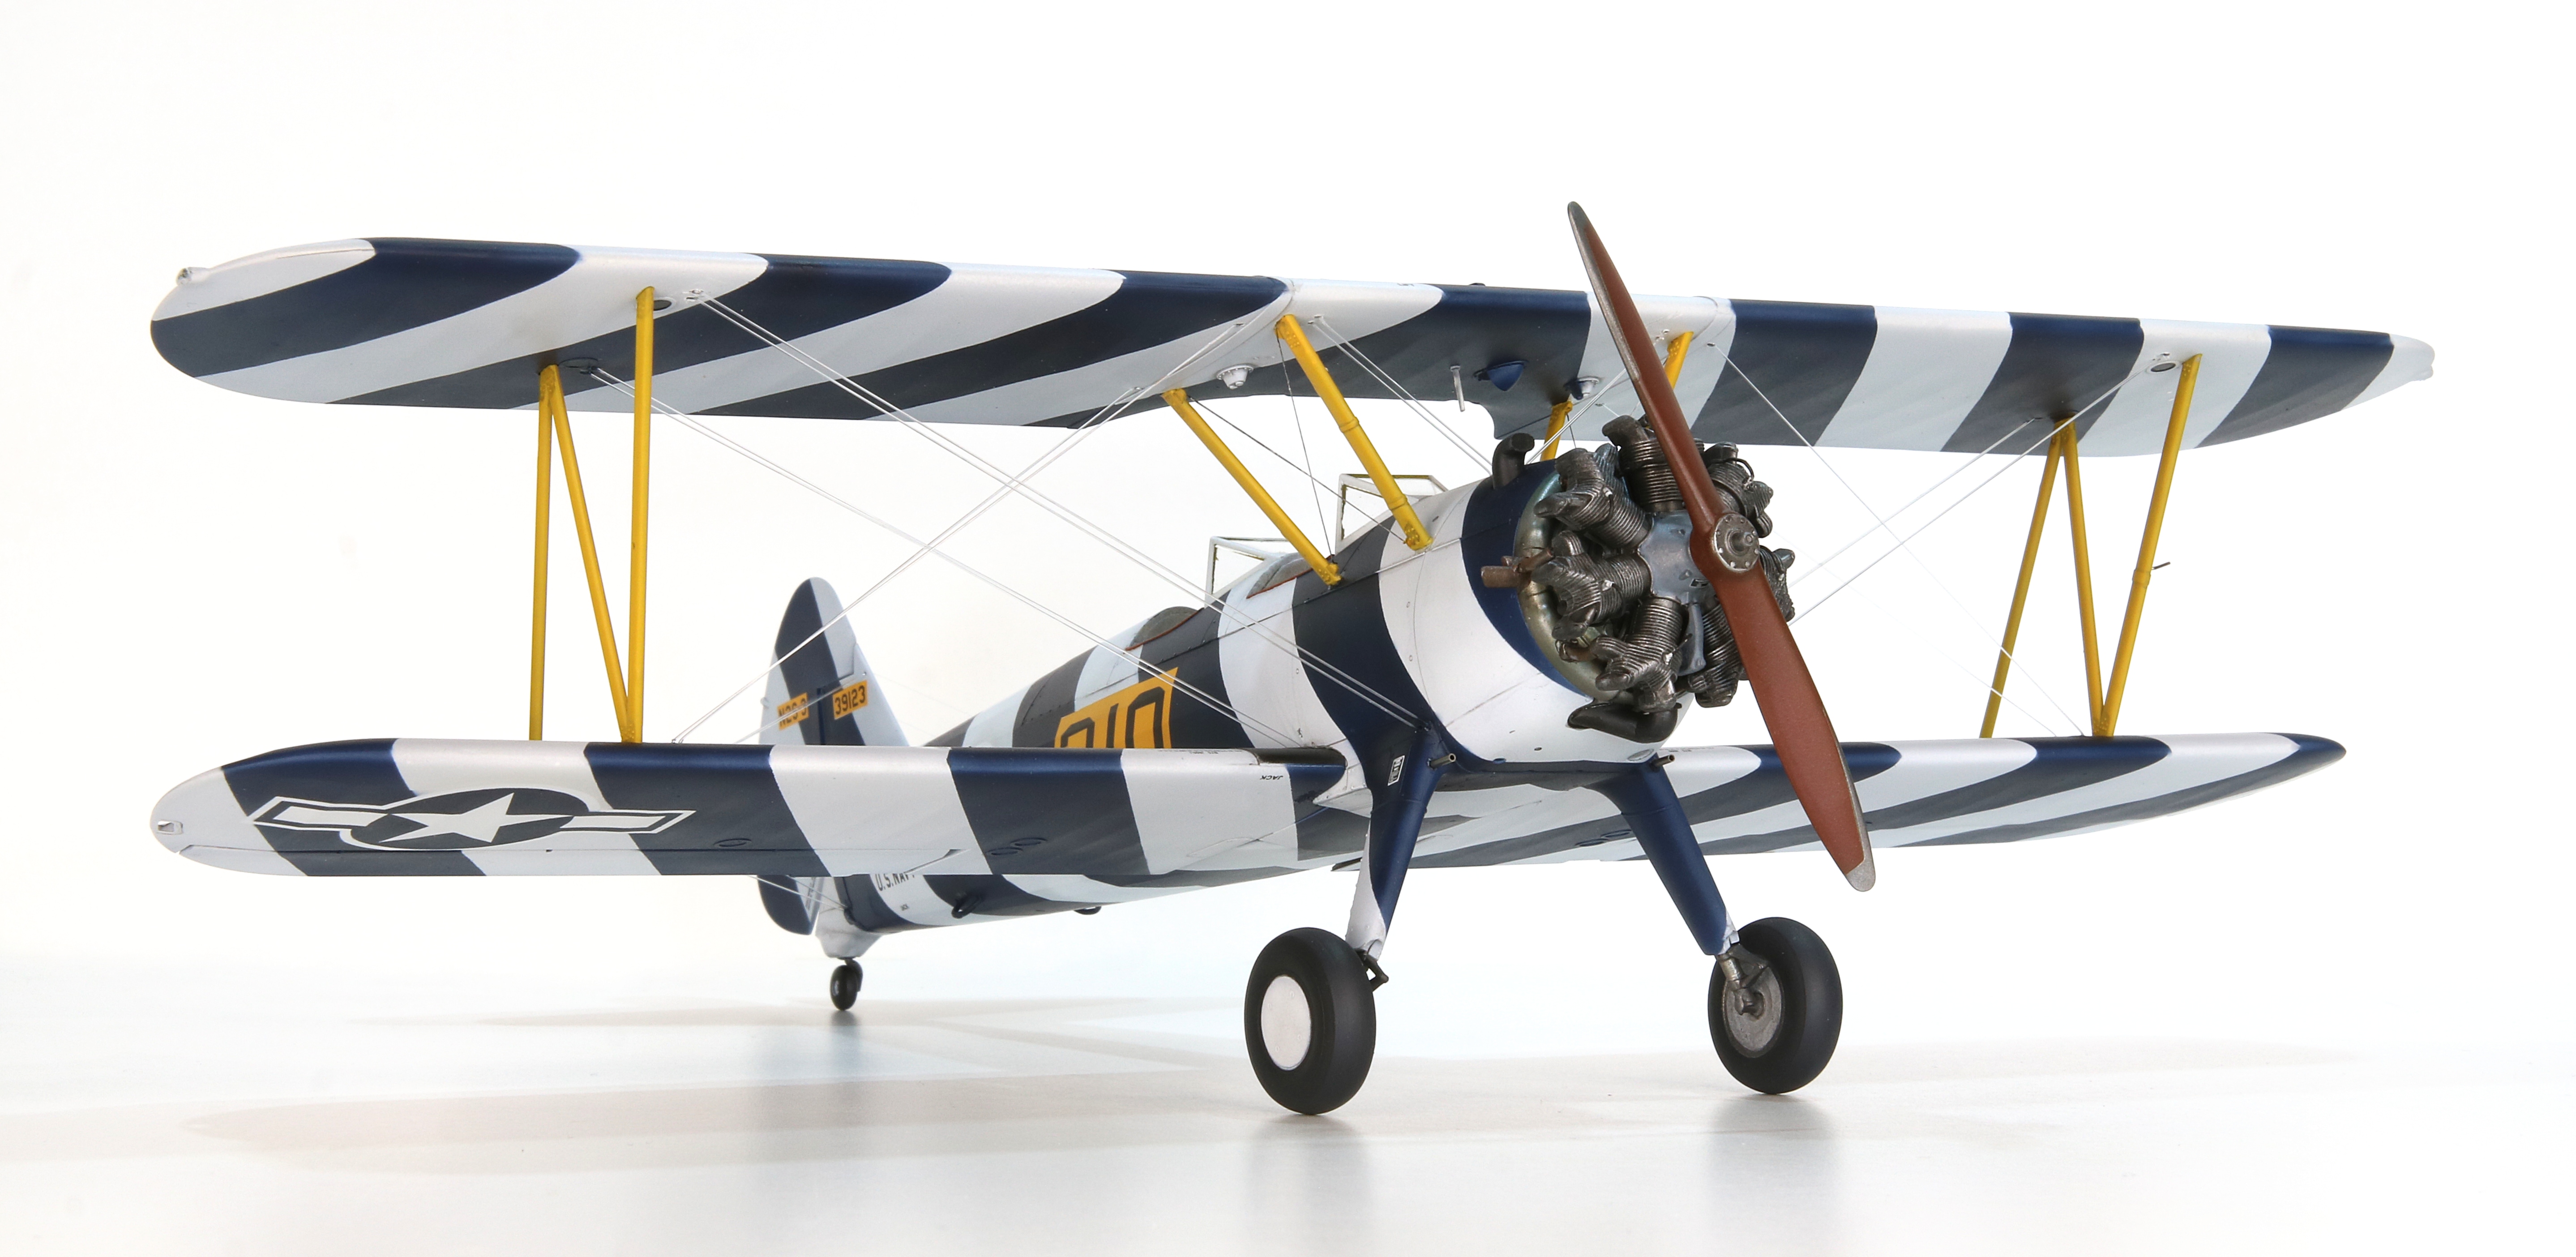
I spent a little bit of time on the engine as it’s so prominent on the Stearman. Apart from some careful painting, I added the ignition wires and painted some spark plug heads to give it a little more busy-ness. Visible in the picture to the right is some stainless steel tubing I used for the pipes at the top of the undercarriage struts which look much better then the plastic parts.


Rigging
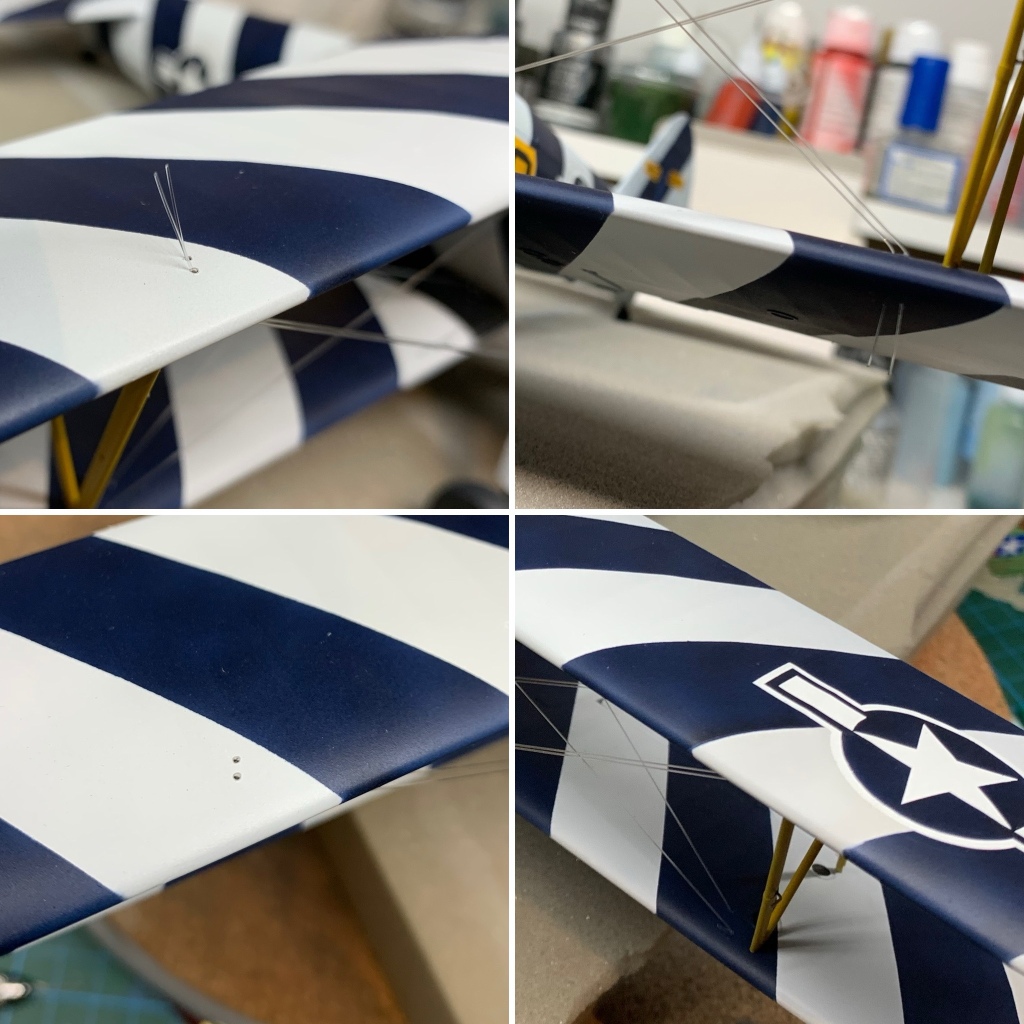
After toying with the idea of using some stainless steel tube was the rigging medium I settled for fishing line to simulate the metallic look as opposed to EXLine which was black and wouldn’t have looked right.
In order to ensure tension on the fishing line, I fixed one end of each piece and then drilled through the wing at the other end. This allowed me to pull the line tight while the CA glue set. It was a simple task to cut the excess line afterwards and repair the drill mark. The photos below show this process far more clearly than I’m describing it.


Summary of model project
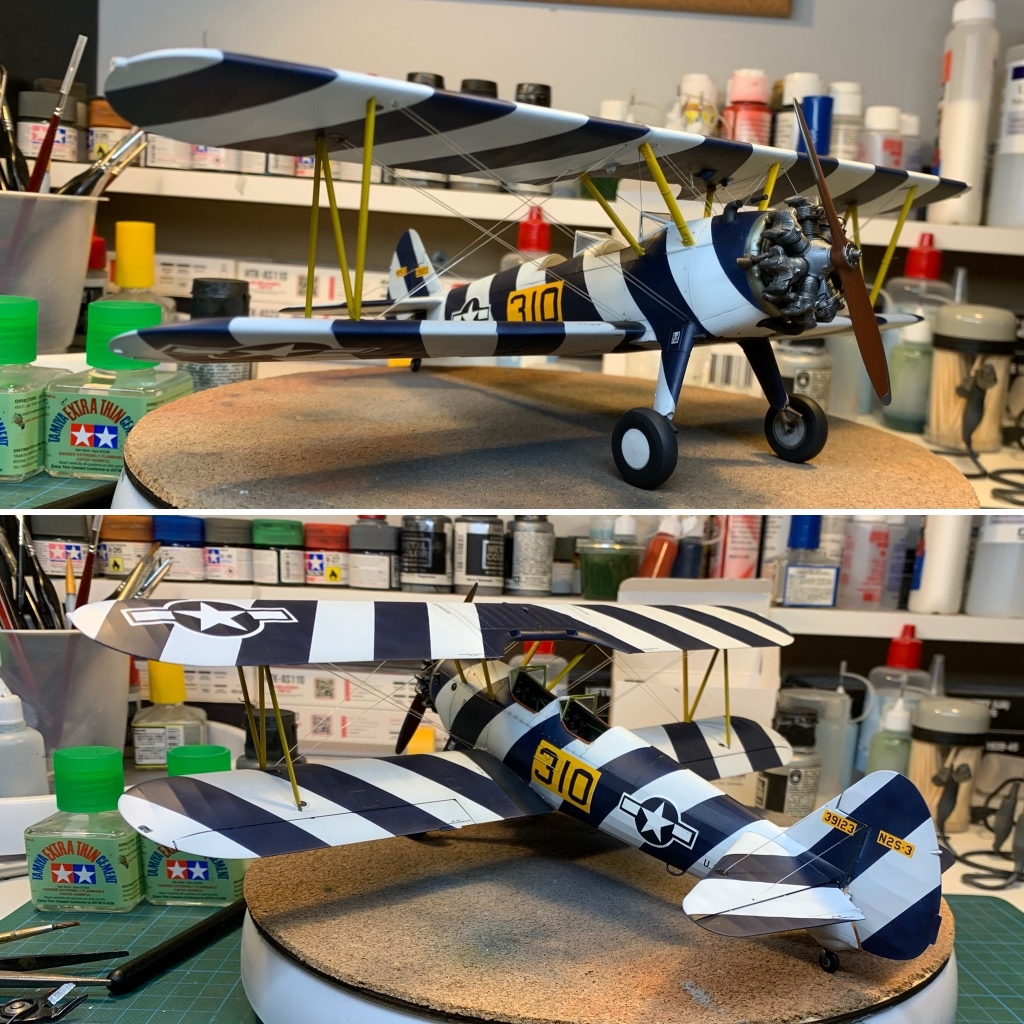
I didn’t do much in the way of weathering, some minor staining here and there was really the sum of it. I did apply the blue paint in such as way as to show some wear and tear; I didn’t apply a solid block of blue but rather gradually built up the density of cover until there was a suggestion of fading but none really evident. The photos in the gallery below show the result quite well.
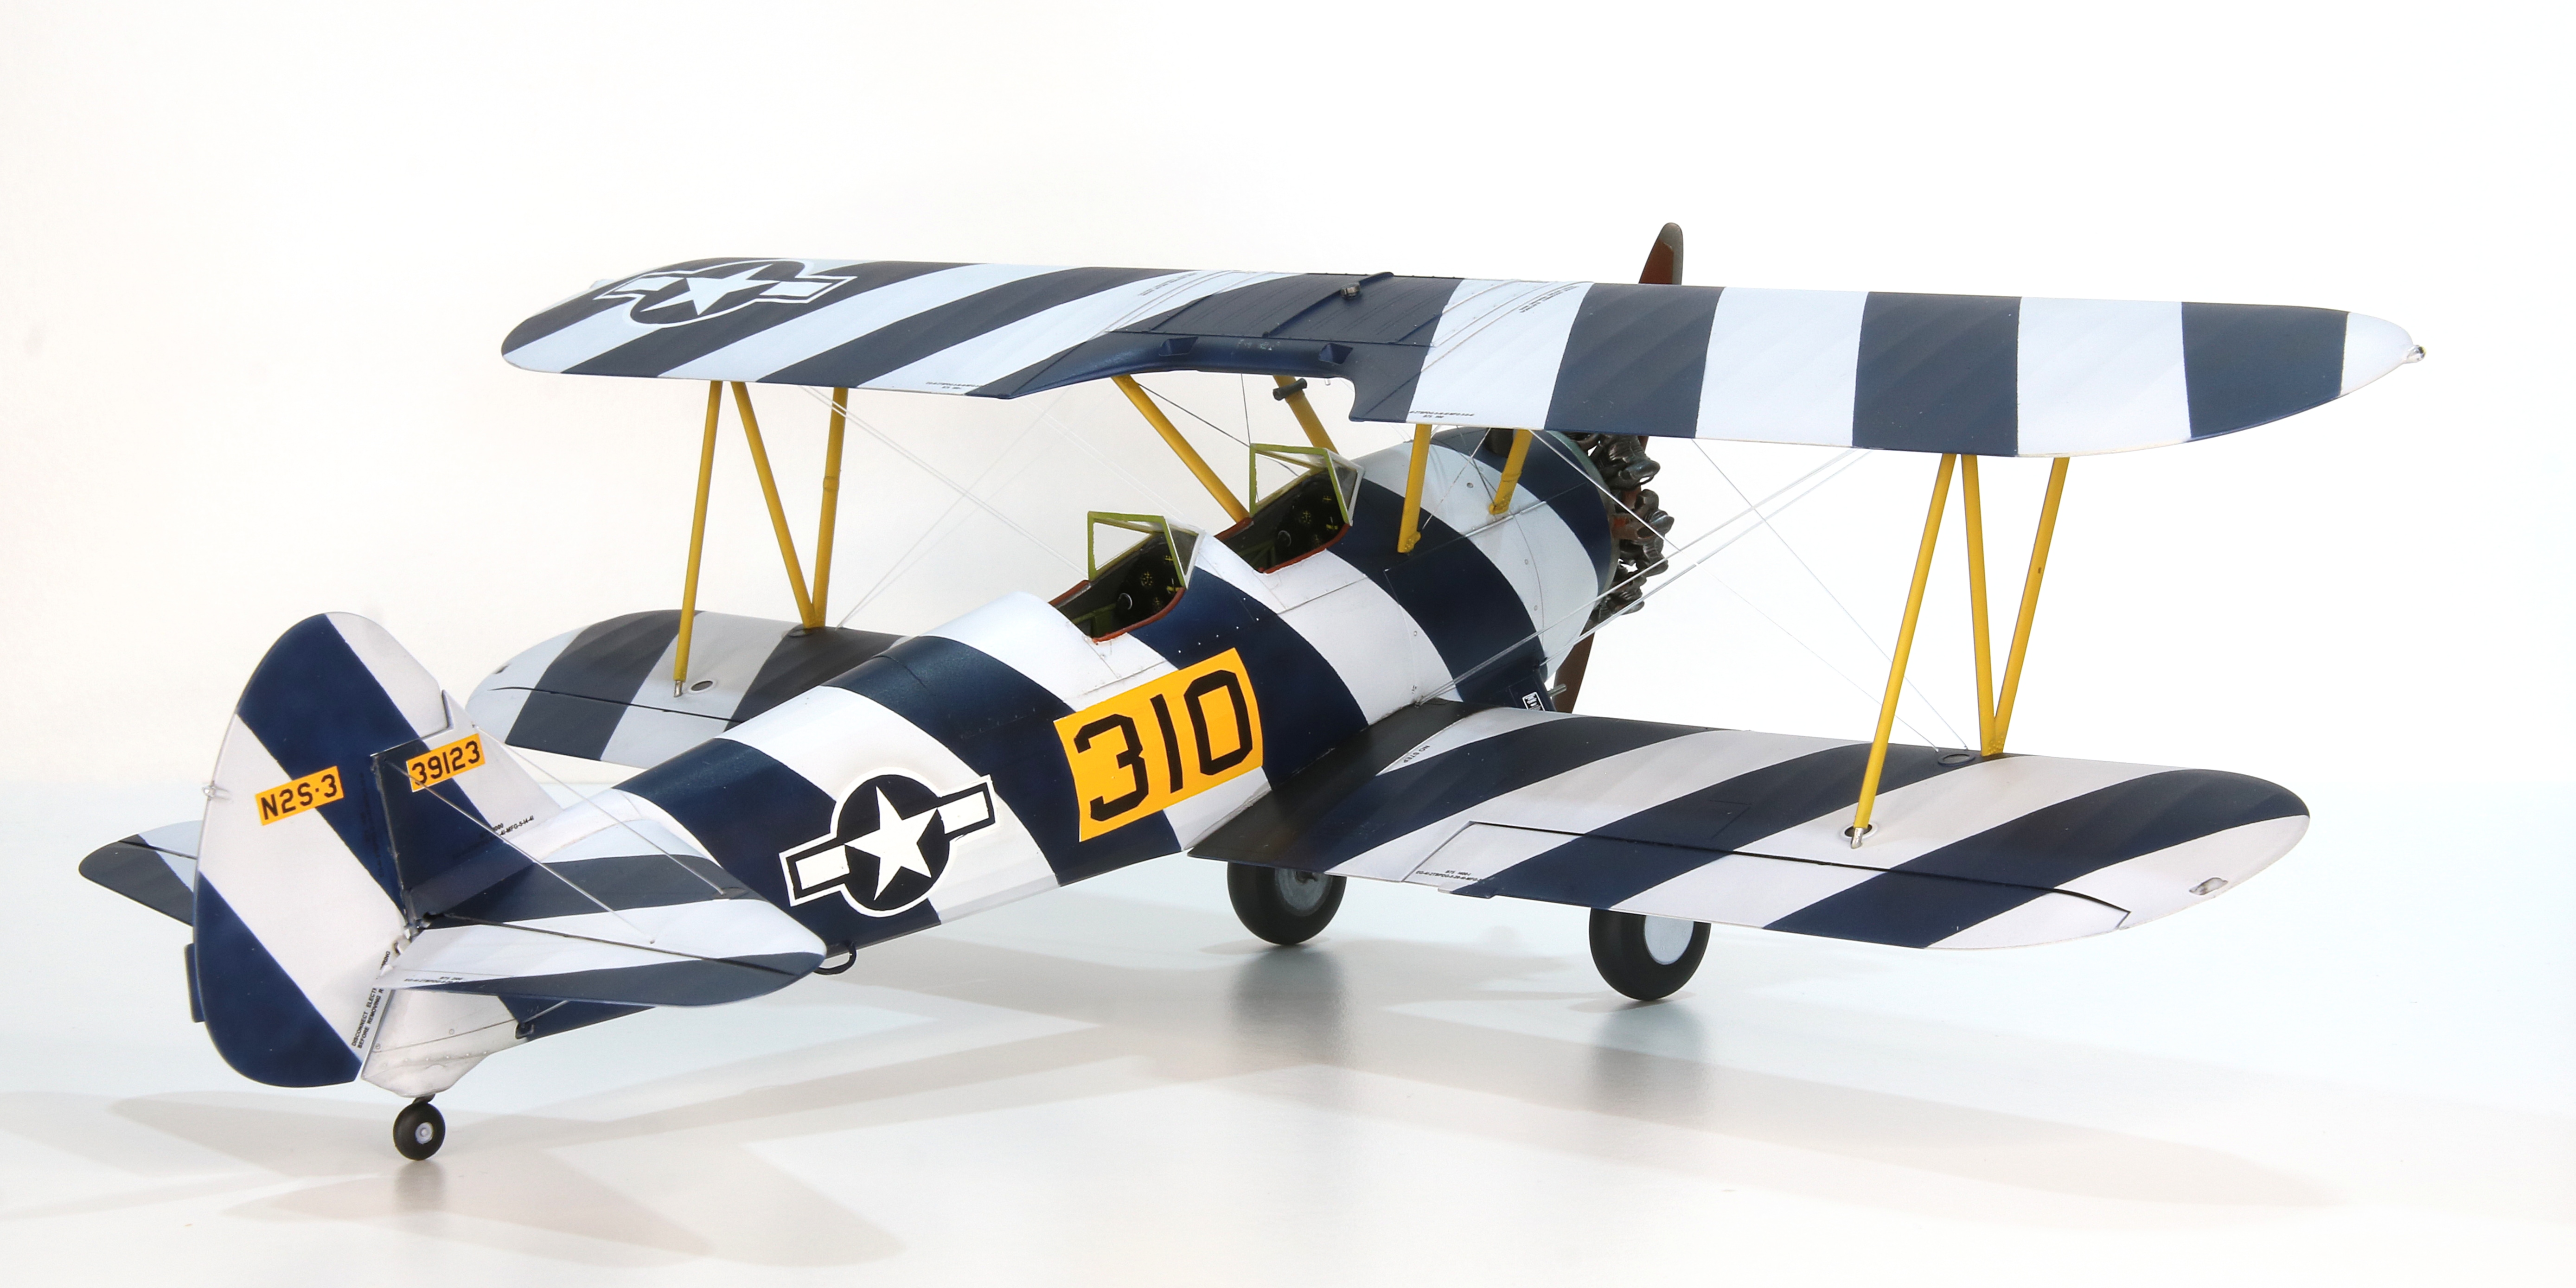
I enjoyed this one quite a lot. The paint scheme was a challenge to get right, and I’m particularly pleased with how I managed to coordinate the stripes across all surfaces and fuselage wrap around. That element gave me some headaches, but turned out well.
If you are interested in following the build as it unfolded, as well as the research that led to the choice of markings, the full build diary is logged in the Britmodeller Aircraft WIP Section.
Gallery


I really hope you enjoyed this article!
Making-History is a labour of love for me, but it’s becoming more expensive and time consuming. I’m loath to put advertising on it, so if you feel inclined please consider making a donation to help cover site hosting costs as well as the time it takes to produce its content. All donations get a receipt with my thanks.
Mark.
Make a one-time donation
Make a monthly donation
Make a yearly donation
Choose an amount
Or enter a custom amount
Your contribution is very much appreciated and 100% of it will be recycled back into Making-History.
Your contribution is appreciated.
Your contribution is appreciated.
DonateDonate monthlyDonate yearlyCopyright ©2024
This article, its text, and photos of the model is my original work and is protected by copyright in its entirety, except where noted. All research sources are listed in the References and Sources section above, including photos from official sources. All other images and quoted content were sourced from the internet and are used here under protection of fair-use. Any copyrighted content will be happily removed and/or credited forthwith upon request by its rightful owner.


Leave a comment