
Making History
There’s a reason this site is called what it is. The idea first occurred to me in the early 2000’s. At that time I was an avid reader and occasional contributor to Brett Green’s Hyperscale, the archetype of modelling websites and still going strong into its third decade. I enjoyed reading the retirees, the build articles and galleries gaining inspiration and knowledge from all. The discussion board was lively and incredibly informative; largely focused on Luftwaffe and quite US-centric, it was nonetheless the place to go for questions on everything modelling and history.
One of the frequent contributors to the discussion back then rarely posted articles at Hyperscale however, Tom Cleaver mainly posted his work at Modelling Madness, Scott van Aken’s seminal review website. Tom’s articles (not only his, there were others but his are prominent in my memory) always featured an extensive historical description of, if not the actual aircraft or pilot, the context within which the model was created.
These history-driven articles were my favourite and I soon began to combine my innate interest in military history with my project choices. This led to my first major feature article, initially published at Hyperscale but soon thereafter the lead article published on the original Making-History (v1.0) website in 2004; USS Essex and AVG-83.
The original website, now I look back on it, was far too close to Hyperscale’s format to be anything other than a shameless copy though, and I’m grateful that Brett never pointed that out, as he would have had every right to. The site lasted a couple of years but life got in the way and I couldn’t keep it current enough to keep a readership engaged.
Fifteen or so years later in 2018 and not only was my model making hobby rekindled, but so was my interest in Making History as a concept as well as a website. Modern blog-based tools make building, maintaining and updating a website easy. [More] time was available now that the kids were grown, I was stable in a well paid career and had energy to devote to my modelling and historical interests.
Stories
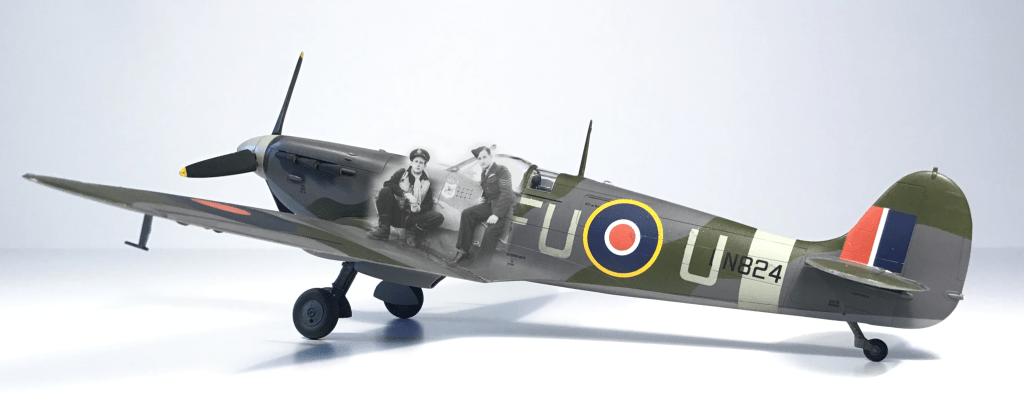
The stories I gravitated towards were the men and women who flew (and sailed, and drove) the machines I was modelling. I think the very first piece I wrote in that vein was during the period between Making History iterations when quite by coincidence while I was building his Spitfire Wing Commander Pete Brothers passed away. I was inspired to write a piece on his war time exploits to accompany a submission to Hyperscale which Brett Green graciously posted for me (and was actually the very first piece posted to this site, too).
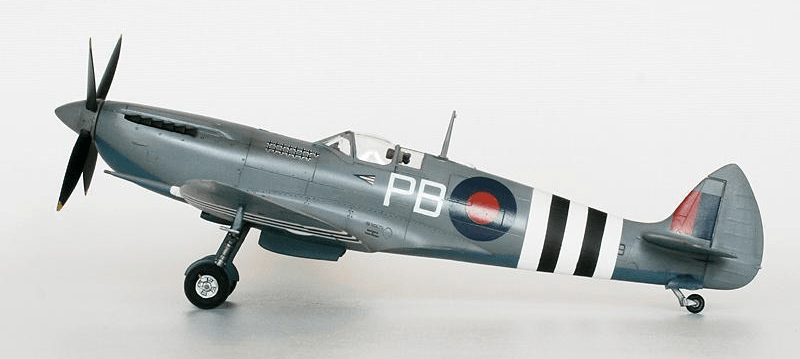
W/C Brothers’ story is well known already however. A Google search will find articles much better than mine on all aspects of his life and times. He is well remembered. I found my interest lay elsewhere, in the unremarkable and forgotten – or shall I say less remembered – pilots, drivers, and sailors whose contribution was no less important, no less grand and certainly no less absolute if they had lost their lives in the course of their war. These were the stories I wanted to tell, to make the anonymous less so.
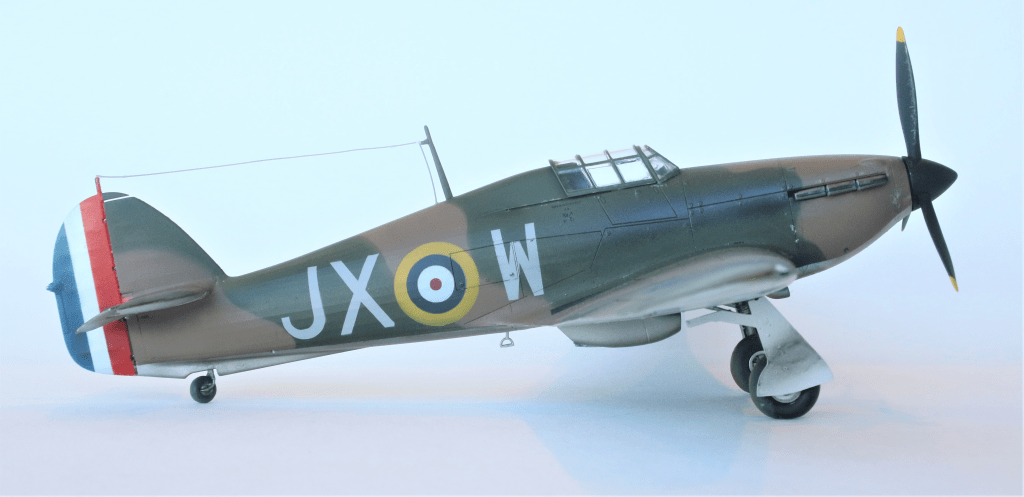
The first piece I wrote specifically for Making History (v2.0) was just such a story. Flying Officer Les Clisby was killed in the Battle of France, the Battle of Britain’s overture. He isn’t one of the Few, but he gave as much and when I took up an Airfix Hurricane, his was the story I wanted to tell with it. I don’t recall specifically how I found him, perhaps a random search on the AWM’s picture library. No matter, he now has a place here, too.
These stories are hard, though. While reading the finished draft of Mrs. Yarra’s Boys to my wife I couldn’t get through it without having to pause, repeatedly, in order to swallow down the emotion that welled up; and I was not totally successful in that, either. I cannot write these stories exclusively (though not for lack of material, sadly; there is currently a queue of four at various stages of completion; model kits acquired, stories researched, photos gathered) even while they are the most satisfying to research and craft together. Interestingly, looking at the sixty-odd articles on the site now, these are the articles with the best models, this that I spent more time and effort on. It seems I care more when building a model of a machine to which I have a name; a face; a story.
Photographs
The difference between good and great is in the details. A picture tells a story, and it is the attention and care in finding the critical details in that photo which makes the difference between a good story and a great one. The same applies in the difference between making a representation and a replication. I’ve found that looking for the details in the photos, in finding the story in the image(s) adds to the whole, be it the story of a pilot (“The Last Canadian“), a ship (“Jenny Wren“), a tactic (“Alone, Above All“), or a unit (“The First Fighting VF-34“).
Digging into the details, to find the unique elements of that time, place and environment breathes life into the object I’m crafting, and breathes life into the story it tells. The replication – as best I can make – of a photo in some way pays an homage to the subject of the piece, and if that topic is a Squadron or function or technology, and more particularly if it is a person, then the replication brings them to life, and makes [their] history real.

Trumpeter 1/48 Hawker Sea Hawk Mk.6

As my first Trumpeter kit I really didn’t know what to expect aside from what I’d read. Upon opening thew box it all looked simple enough; I decided to add a little detail with an Eduard PE detail set and a pair of Jaguar wings in order to pose the wings folded.
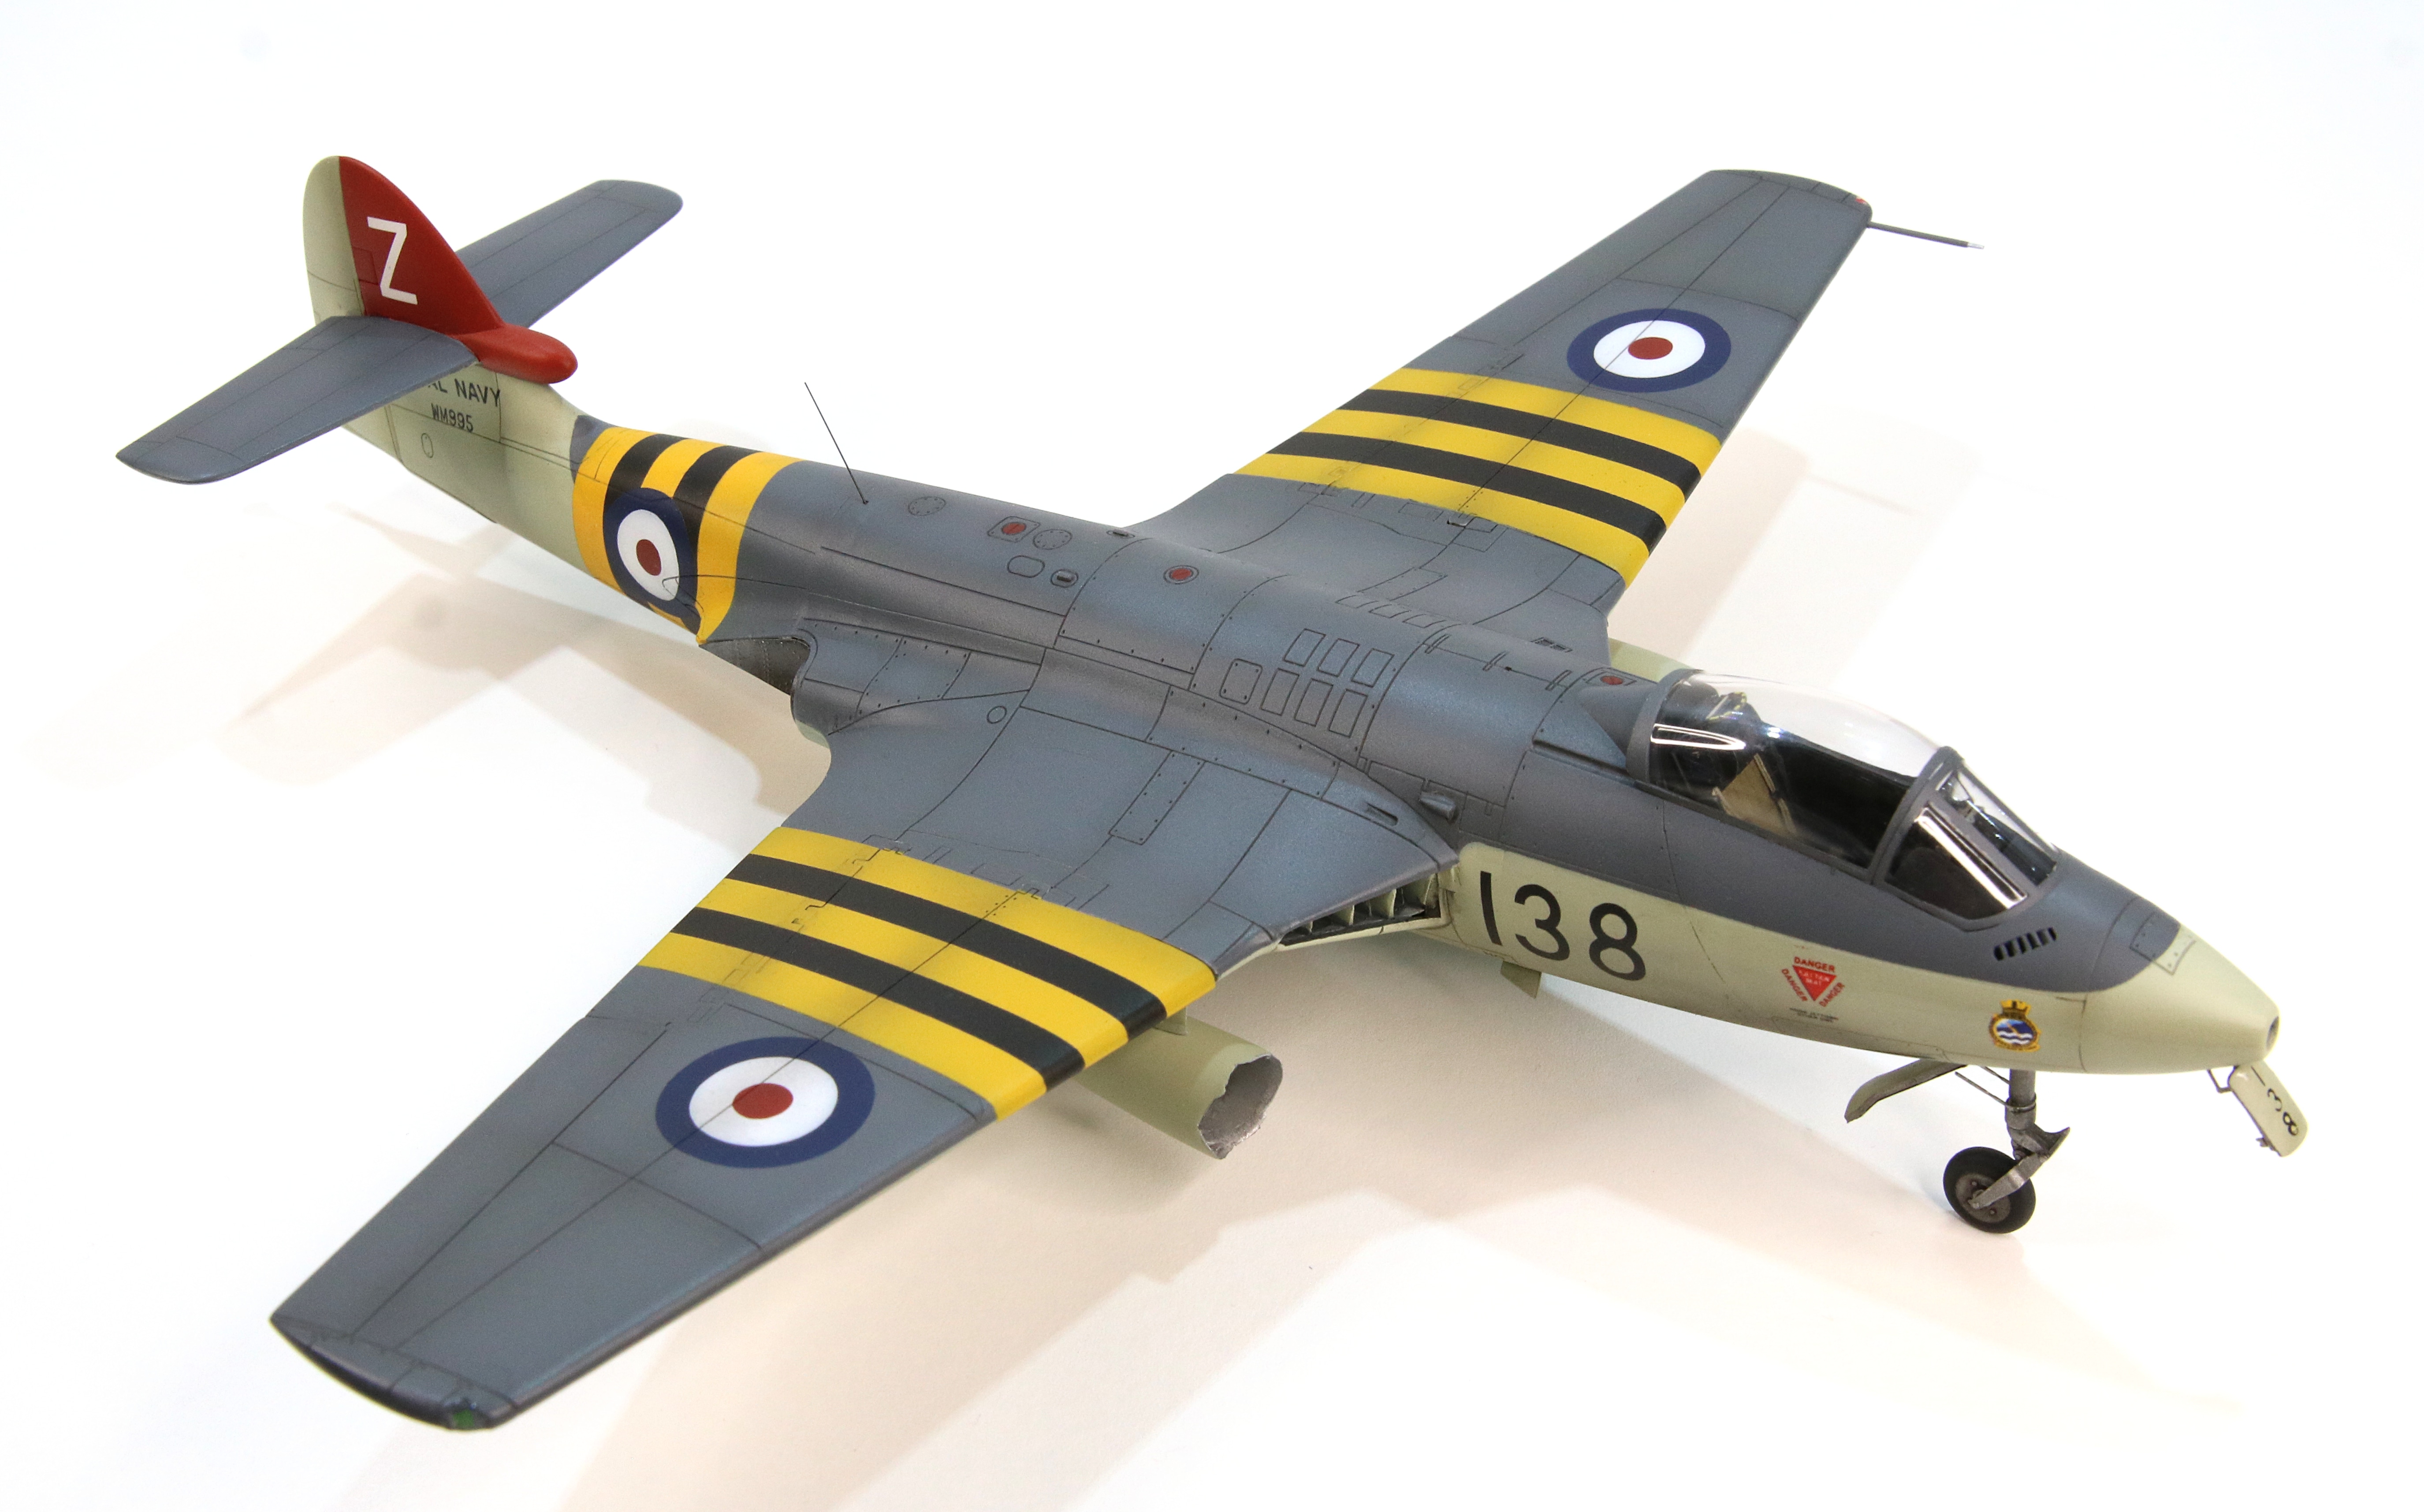
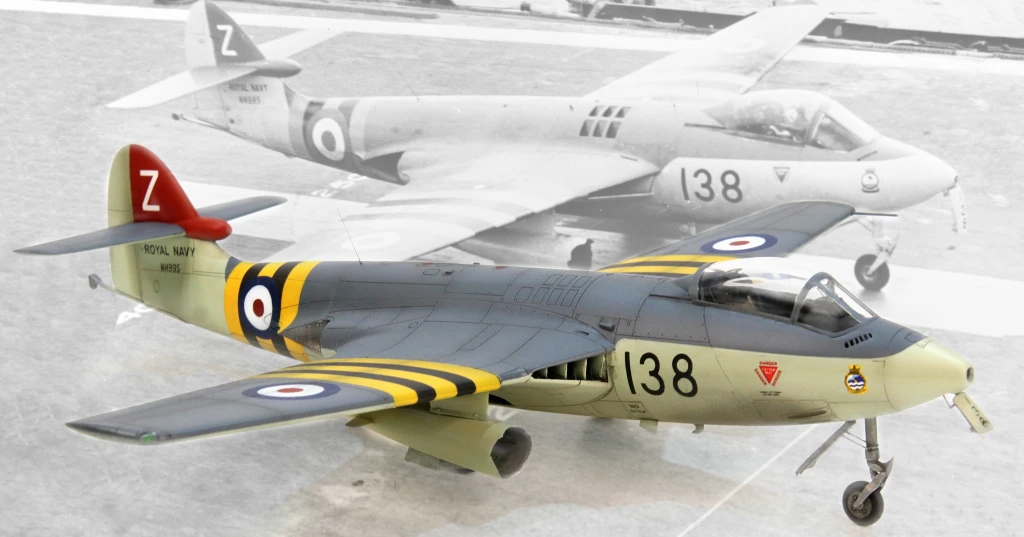
I planned to build mine as a Suez veteran in the photo that heads this piece, a Hawker Sea Hawk FGA.6 serial number WM995 of No. 802 Squadron landing on HMS Albion. There are a few features on this airframe that need to be captured on the model; most notably is the damaged fuel tank on the starboard wing. There is also some significant staining around the gun ports at the nose. Otherwise it appears to be a fairly clean airframe with no heroics necessary for weathering.

Build
I must admit that as it is several months since I built this one my memory is hazy as to the details. To make matters worse, I appear to either have not taken very many photos as I went. So, dear reader, we’ll both have to rely on what photos there are to follow the story of its build.
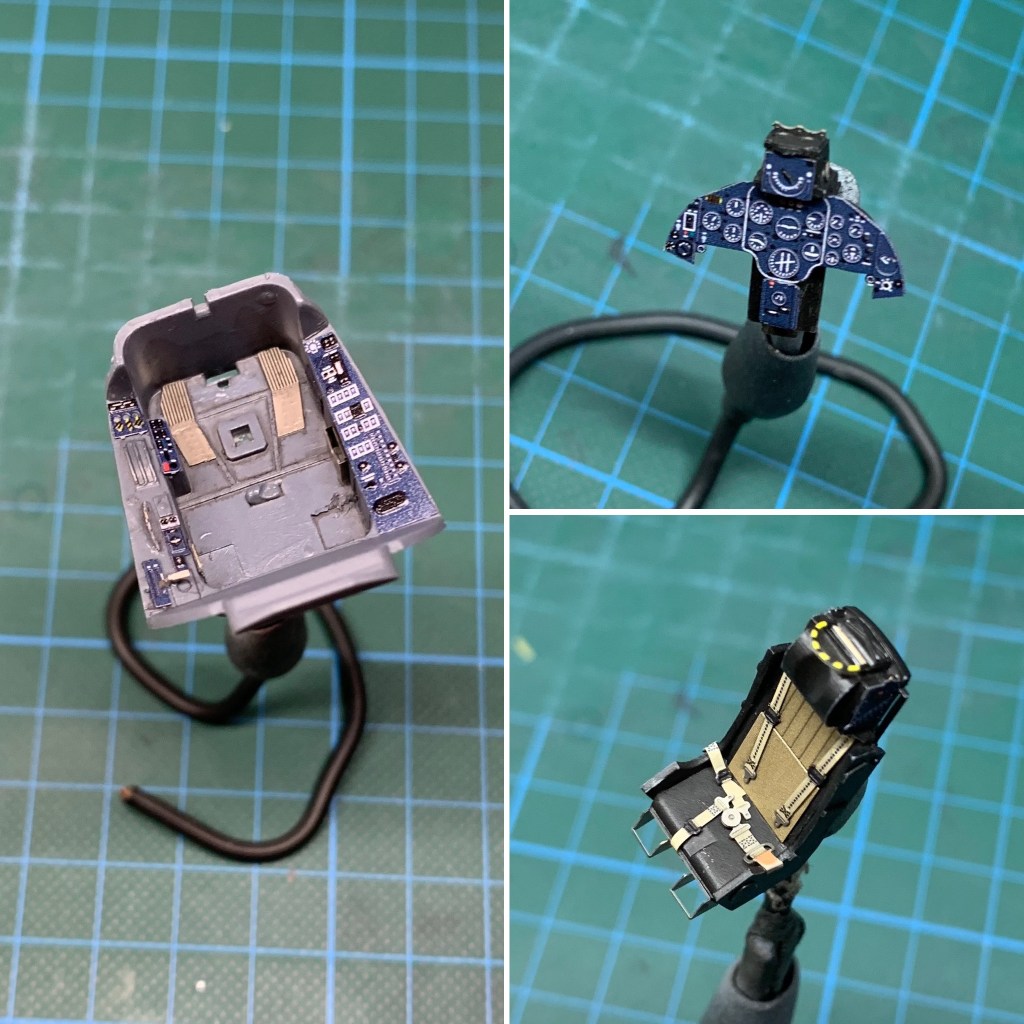
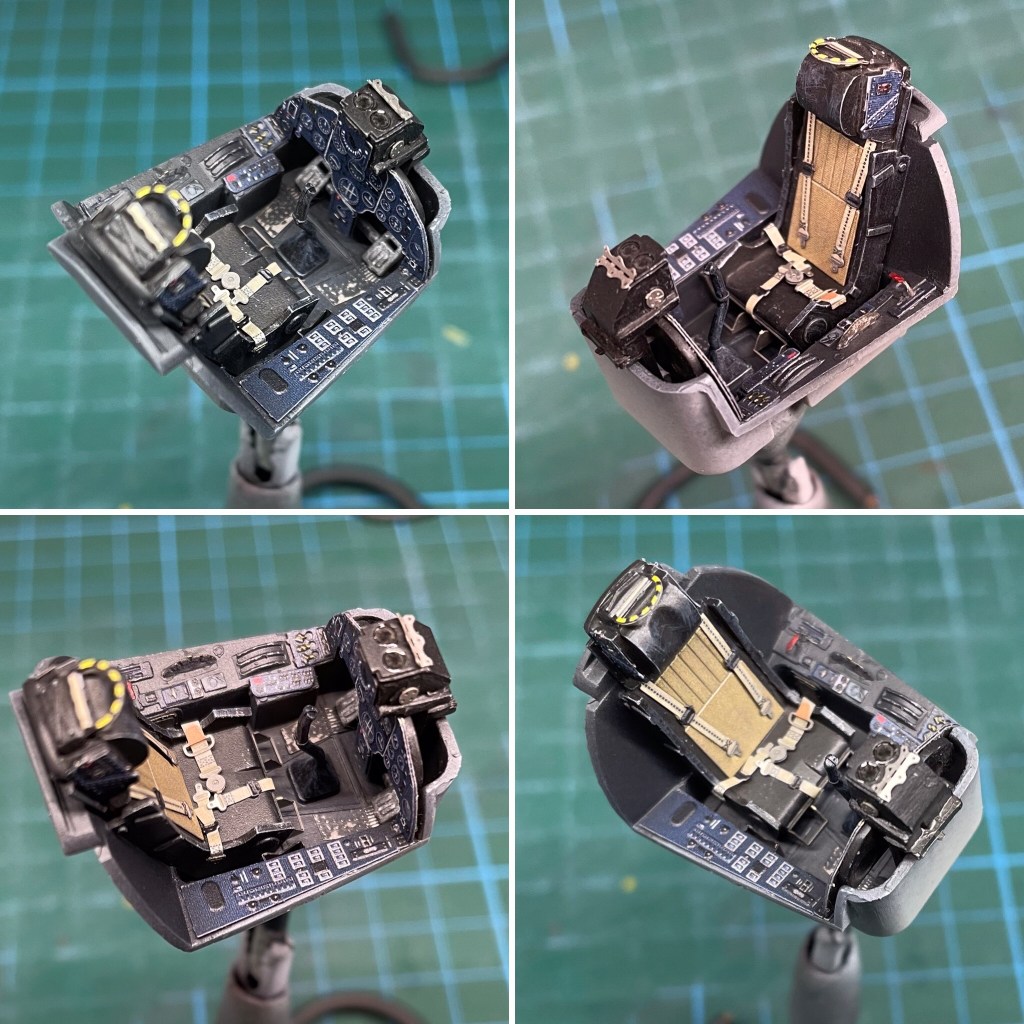
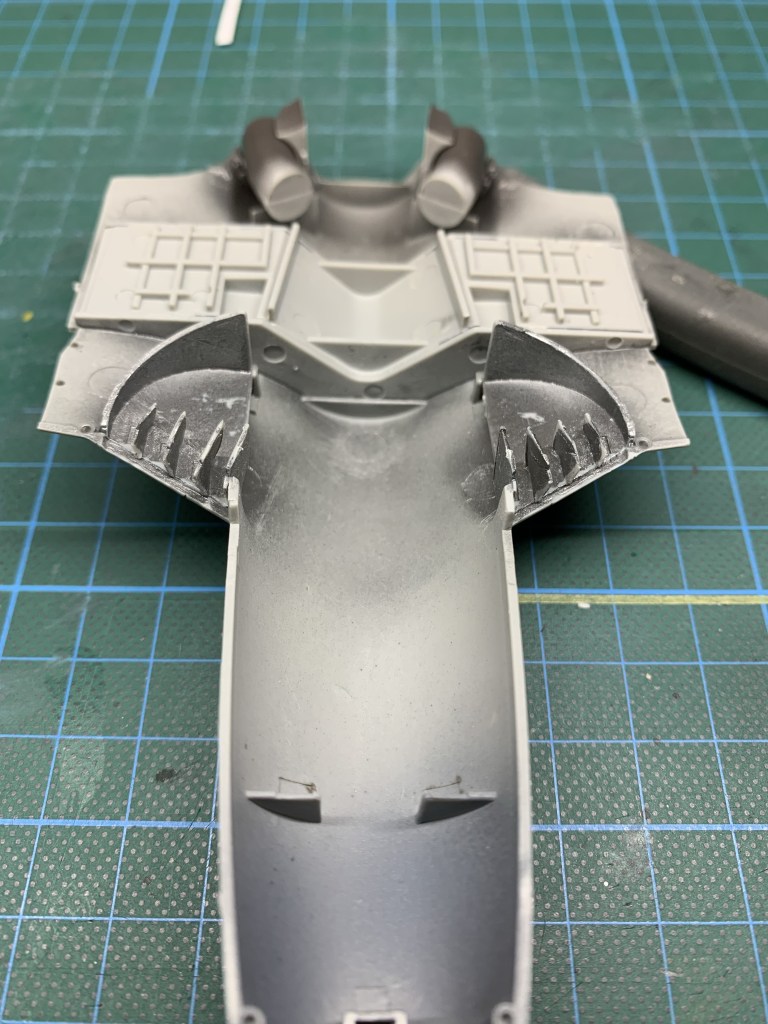
I do remember the cockpit being very easy, the Eduard PE being easy to use and enhancing the cockpit nicely, as well some external details such as the jet exhaust shield. I made two modifications to the kit; the first was the intakes where I adjusted them from the incorrect in-line orientation as moulded to curved in towards the centre of the fuselage. I also cut out the bleed air intake forward of the canopy and installed vanes to match the real thing as the kit’s representation was a simple panel.
Click on any of the images below to scroll through the gallery.


Otherwise I remember very little and assume by therefore the remaining assembly was without any great issue.
Paint
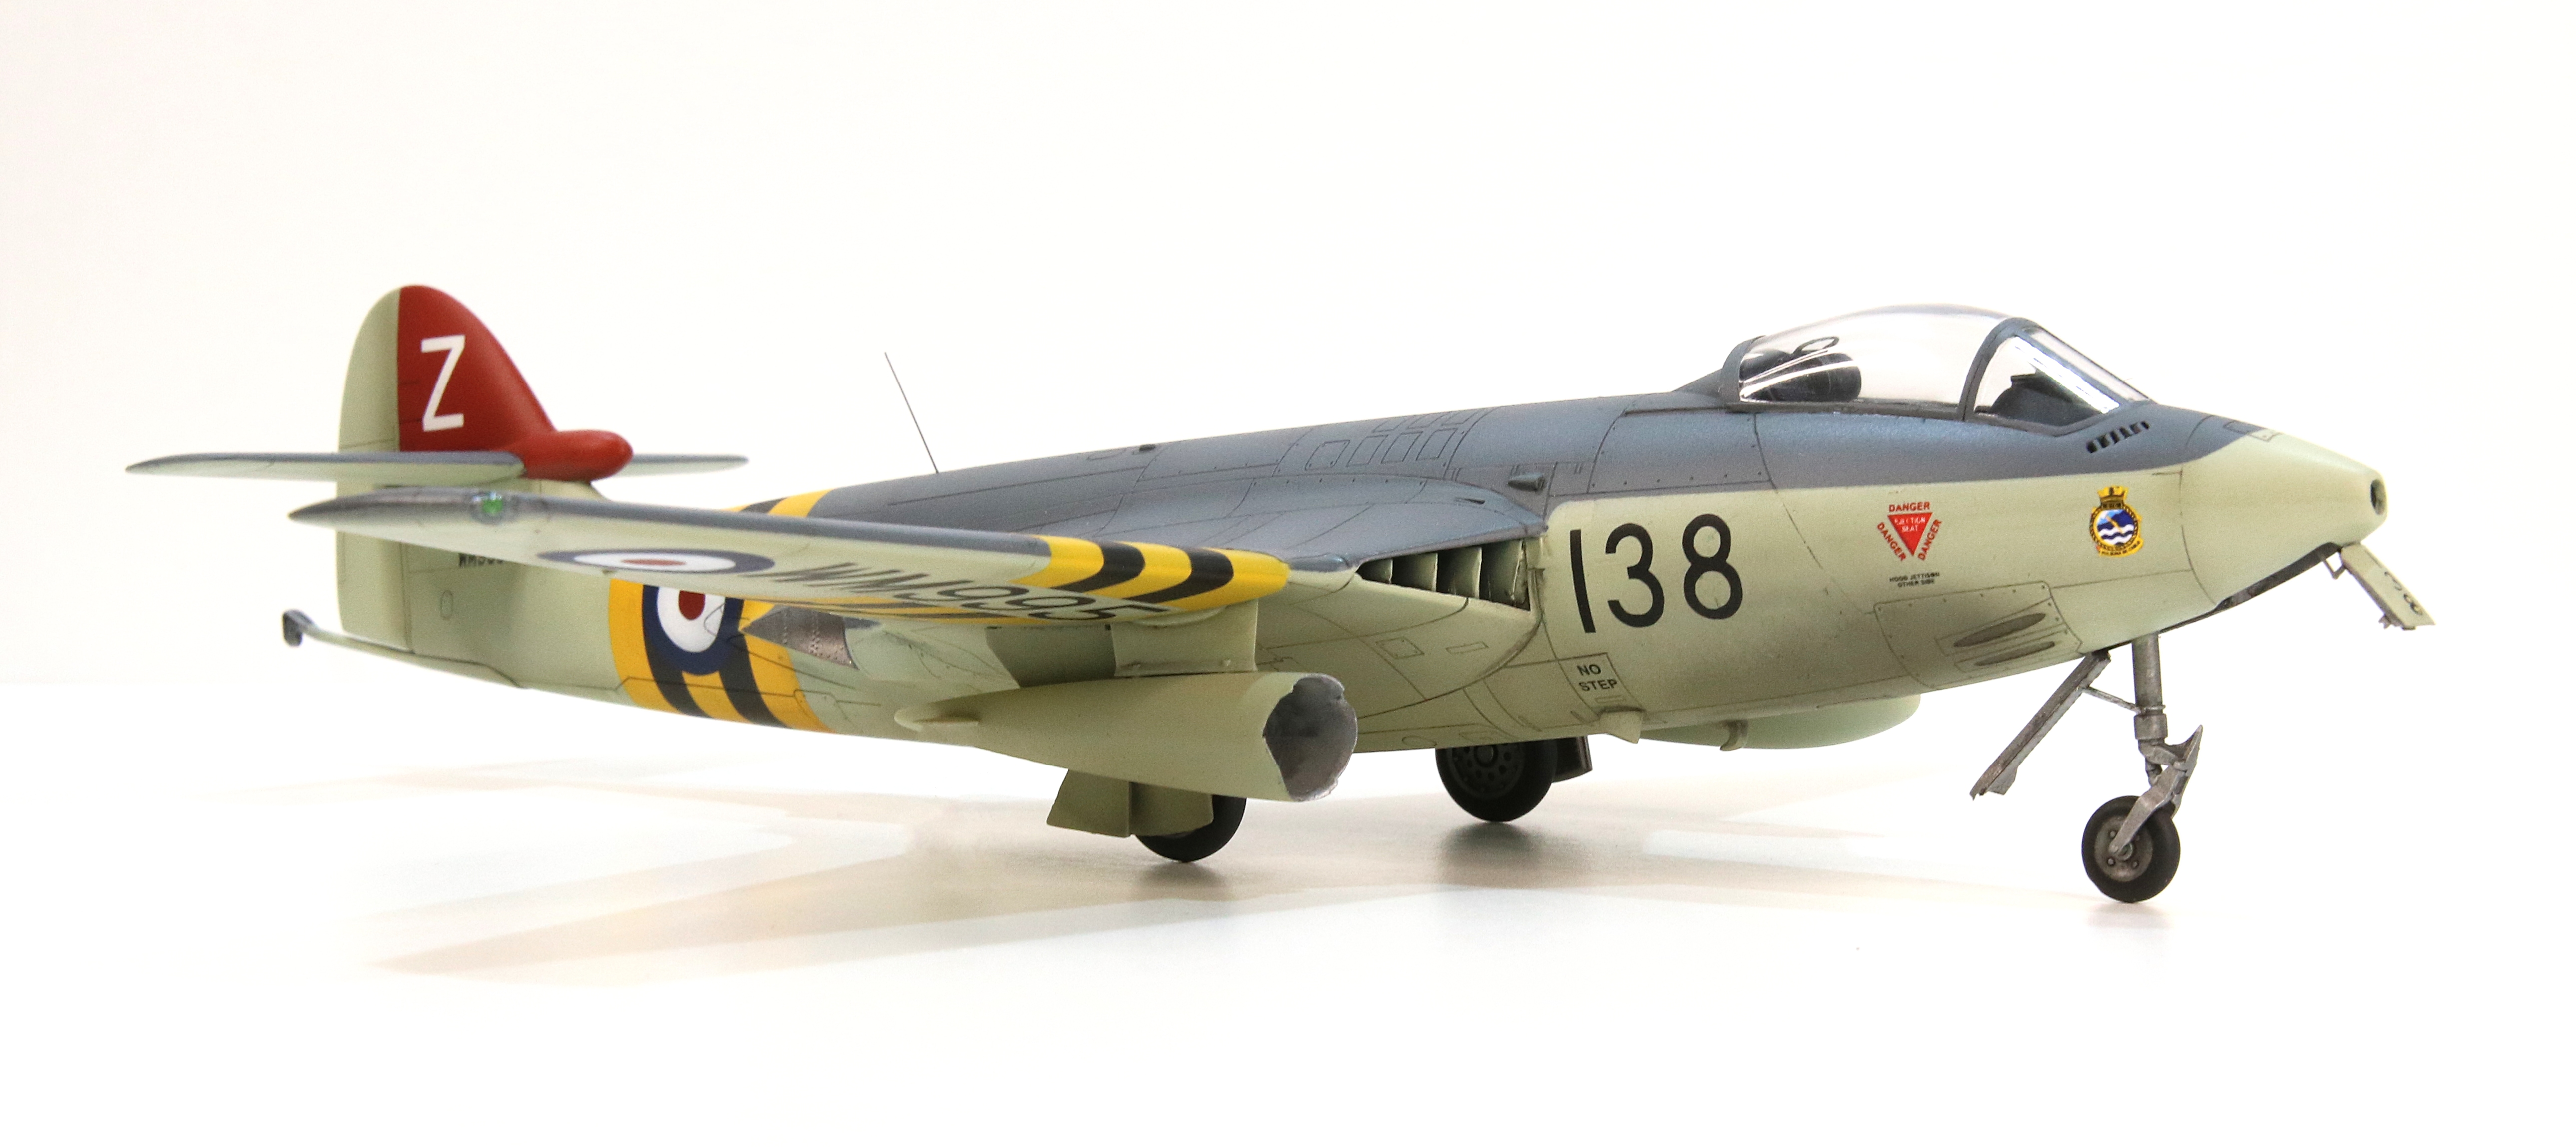
The FAA scheme at Suez was Extra Dark Sea Grey over Sky Type S. Very simple and very easy to paint. Unusually, I used Hataka acrylics for this one instead of my usual artist acrylics. As it happened, this came to save me considerable rework later in the markings stage as the one great advantage these acrylics have over the artist acrylics I use is that once they are cured they are fairly robust (as I also learned to my advantage on my He219 Uhu).
Click on any of the images below to scroll through the gallery.


Markings
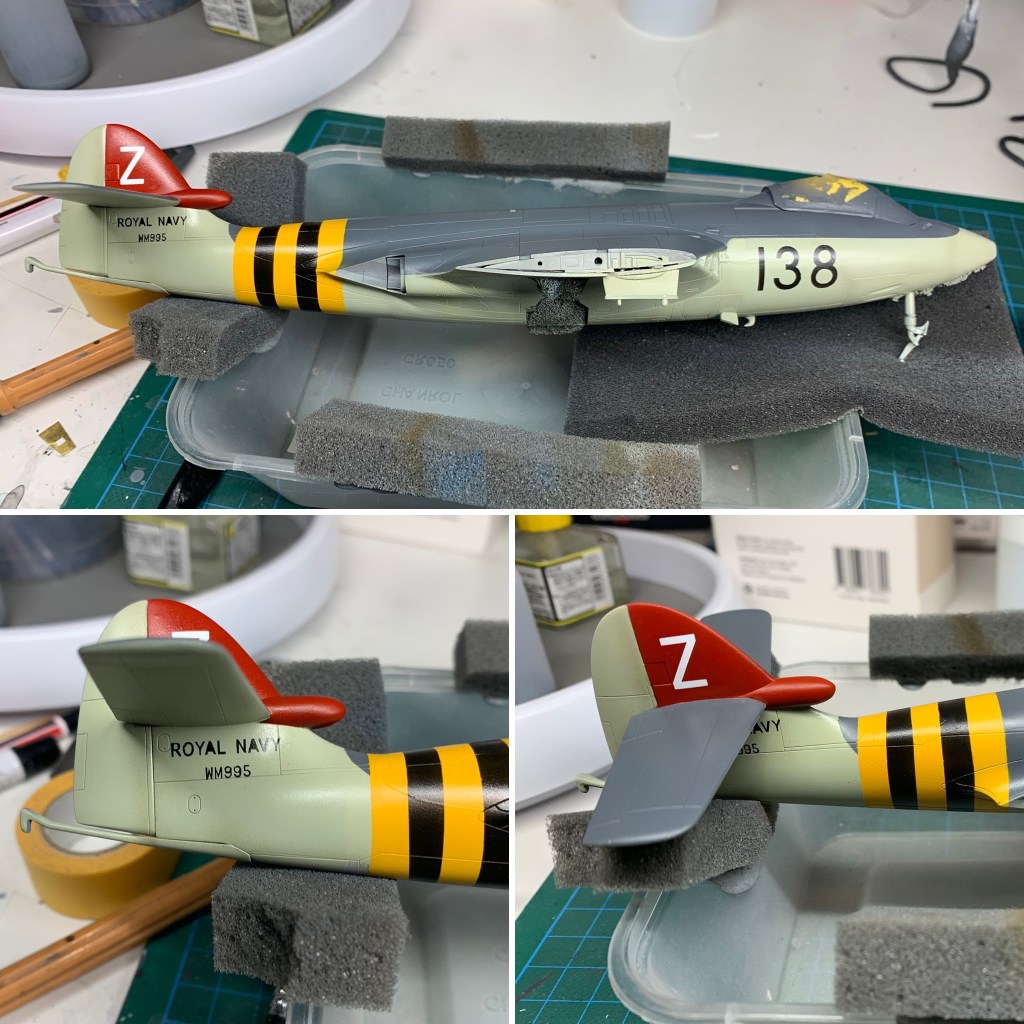
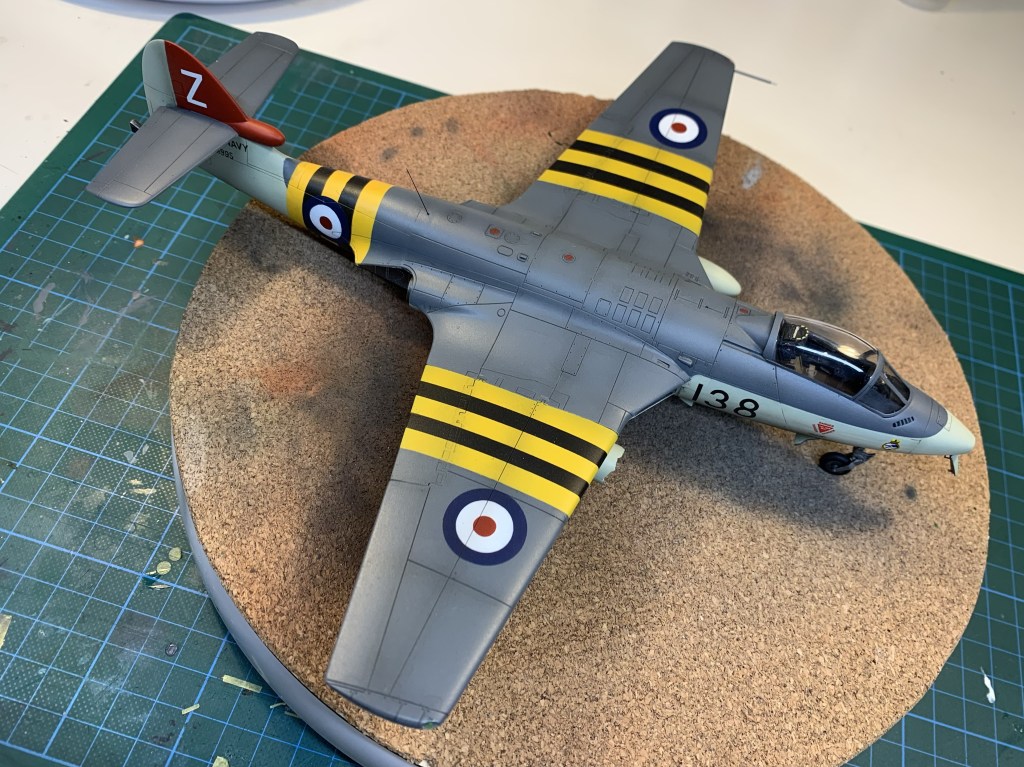
The markings were taken from the reference photo. They are quite standard for the time and the Suez campaign, the most notable being the yellow/orange and black recognition markings reminiscent of the marking applied to Allied aircraft on D-Day.

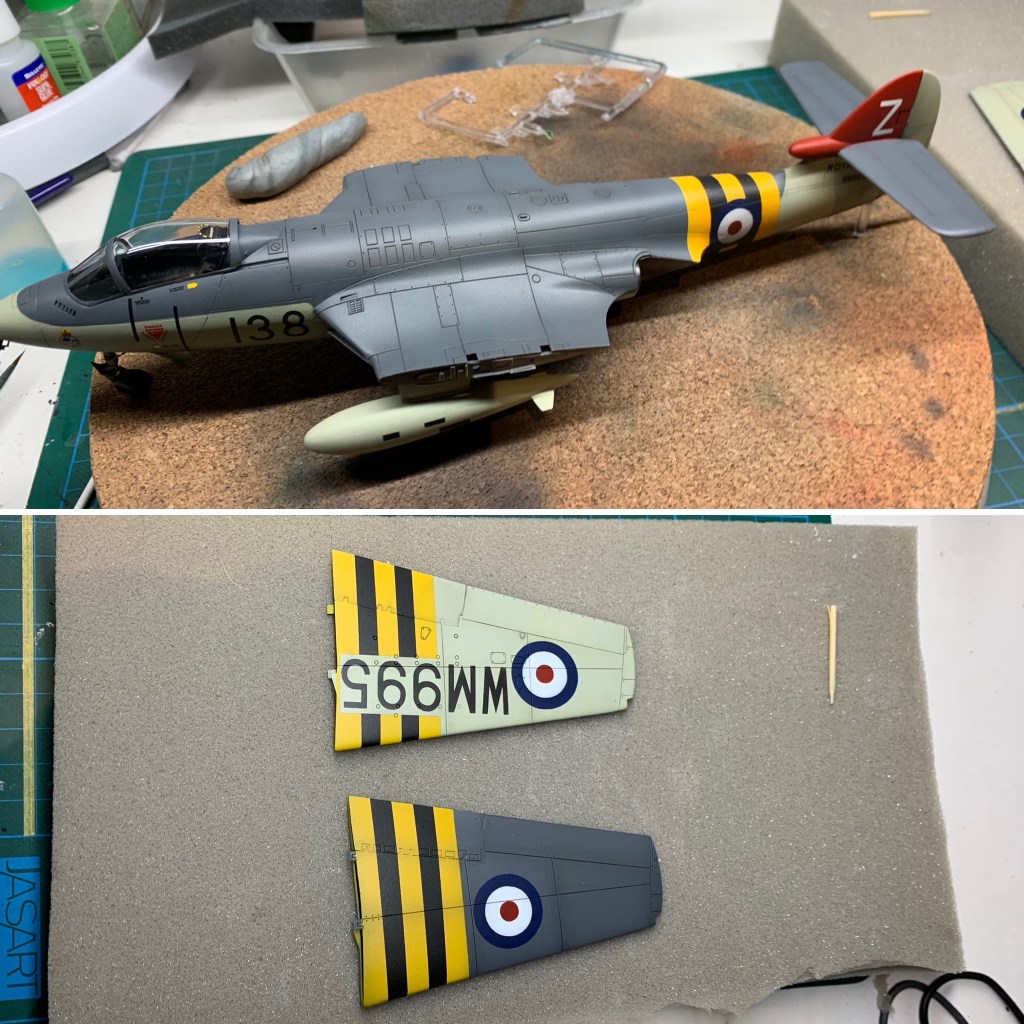
I planned to paint all the markings except for airframe stencils and the squadron badge, for which I would the kit decals (the badge is the wrong one but I was unable to source a correct one). It took me a while and some help to confirm the serial number as WM995.

This was a relatively complex set of markings to paint and I needed to plan quite carefully. I began with the stripes which were masked for the yellow first, then the black. I took the position and sizing by referring to the photo. Next I painted the roundels and the fin and finally the black squadron and serial numbers as well as the “ROYAL NAVY”. Despite their complexity, the actual application went quite smoothly and aside from corrections due to design errors everything went well.
Happy with the markings, I moved on to the decals and added those from the kit decal sheet.
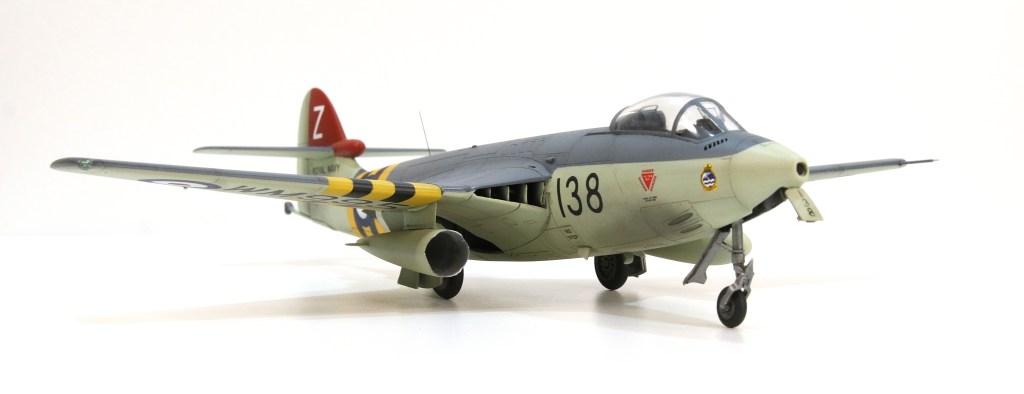
Once the decals were in place something didn’t look right though. the “138” at the front was clearly too big and too far forward. Also, it became apparent that the red centre to the fuselage roundels was too small. I needed a repaint for both as they were beyond the margin of acceptability.
Regular readers will know that I use water-based artist acrylic paints, not the least reason being that they are very easy to clean. In the gallery below there’s a composite of how I removed the original “138” with a damp cotton bud and repainted it with a much better version. The red centre to the roundel was simple to fix and I competed that too.
Click on any of the images below to scroll through the gallery.

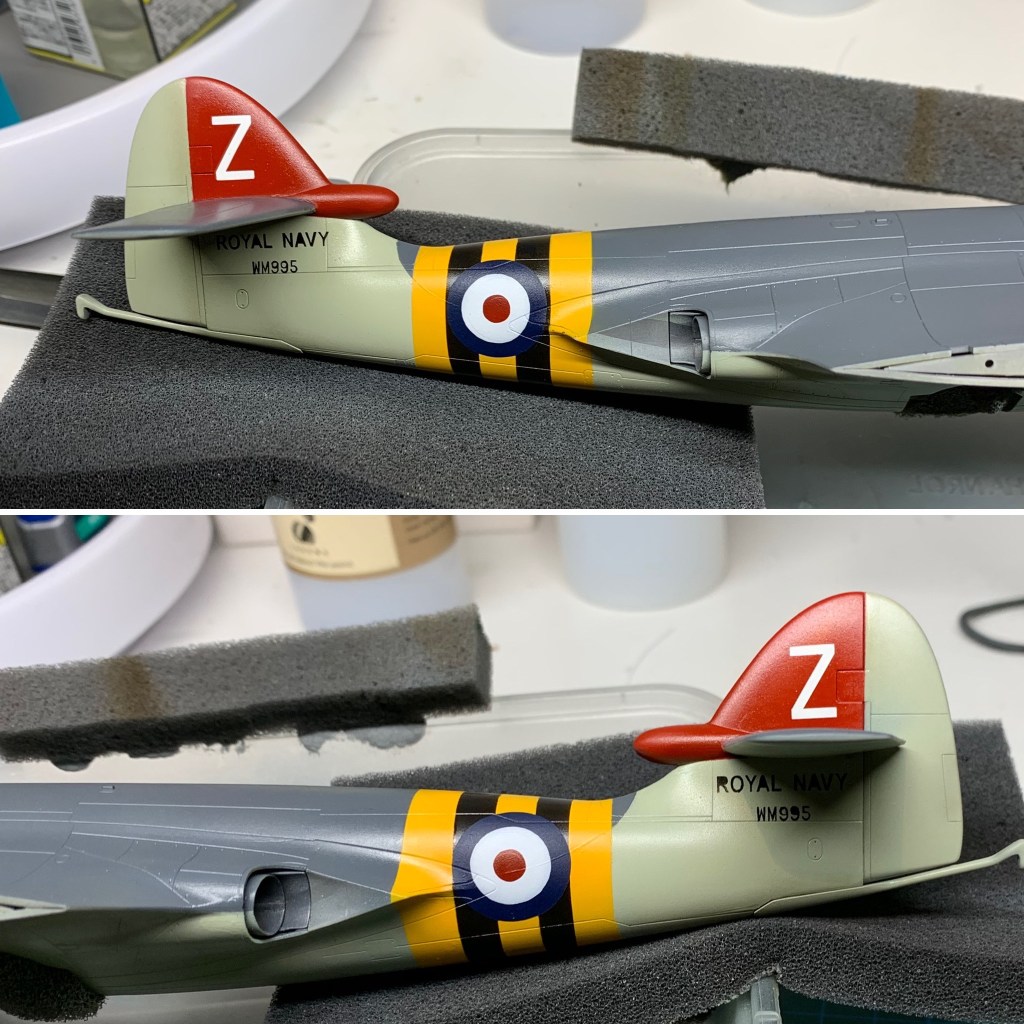


Once the rework was complete my Sea Hawk looked the part and compared very favourably to the reference photo.
Weathering
I didn’t have much to go on regarding weathering so I applied a generic weathering of a dark wash plush some general grime. Carrier aircraft are notoriously dirty (which I discussed in the recent A-7E piece “Weather or Not“) and I wanted mine to look the part.
In the specifics for this airframe, the only notable weathering is the staining around the gun ports. I used my airbrush for that and to be honest, I’m not that happy with it.

Click on any of the images below to scroll through the gallery.


Finish
All that remained was the fuel tanks and undercarriage and a few bits and pieces and my Sea Hawk was finished. I cut the starboard fuel tank roughly with sprue cutters and then sanded the edge paper thin. I tried to match the damage visible in the photo and when satisfied I could do no better, I painted it Sky on the outside and natural metal on the inside. I also chipped the Sky around the damage.
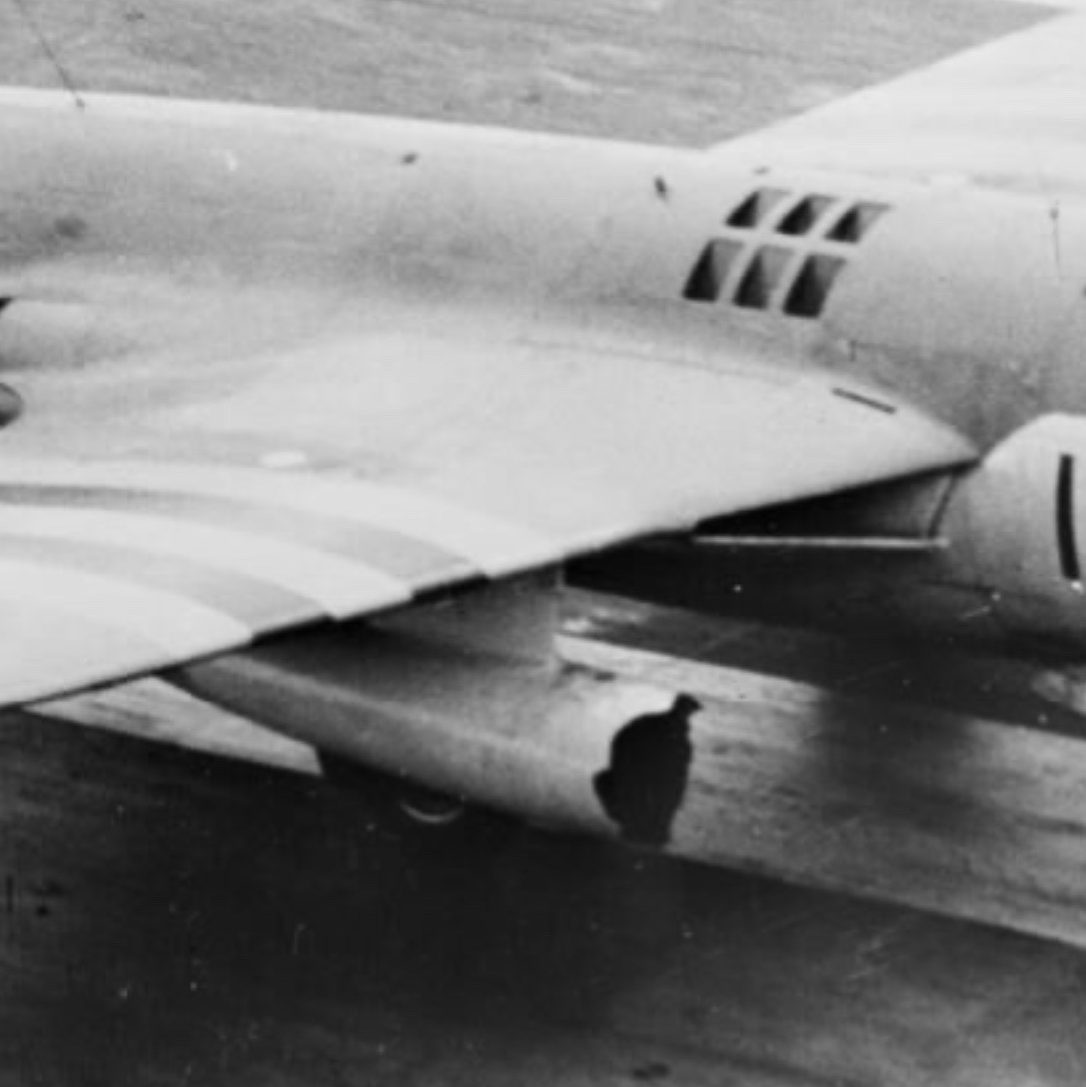

Hindsight being 20/20 I should have opened the dorsal vents as per the photo, though they would have been closed very soon after the phots was taken.
Next, I attached the landing gear sat it on its wheels… and watched it tilt back as a tail sitter. I should have checked for that. I managed to jam enough weight into the front wheel bay to get it to sit on its wheels, as long as not a breath of air or any other force of nature disturbs it!
Click on any of the images below to scroll through the gallery.


Not a bad experience and an unusual addition to my cabinet otherwise dominated by WW2 props. The Trumpeter kit was easy to build and quire detailed enough for me, the only real miss on Trumpeter’s part being the air intake forward to the canopy. The Eduard PE provided some nice additional detail, and in particular made the cockpit really pop.
Gallery


References and Sources
The only references I used for this piece were the photos available on line at the IWM and generic Google searches. Linked below is the 80 or so Hawker Sea Hawk photos available at the IWM.
I was given considerable help by the readership at Britmodeller, particularly in the choice of markings. The full build diary is logged in the Britmodeller Aircraft WIP Section.
I really hope you enjoyed this article!
Making-History is a labour of love for me, but it’s becoming more expensive and time consuming. I’m loath to put advertising on it, so if you feel inclined please consider making a donation to help cover site hosting costs as well as the time it takes to produce its content. All donations get a receipt with my thanks.
Mark.
Make a one-time donation
Make a monthly donation
Make a yearly donation
Choose an amount
Or enter a custom amount
Your contribution is very much appreciated and 100% of it will be recycled back into Making-History.
Your contribution is appreciated.
Your contribution is appreciated.
Copyright ©2024
This article, its text, and photos of the model is my original work and is protected by copyright in its entirety, except where noted. All research sources are listed in the References and Sources section above, including photos from official sources. All other images and quoted content were sourced from the internet and are used here under protection of fair-use. We will happily remove or credit forthwith any inadvertently used copyrighted content upon request by its rightful owner.


Leave a comment