- Kampfzerstörer (battle destroyer)
- A Different Path
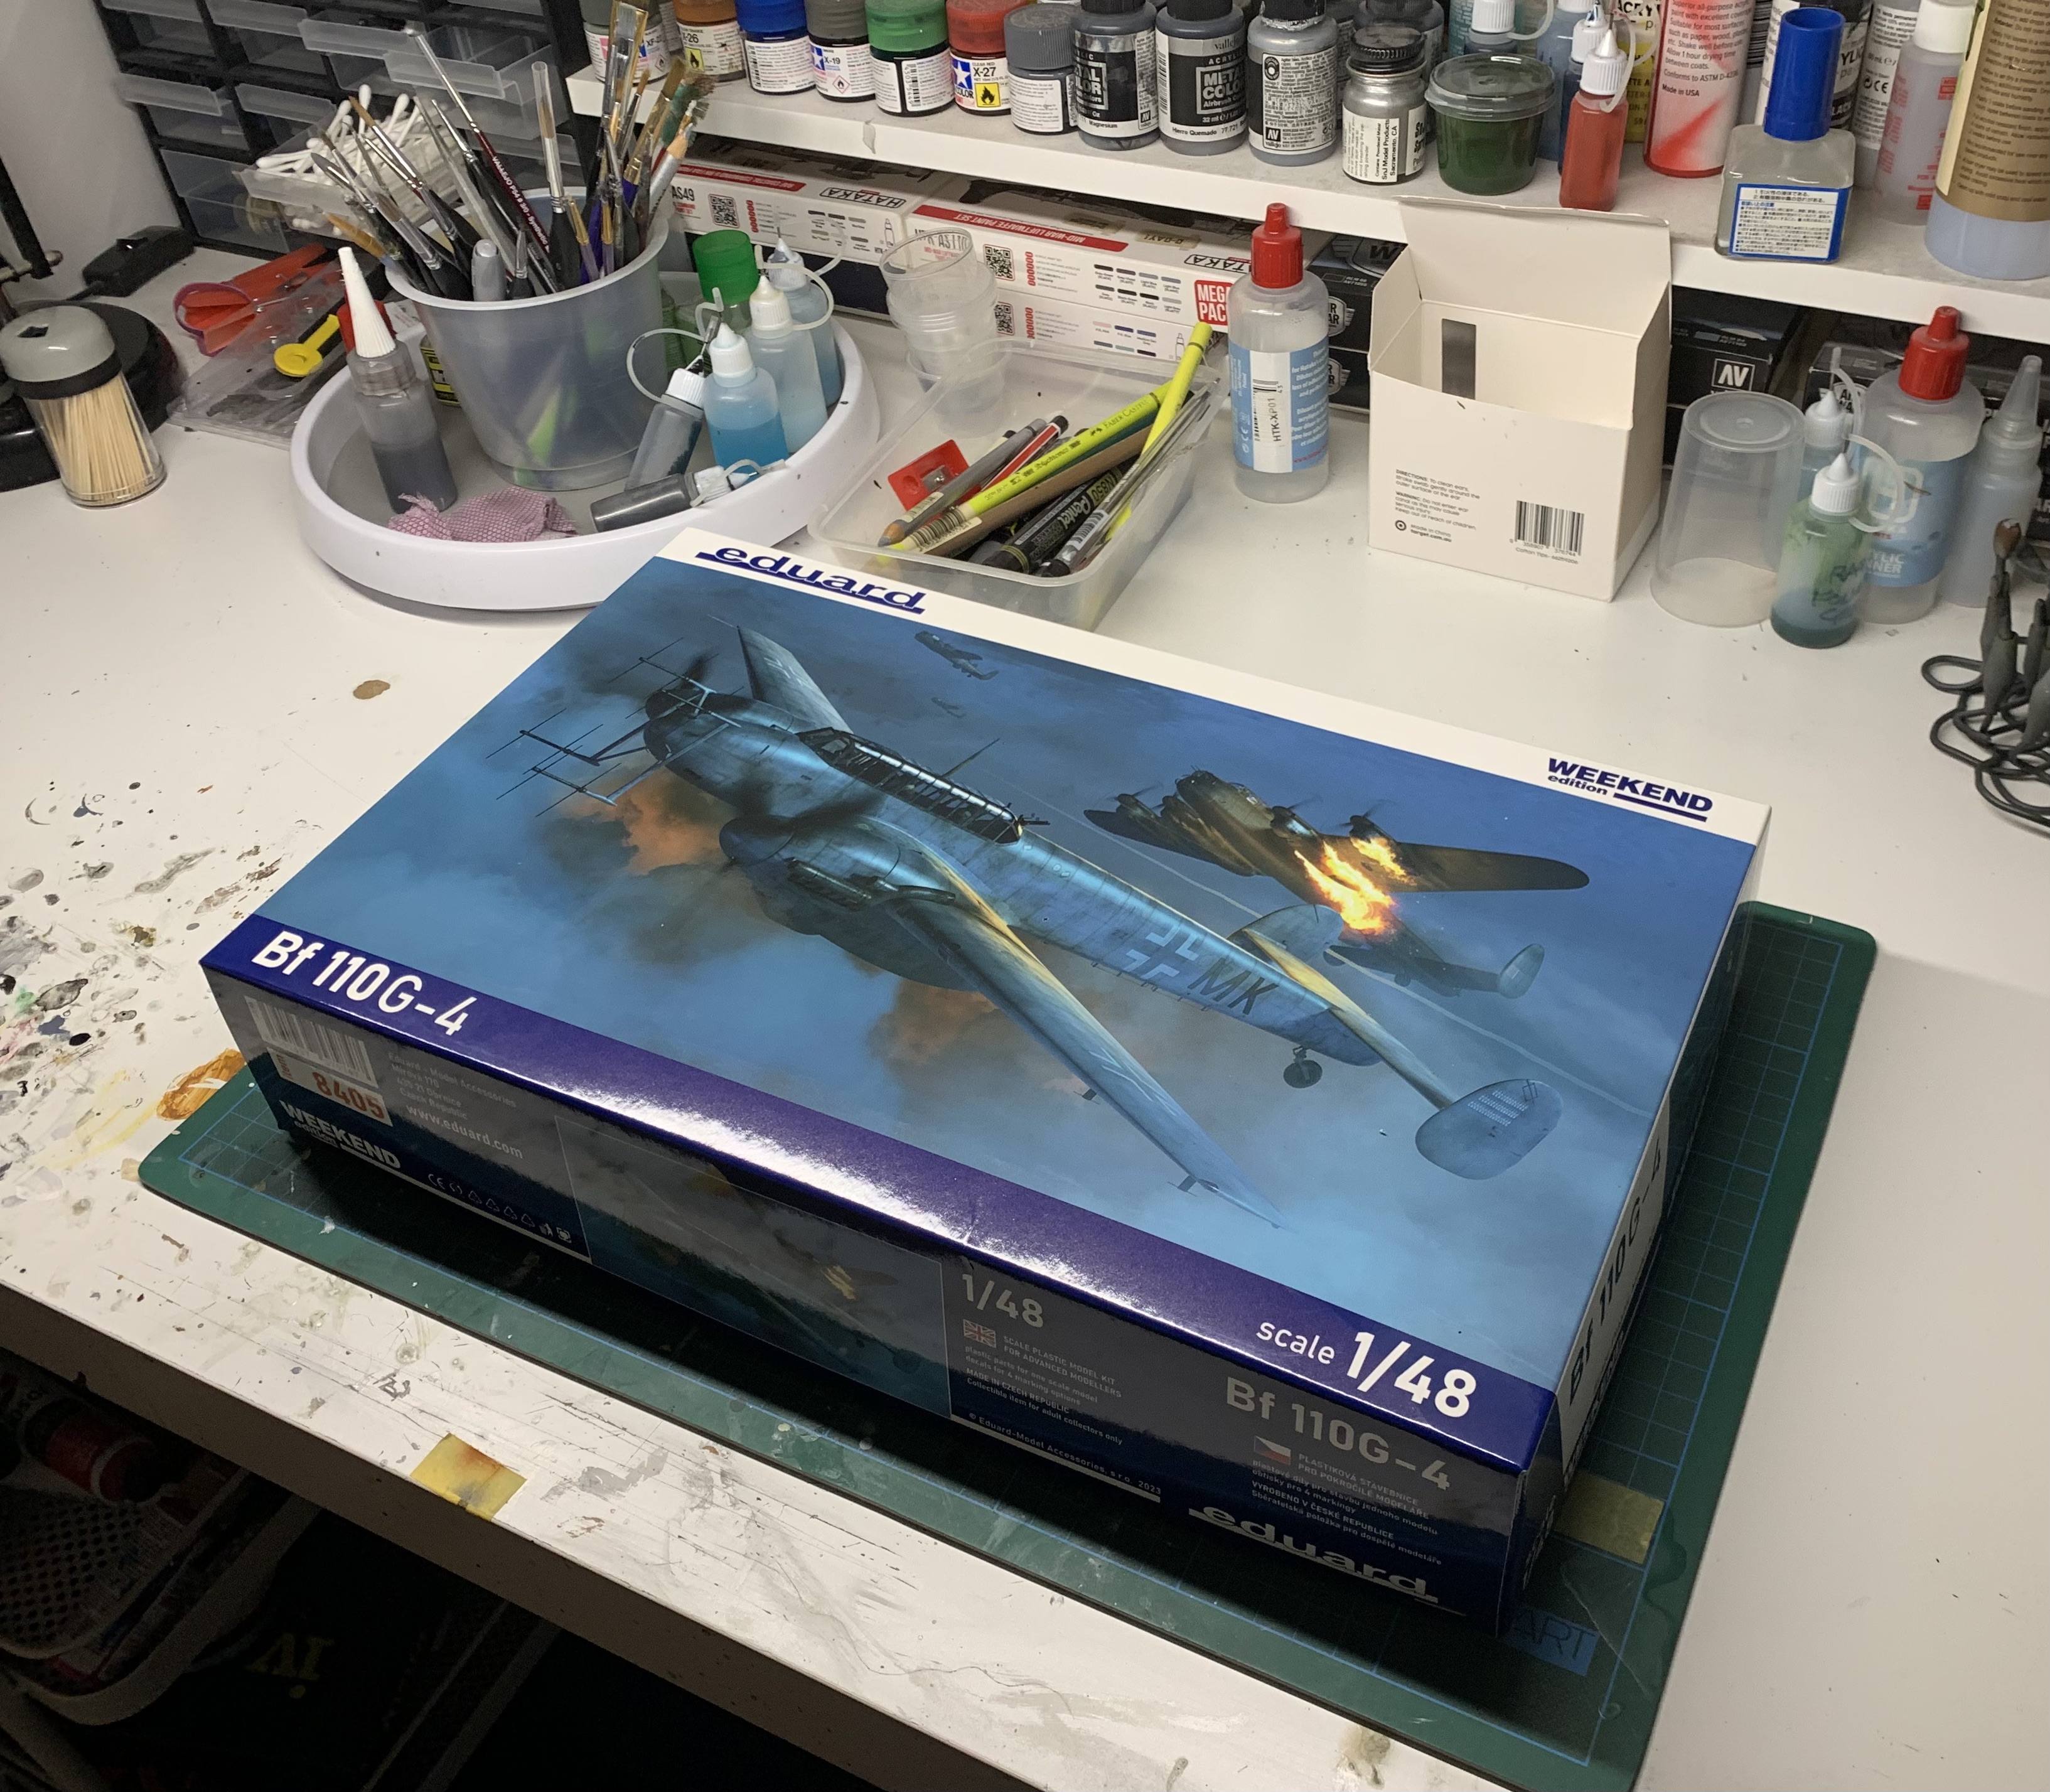
- Eduard’s 1/48 Bf110G-6
- Gallery
- References and Sources

Kampfzerstörer (battle destroyer)
If one ignores the laughable names the Nazis managed to contrive in the 1930s for all sorts of things like buildings, aeroplanes, regiments, etc., their ideas on how the new age of air supported warfare would be conducted were well ahead of their time. No other military power fully grasped the importance of aircraft’s role in ground support to maintain a fast moving offensive capability. The nightmare of static trench war was still fresh in their minds, indeed many if not most of the Nazi leadership had fought in or over the trenches, and they saw air power as a way to avoid static warfare forever.
As part of the strategy the RLM (Reichsluftfahrtministerium) issued a request for designs to meet a battle destroyer concept, specifically a twin-engined, three-seat, all-metal monoplane armed with cannon and a bomb bay. Seven companies were invited to respond but only three did; Bayerische Flugzeugwerke (Messerschmitt), Focke-Wulf, and Henschel.
A Different Path
I may be no better, but at least I am different.
Jean-Jacques Rousseau
Both Focke-Wolf and Henschel submitted designs according to the specification issued by the RLM. Bayerische Flugzeugwerke on the other hand did not, they successfully lobbied the RLM to consider that the design spec be revised towards the Zerstörer (destroyer, or heavy fighter) concept. As their design did not include a bomb bay while the other two did, and the Zerstörer concept conveniently did not require one, the Bf110 won the competition.

As it turned out, the Zerstörer was a flawed idea. One of many. Too slow to evade the single engine fighters the RAF put up against them, not manoeuvrable enough either; too small to deliver much of a payload for ground support, not fast enough for reconnaissance.
When, to compound its failings even further, the Me210 and then 410 failed to deliver on their promised improvement over the 110, the now almost 10 year old design finally found its niche. Having been tested as a night fighter as early as the C version, the F was armed specifically for night fighting and then, definitely, the G version with upgraded engines and installation of upward firing cannon – so called “Schräge Musik” – a very fine night fighter was found.

Failure Is Success In Progress
Albert Einstein
The Bf110G version was a formidable opponent for the RAF’s Bomber Command. Estimates of bomber losses to the BF110 range between 300 and 500 shot down. While it was not the most successful, or “best” of the Luftwaffe’s night fighters – that was likely the Ju88G or perhaps the He219 – the Bf110 proved itself at least capable in a role, eventually.
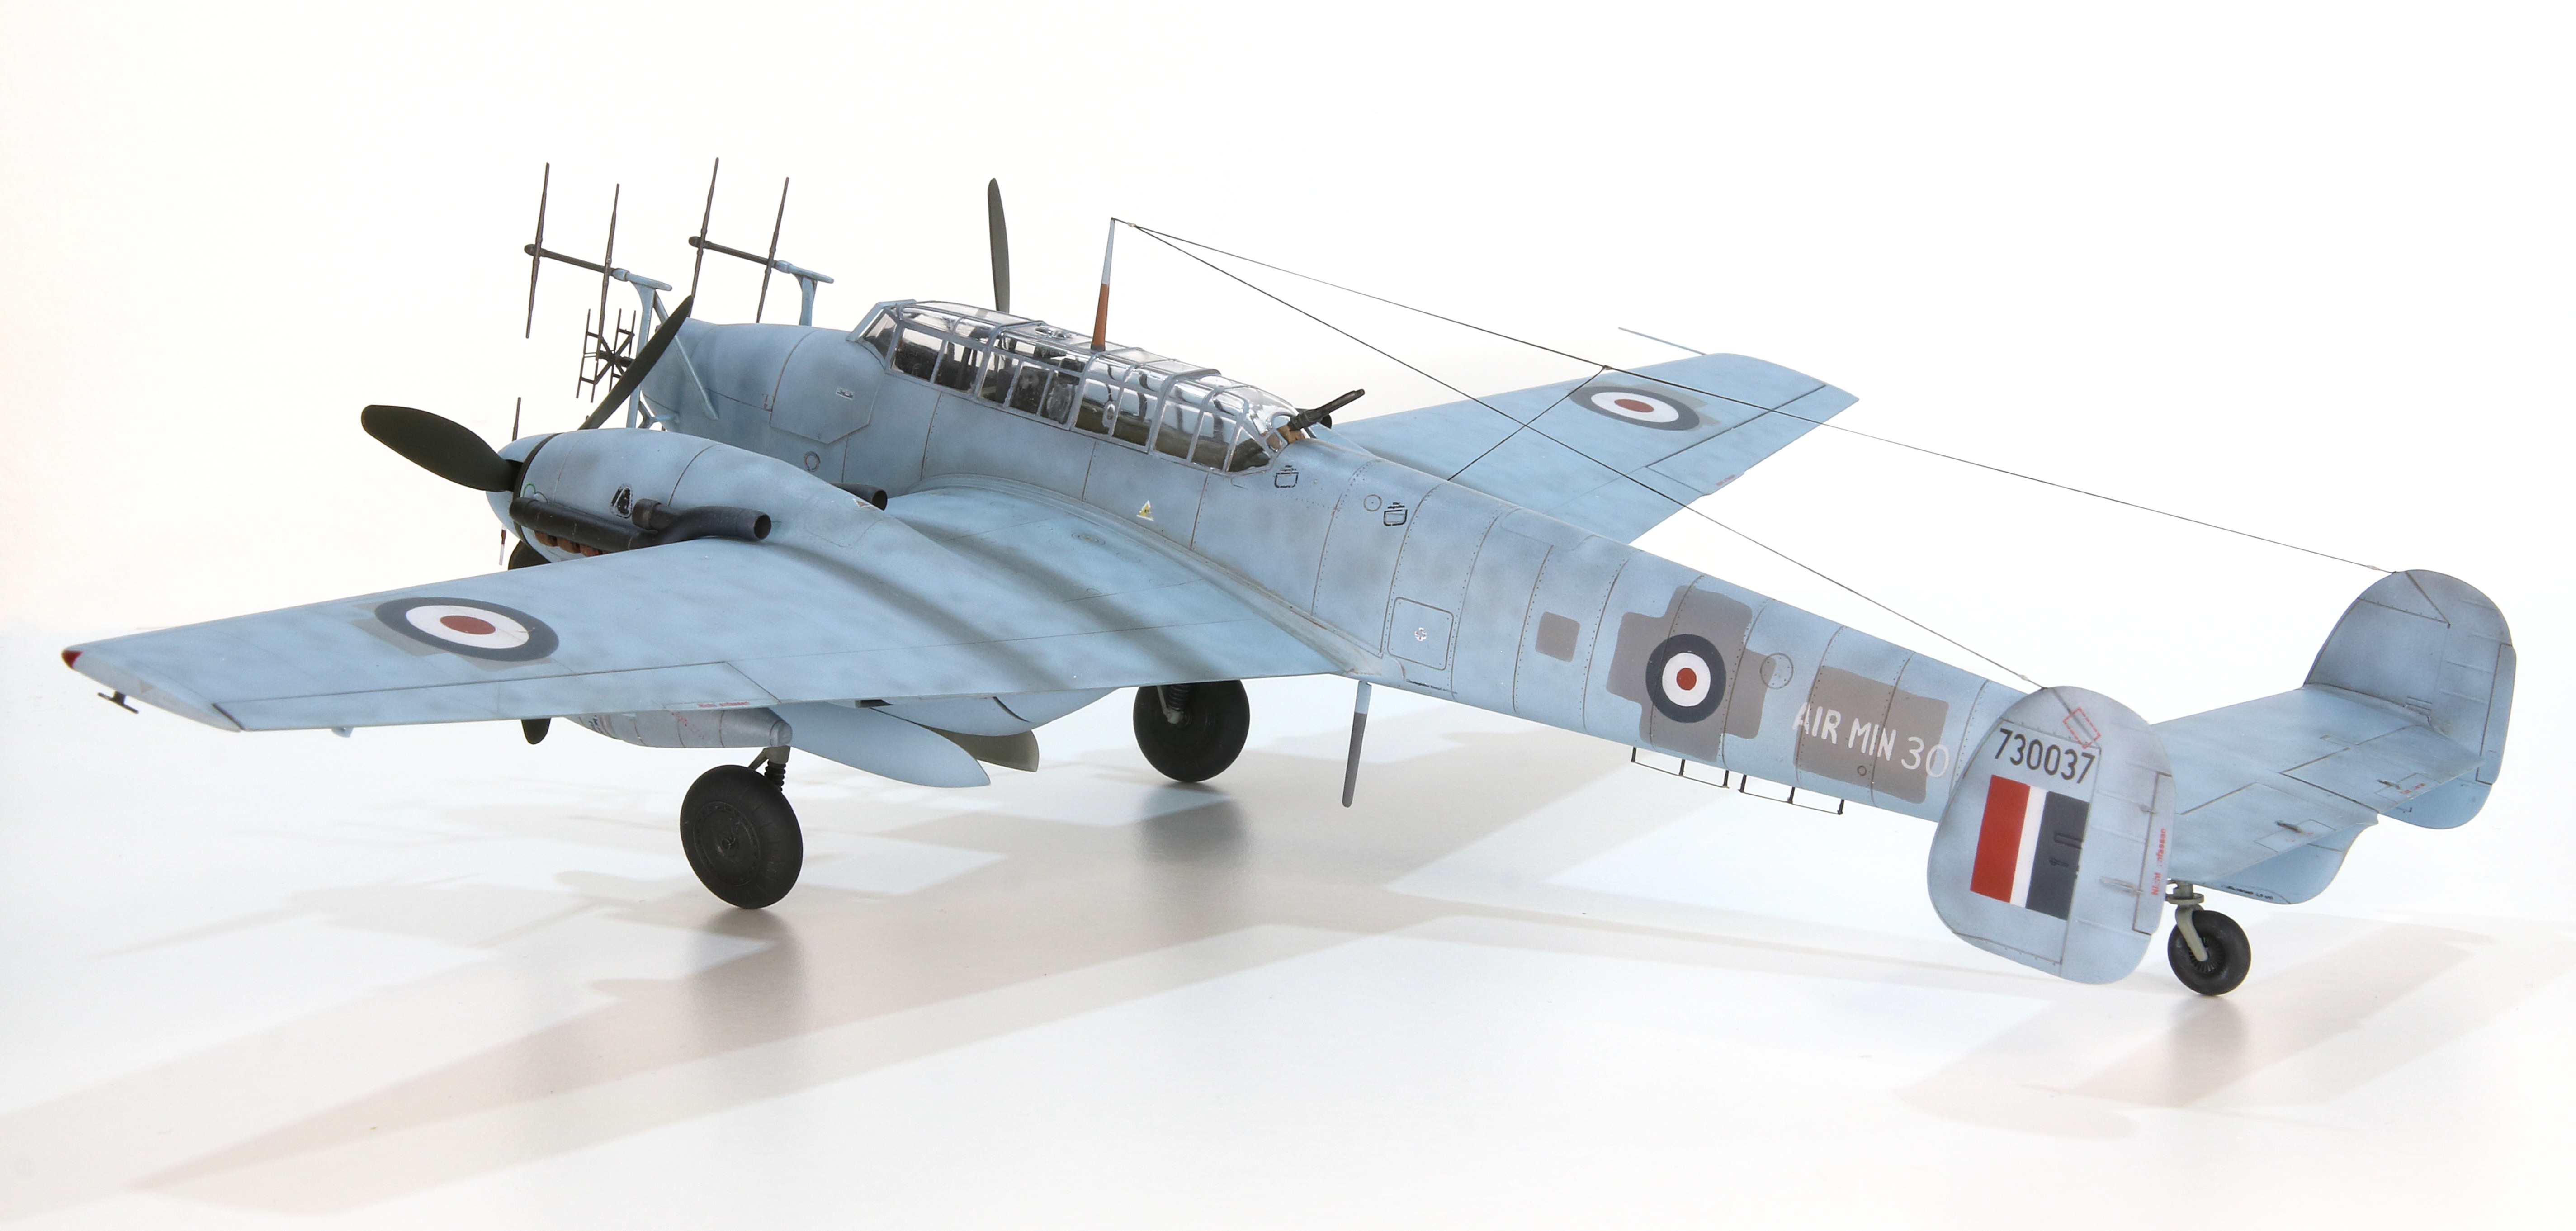
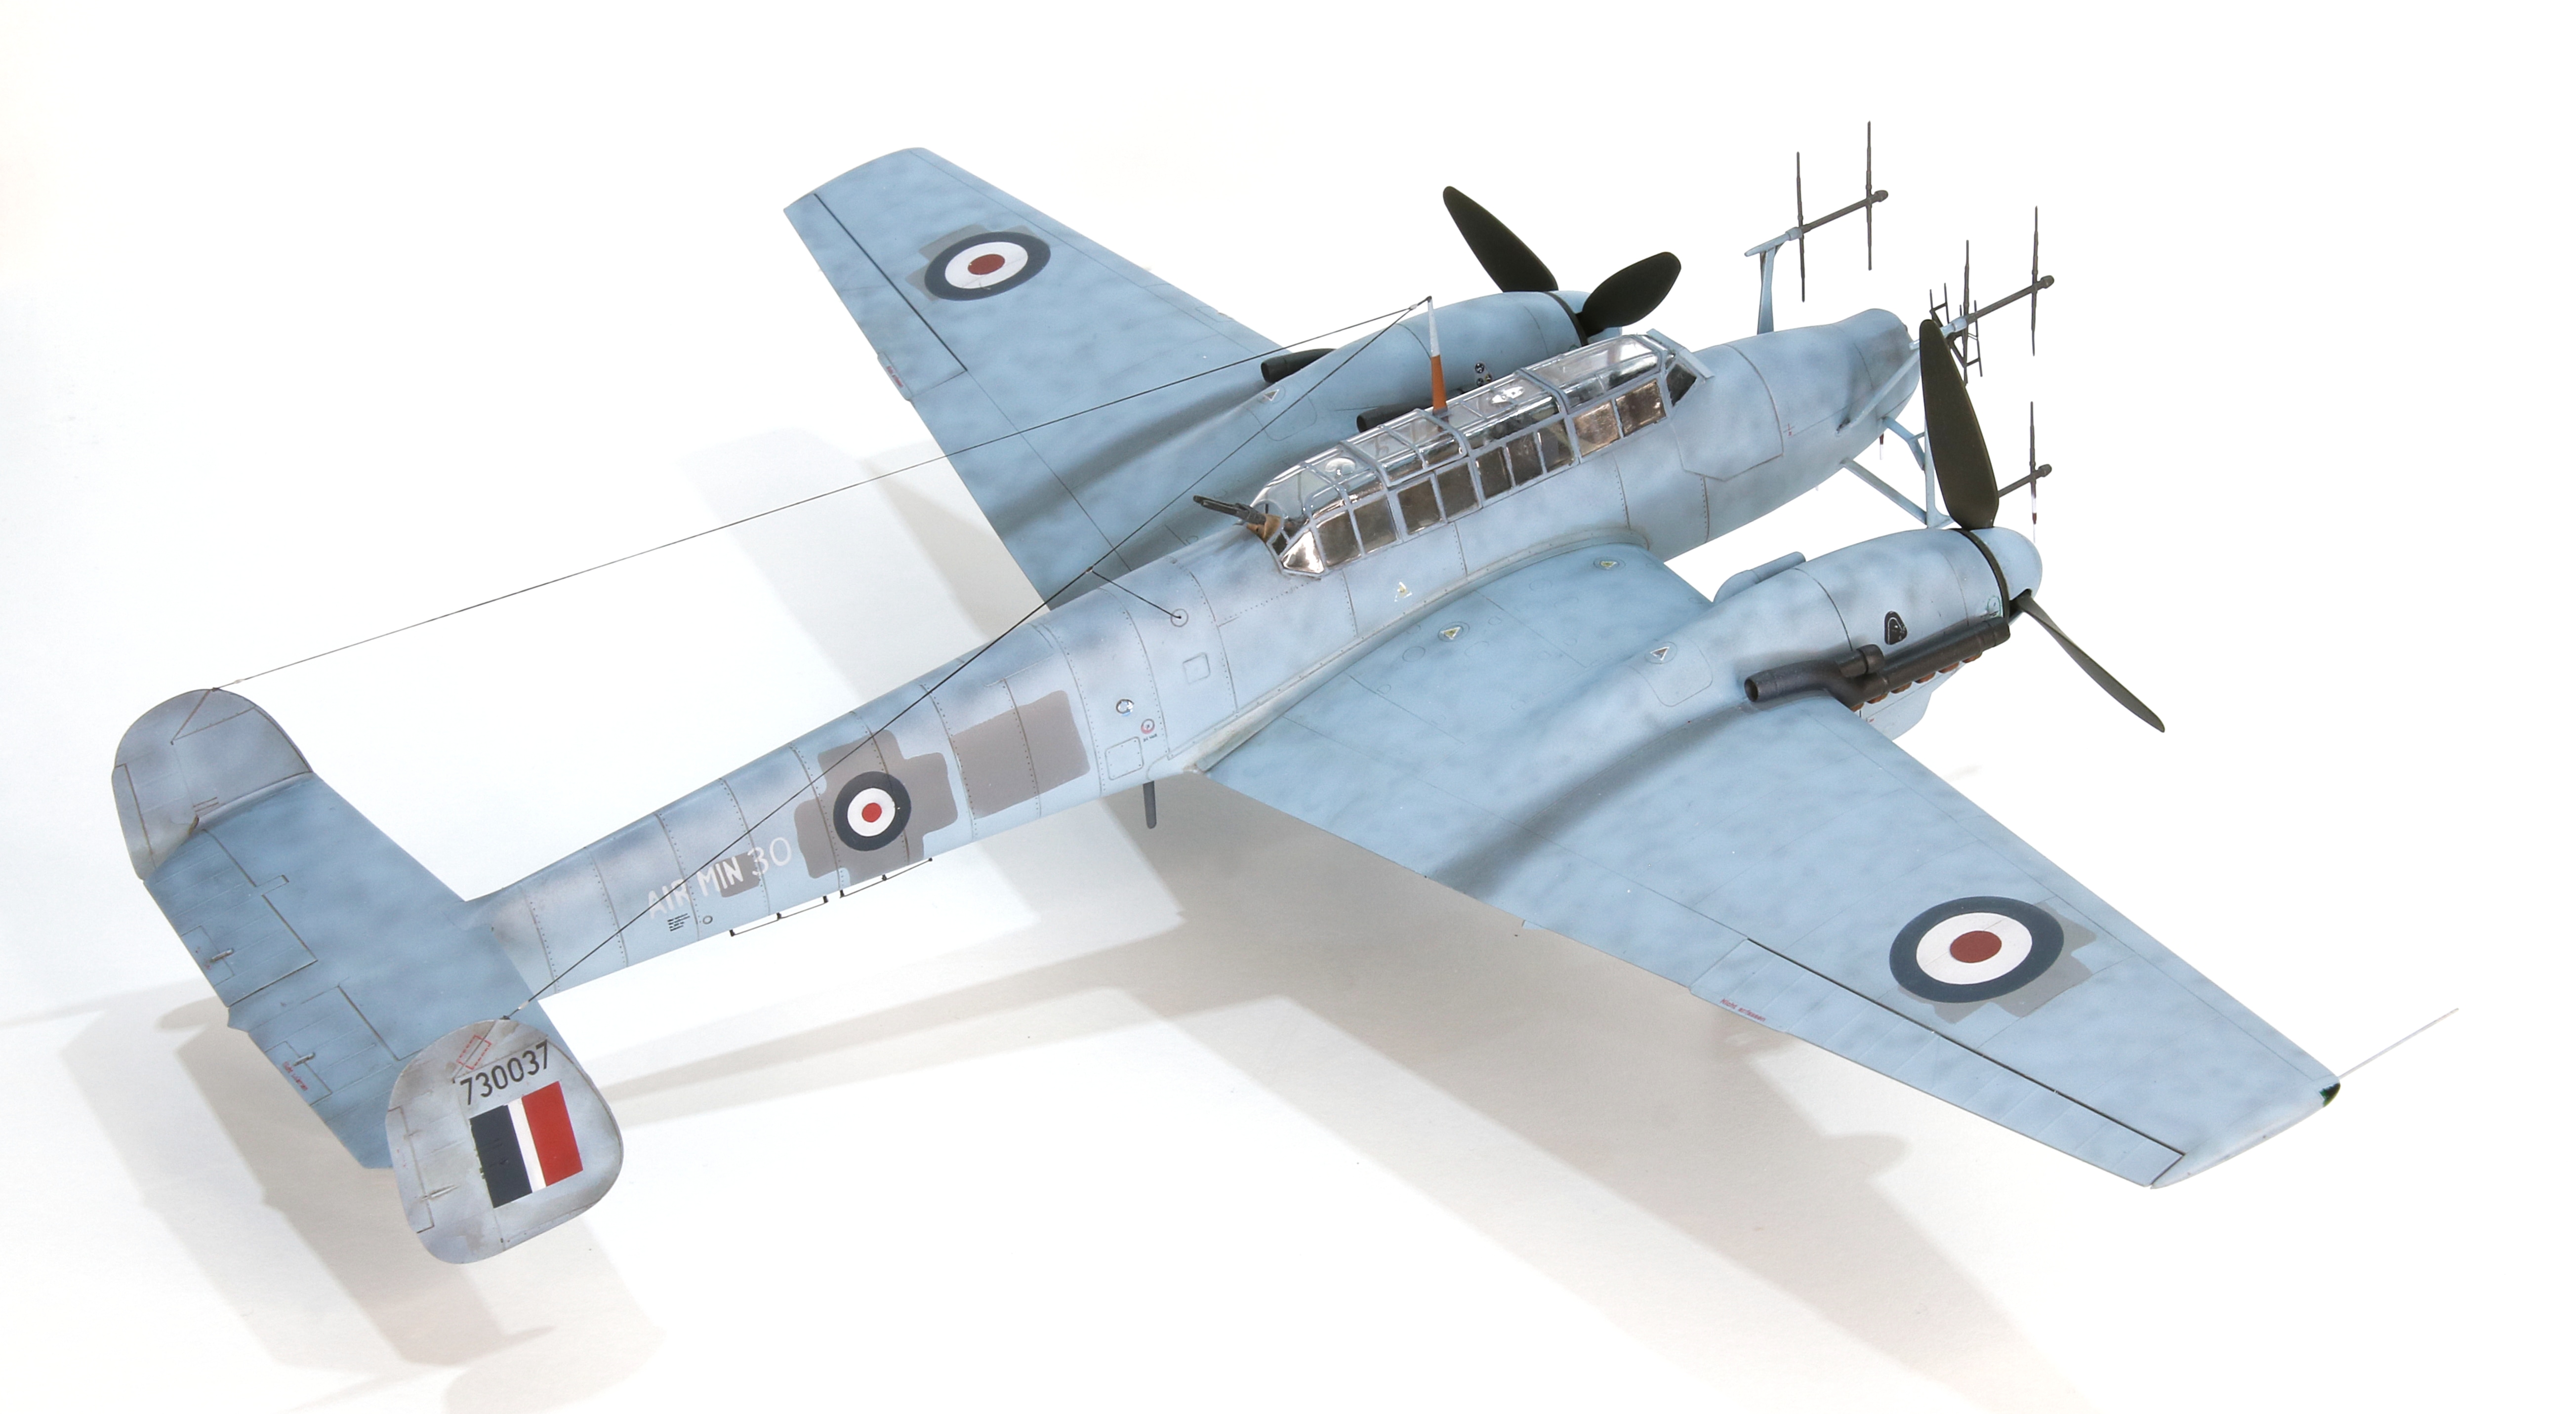
Eduard’s 1/48 Bf110G-6
I built this just after completing an Eduard Bf109F. My experience with the 109 was nothing but positive. My experience with the 110 was somewhat different.
Build
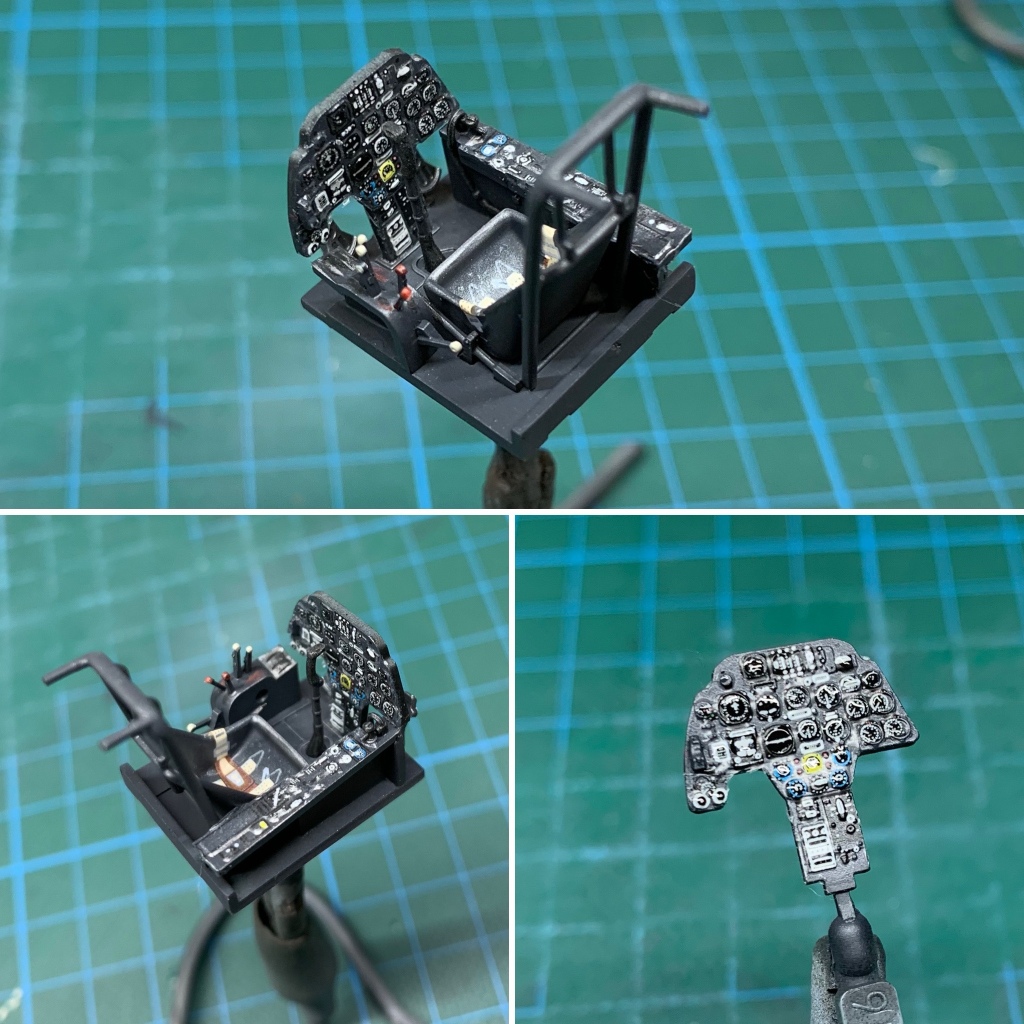
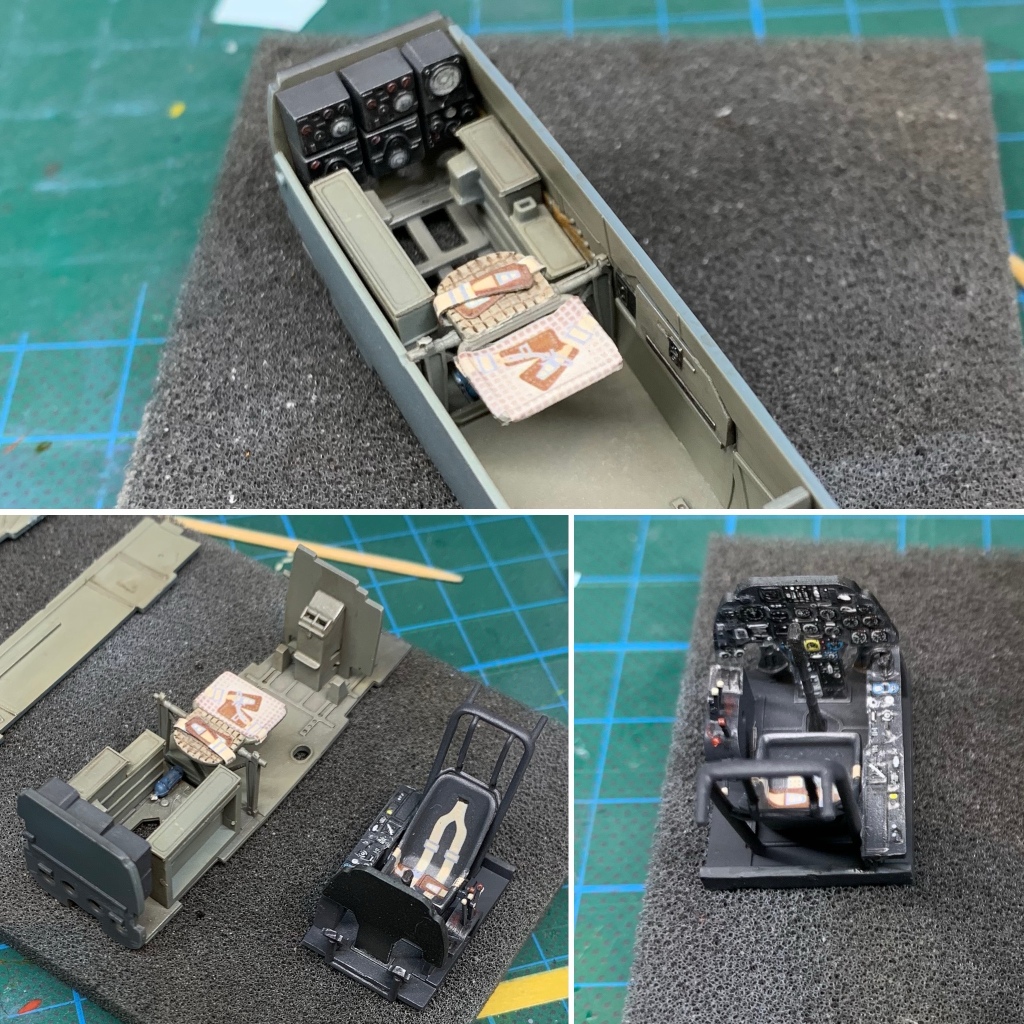
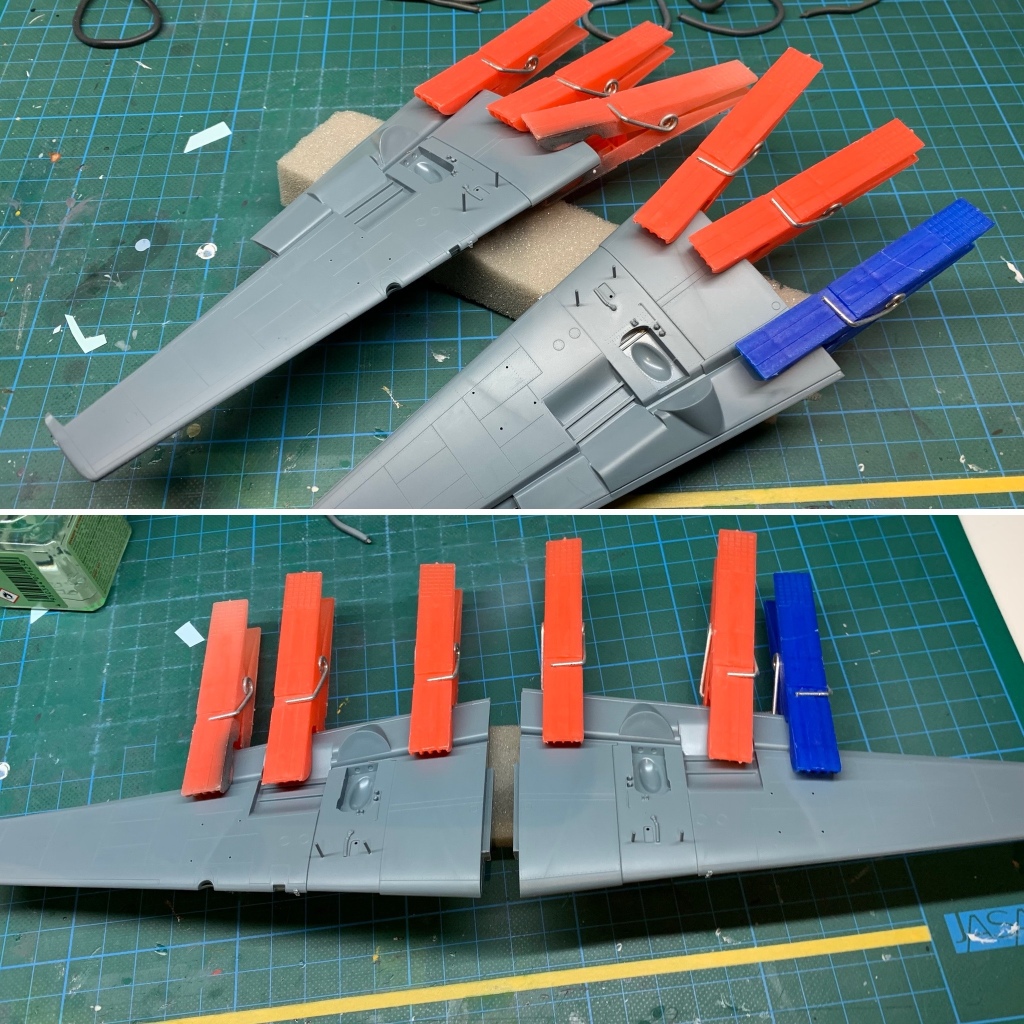
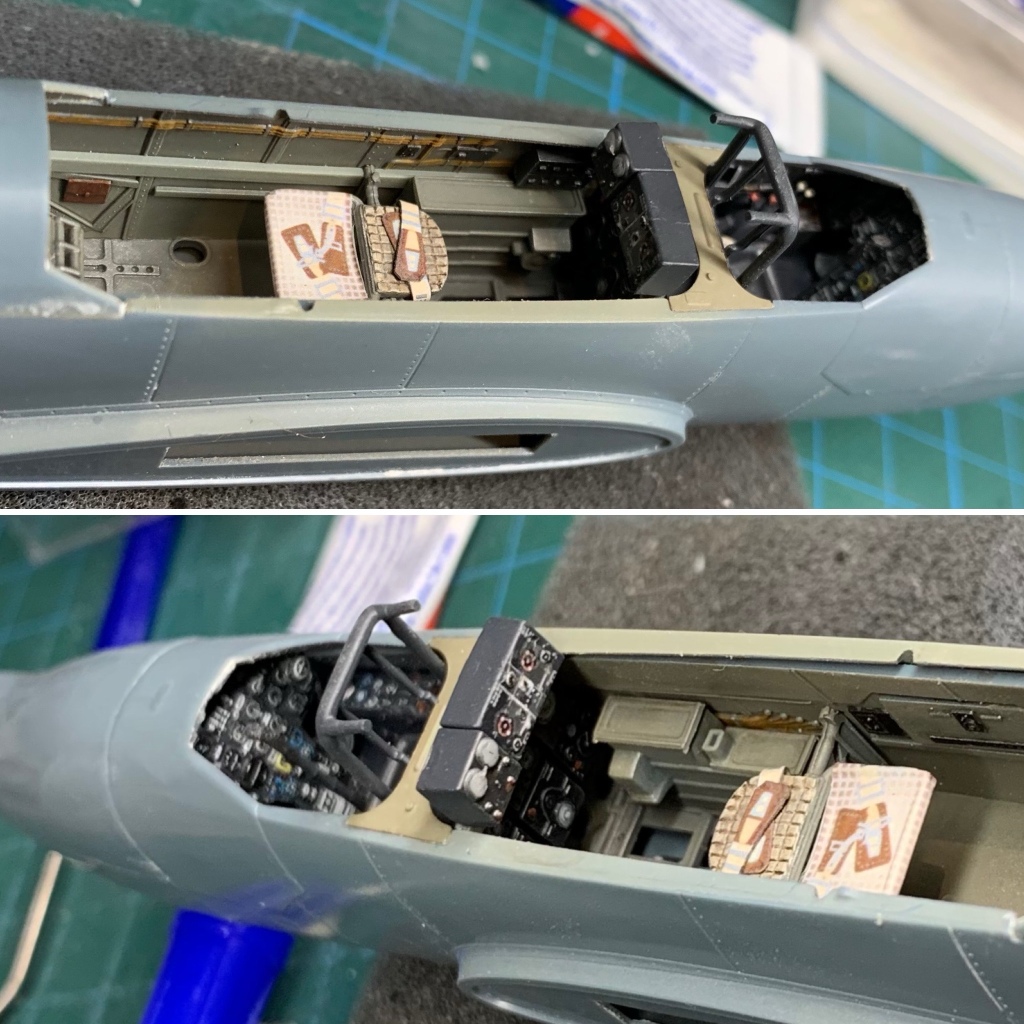
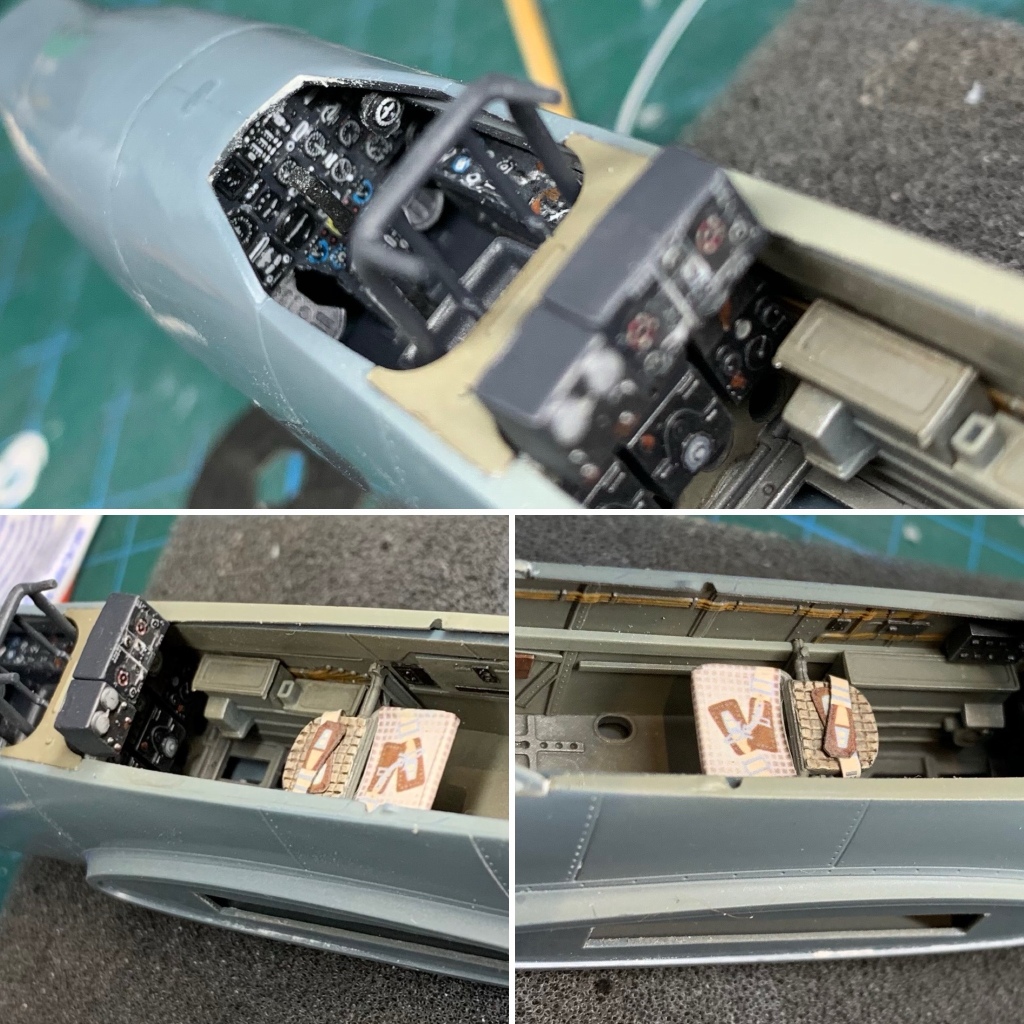
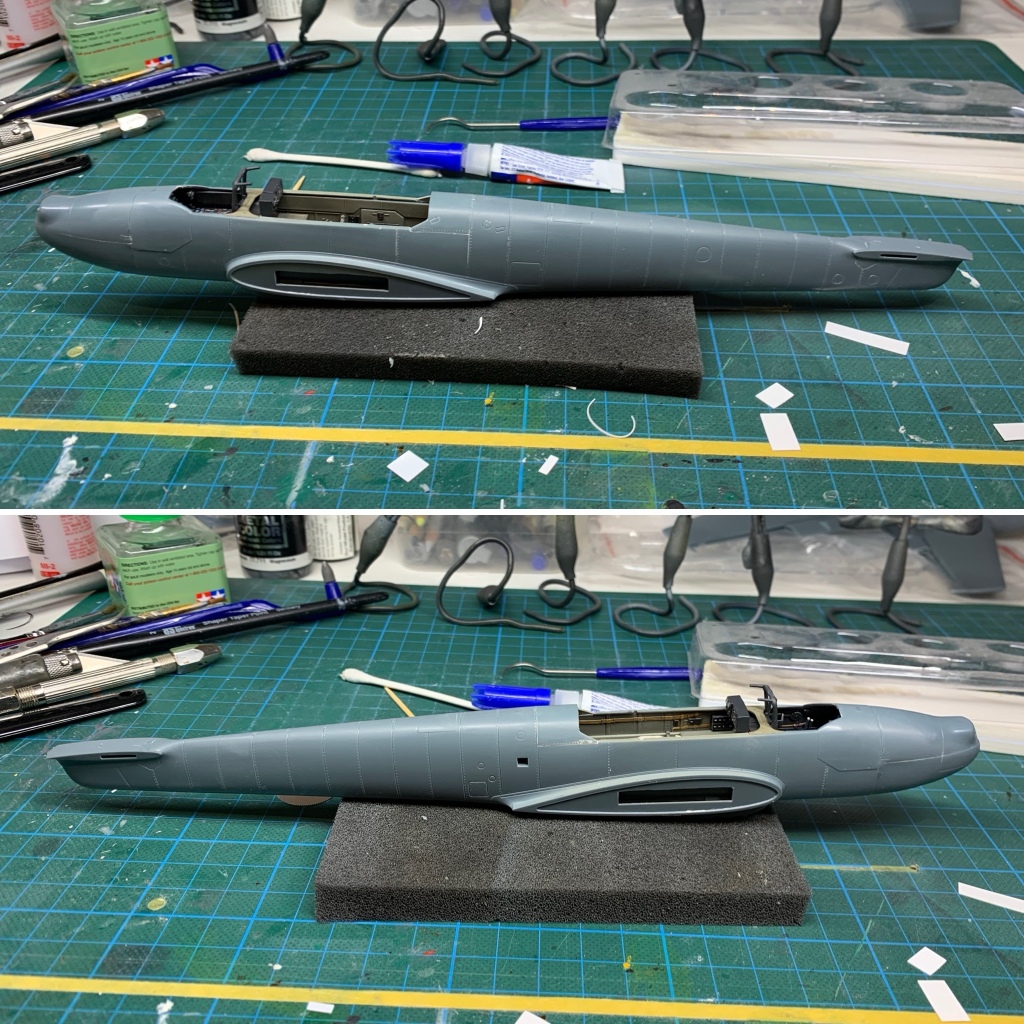
Things began well however, the cockpit builds up very nicely and provides an exceptional level of detail out of the box. I tried something with one of the seatbelts, cutting out the decal still on its backing paper. I think it worked quite well, all that was required was a little stain to blend the cut paper edge and all looks very good.
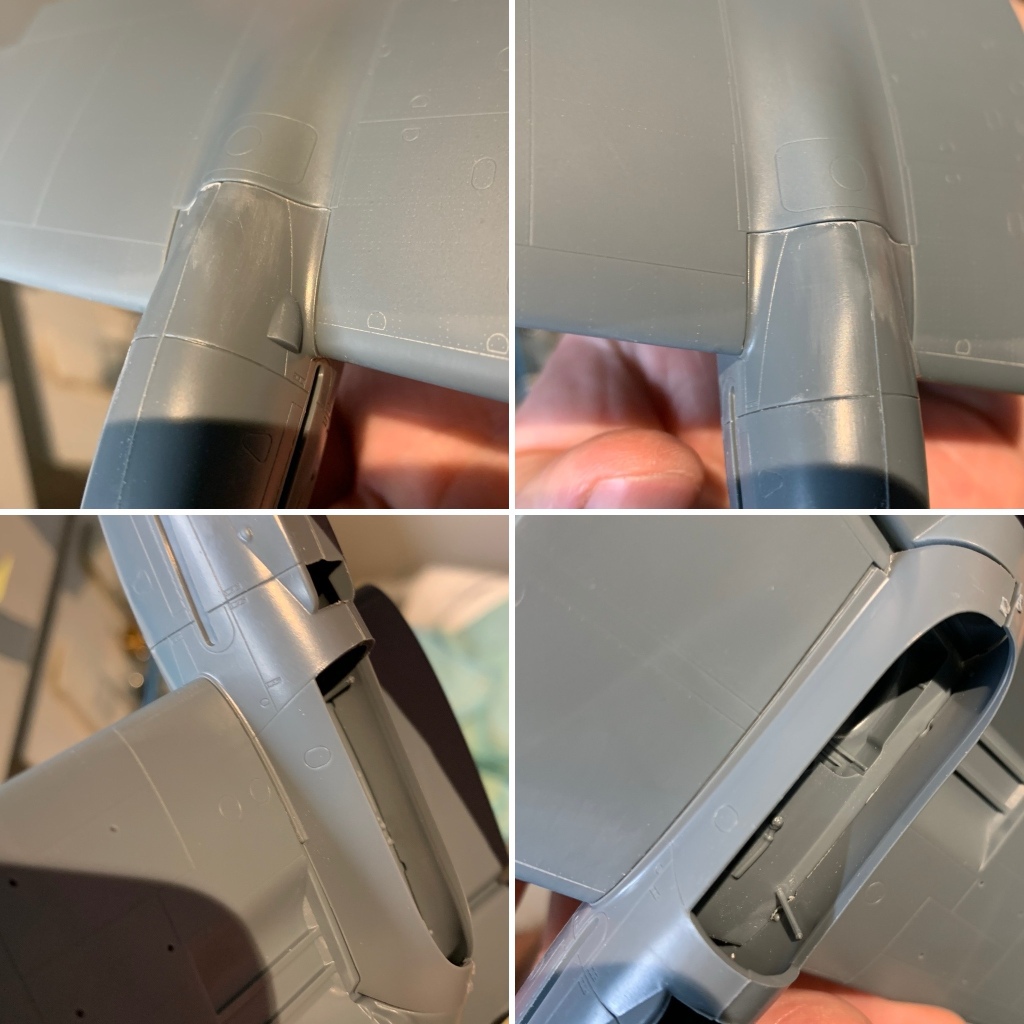
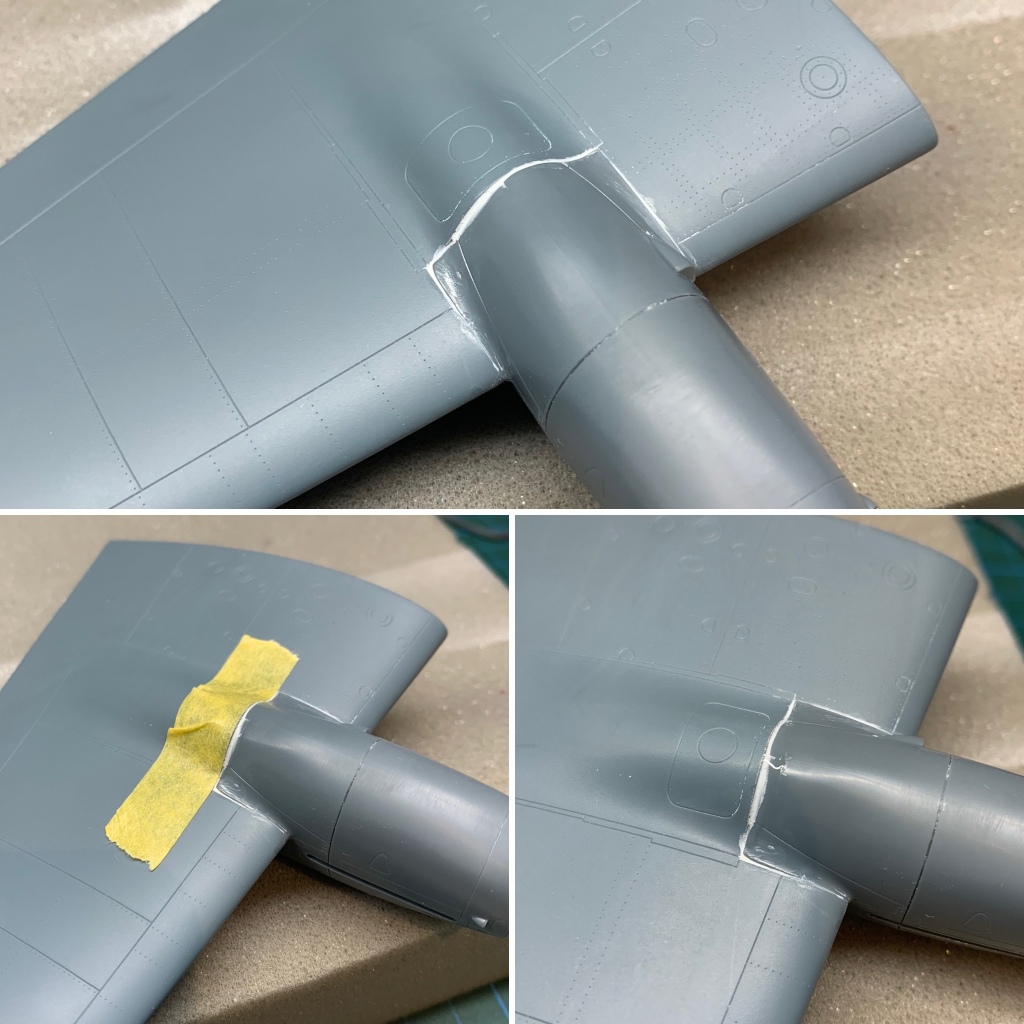
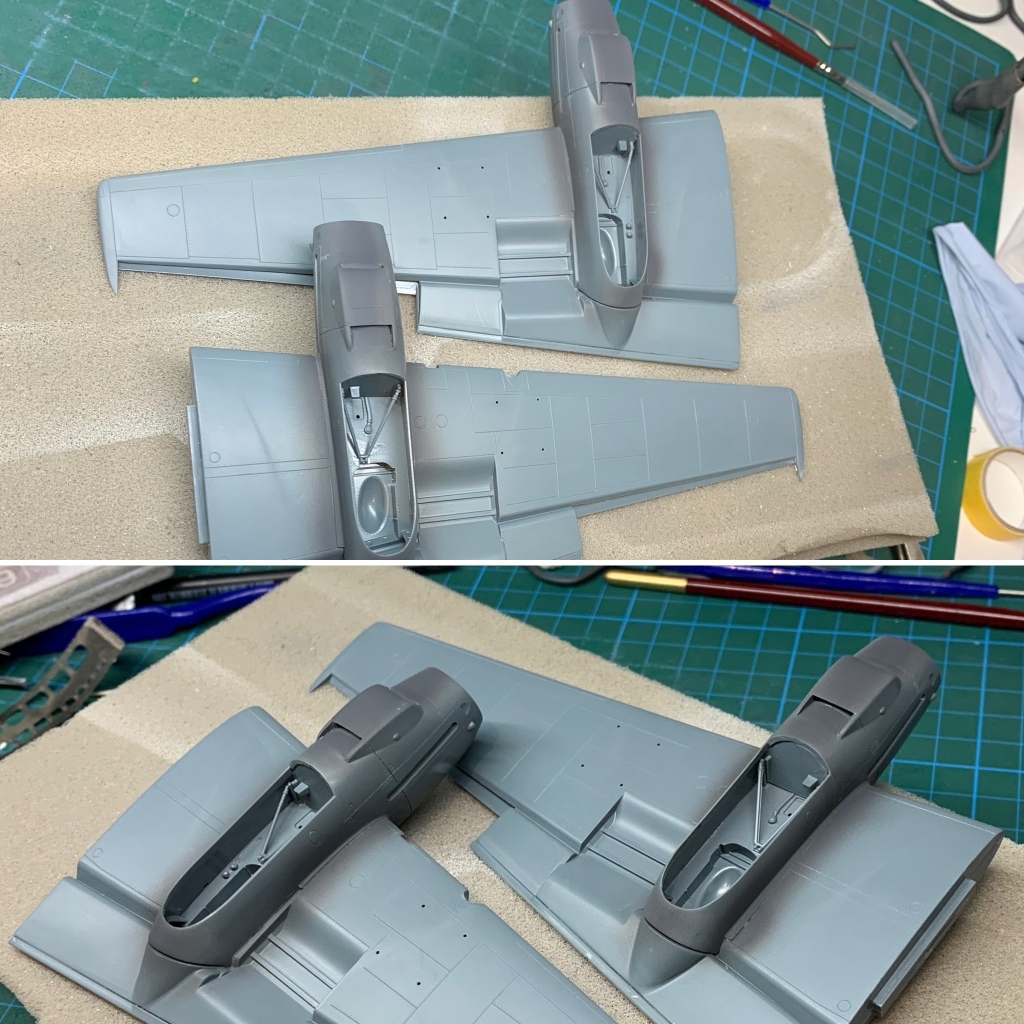
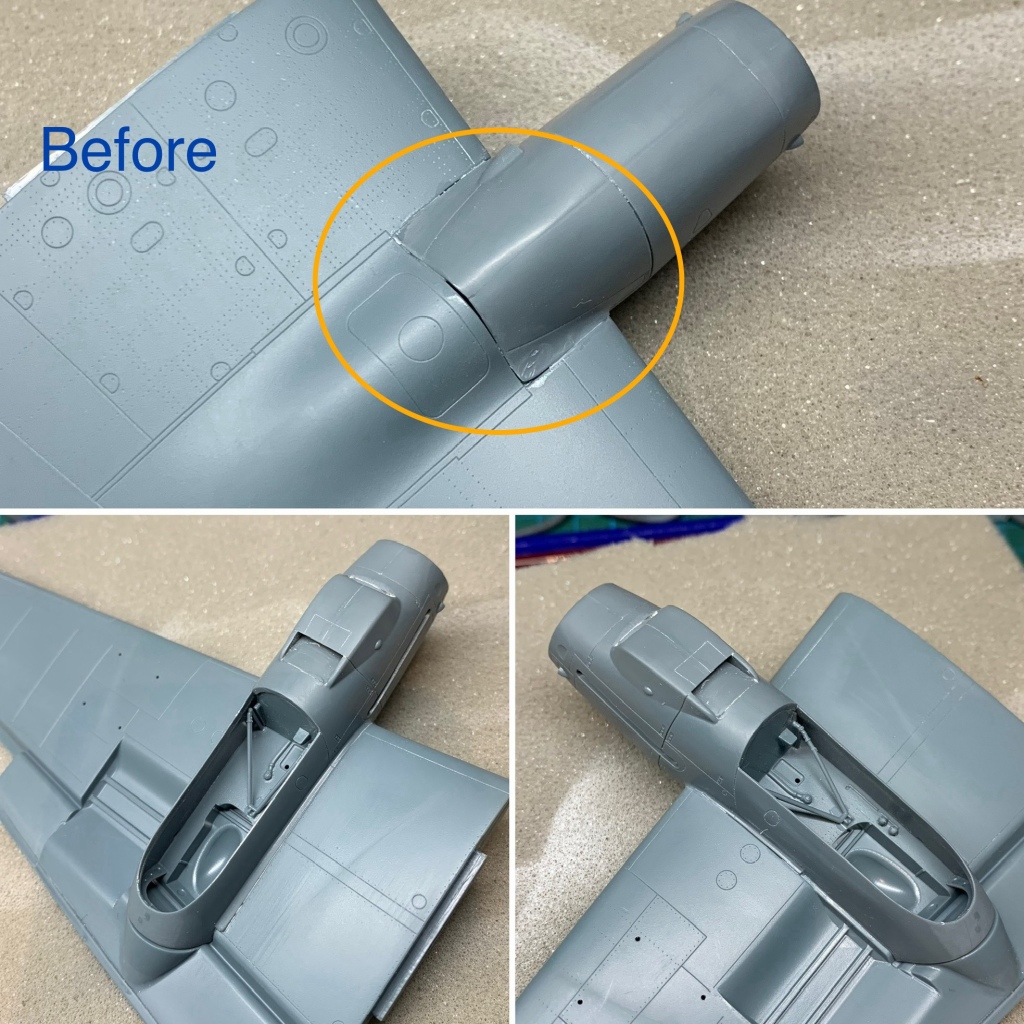
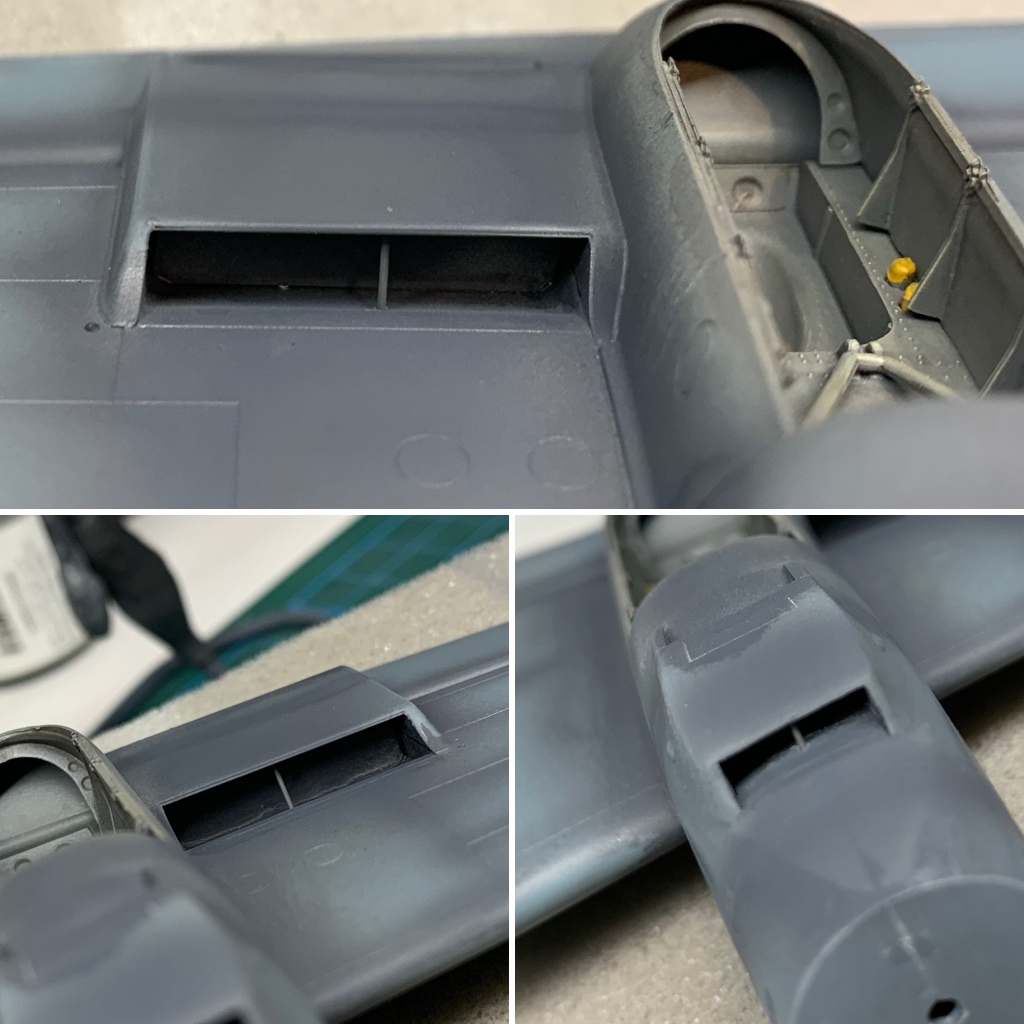
The major challenge with this one was the engine nacelles. The photos show how they “fit” out of the box. After deciding that they fired too low and too forward out of the box, I removed sufficient material to get them to sit correctly and then used shims and filler to close in the gaps. Nothing terribly difficult but irritating.
Click on any of the images below to scroll through the gallery.


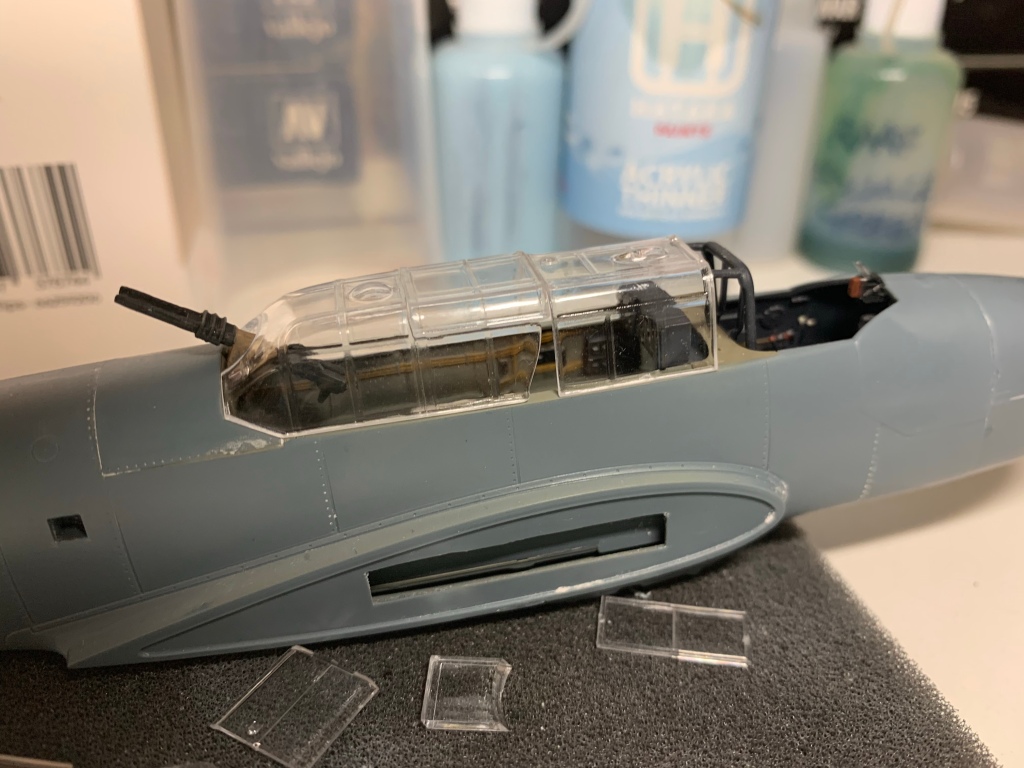

To add insult to injury, I found that the centre piece of the canopy was short-shot. Eduard responded quickly to my request for a replacement and soon enough a package arrived with a new clear sprue.
Of a Bf109G.
I made a replacement window pane from the spares box. The correct replacement part finally did arrive, around two weeks after I finished the model…
Paint
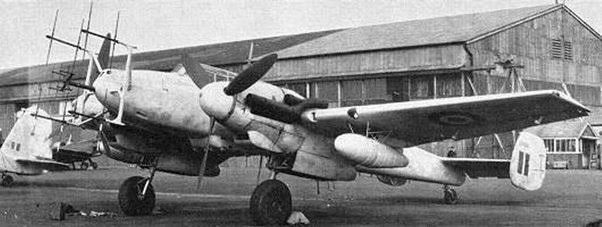

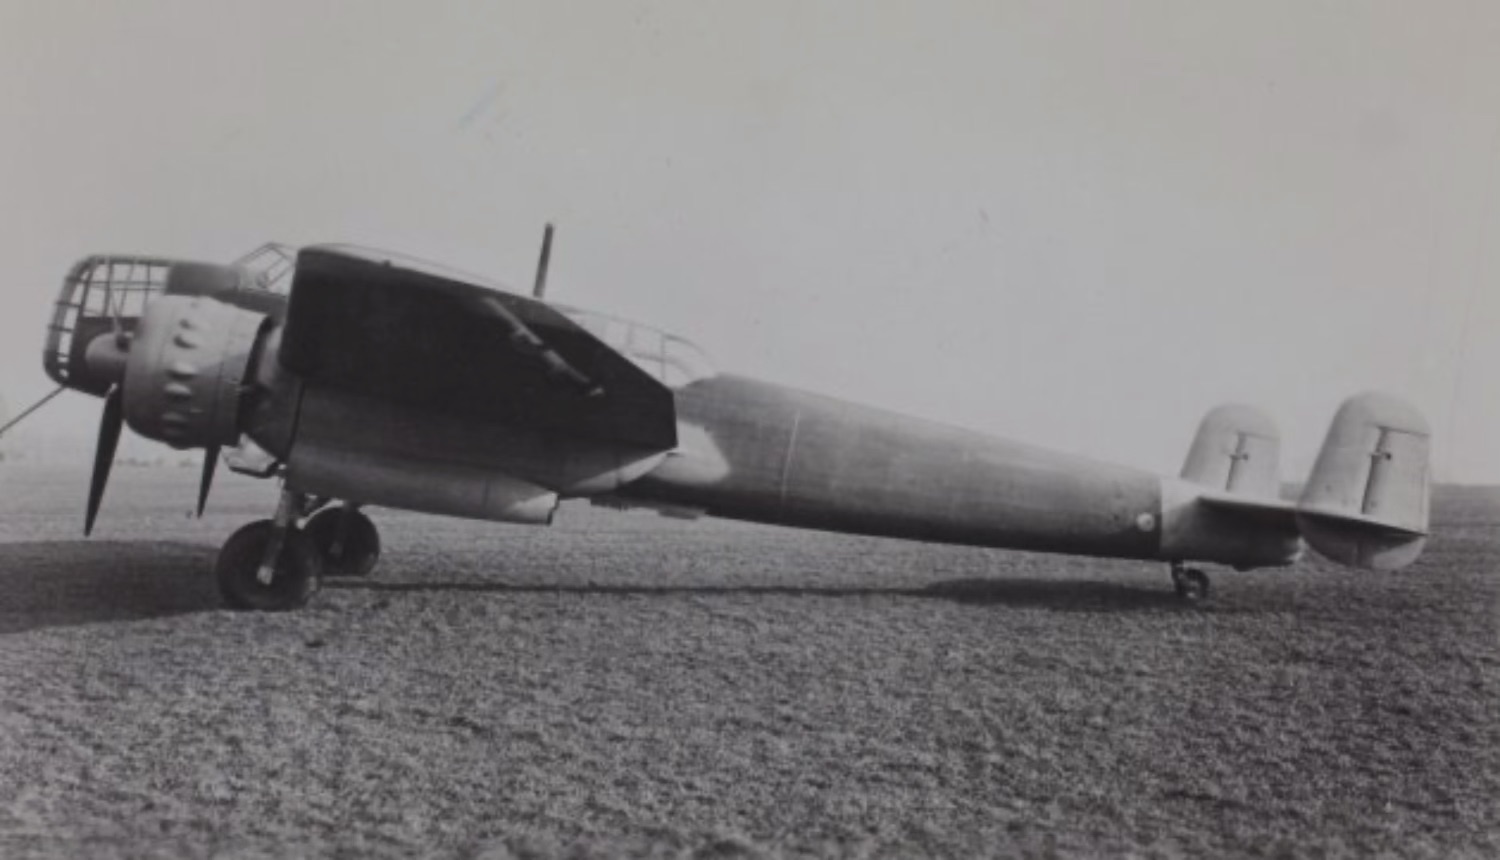
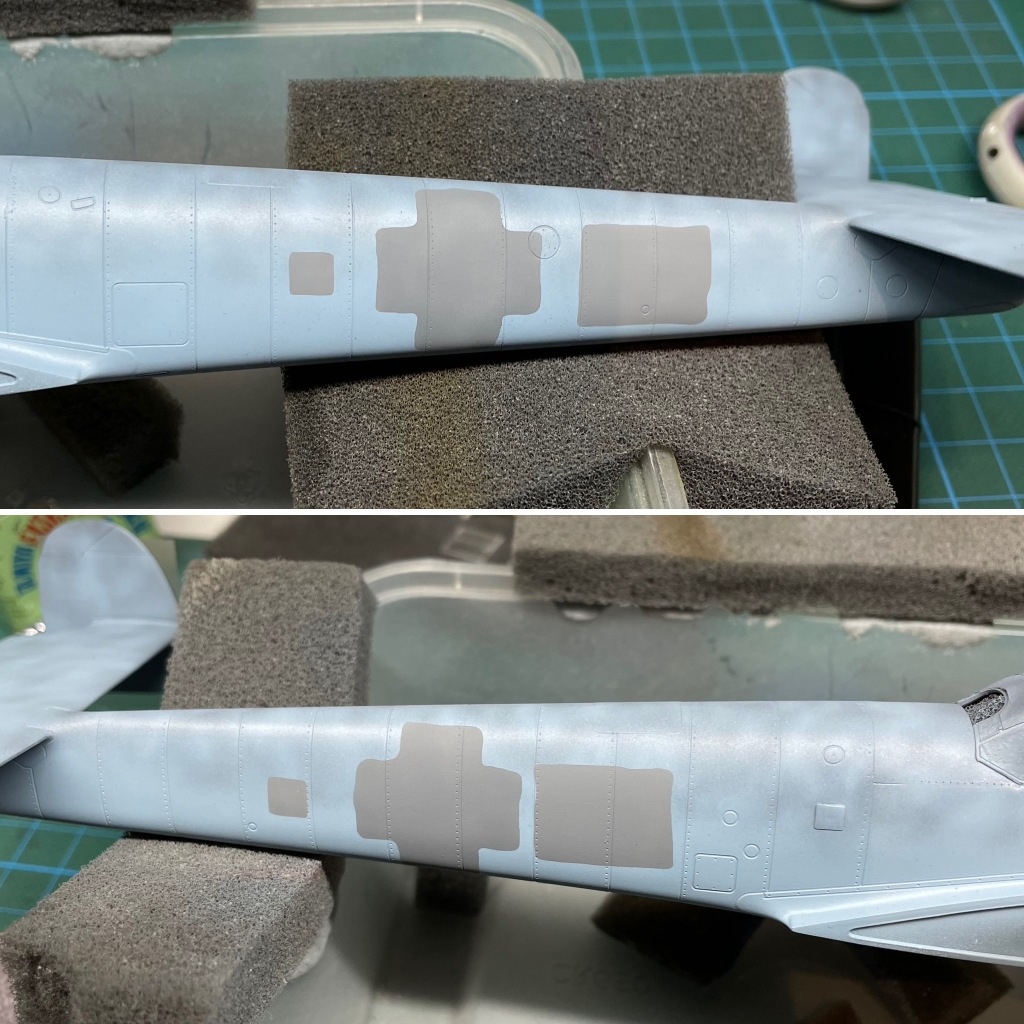
The images above were what I had to work with. Clearly painted in the standard RLM76 with RLM74 mottle, I set about the base layer of 76 on the wings first (I was still waiting for the clear sprue at this point).
After my first pass at the mottle, something looked off to me. I took an image of what I’d done, made it black and white and compared to the reference pics. There was a lot more contrast in my version than on the real thing. I thinned up some more RLM76 and overplayed the mottle until I got a comparative result that matched the photos. I followed the same process with the fuselage and was satisfied that I’d matched the original.
Click on any of the images below to scroll through the gallery.


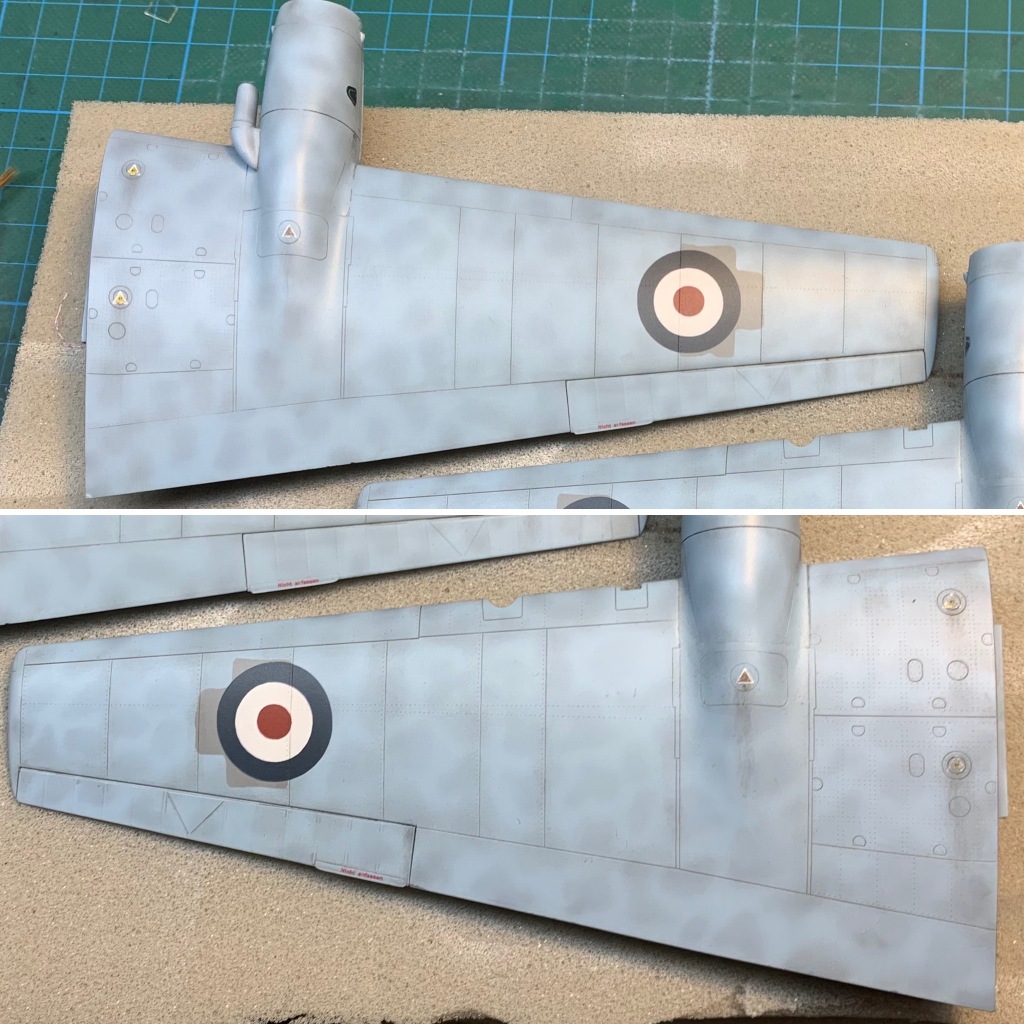
Markings
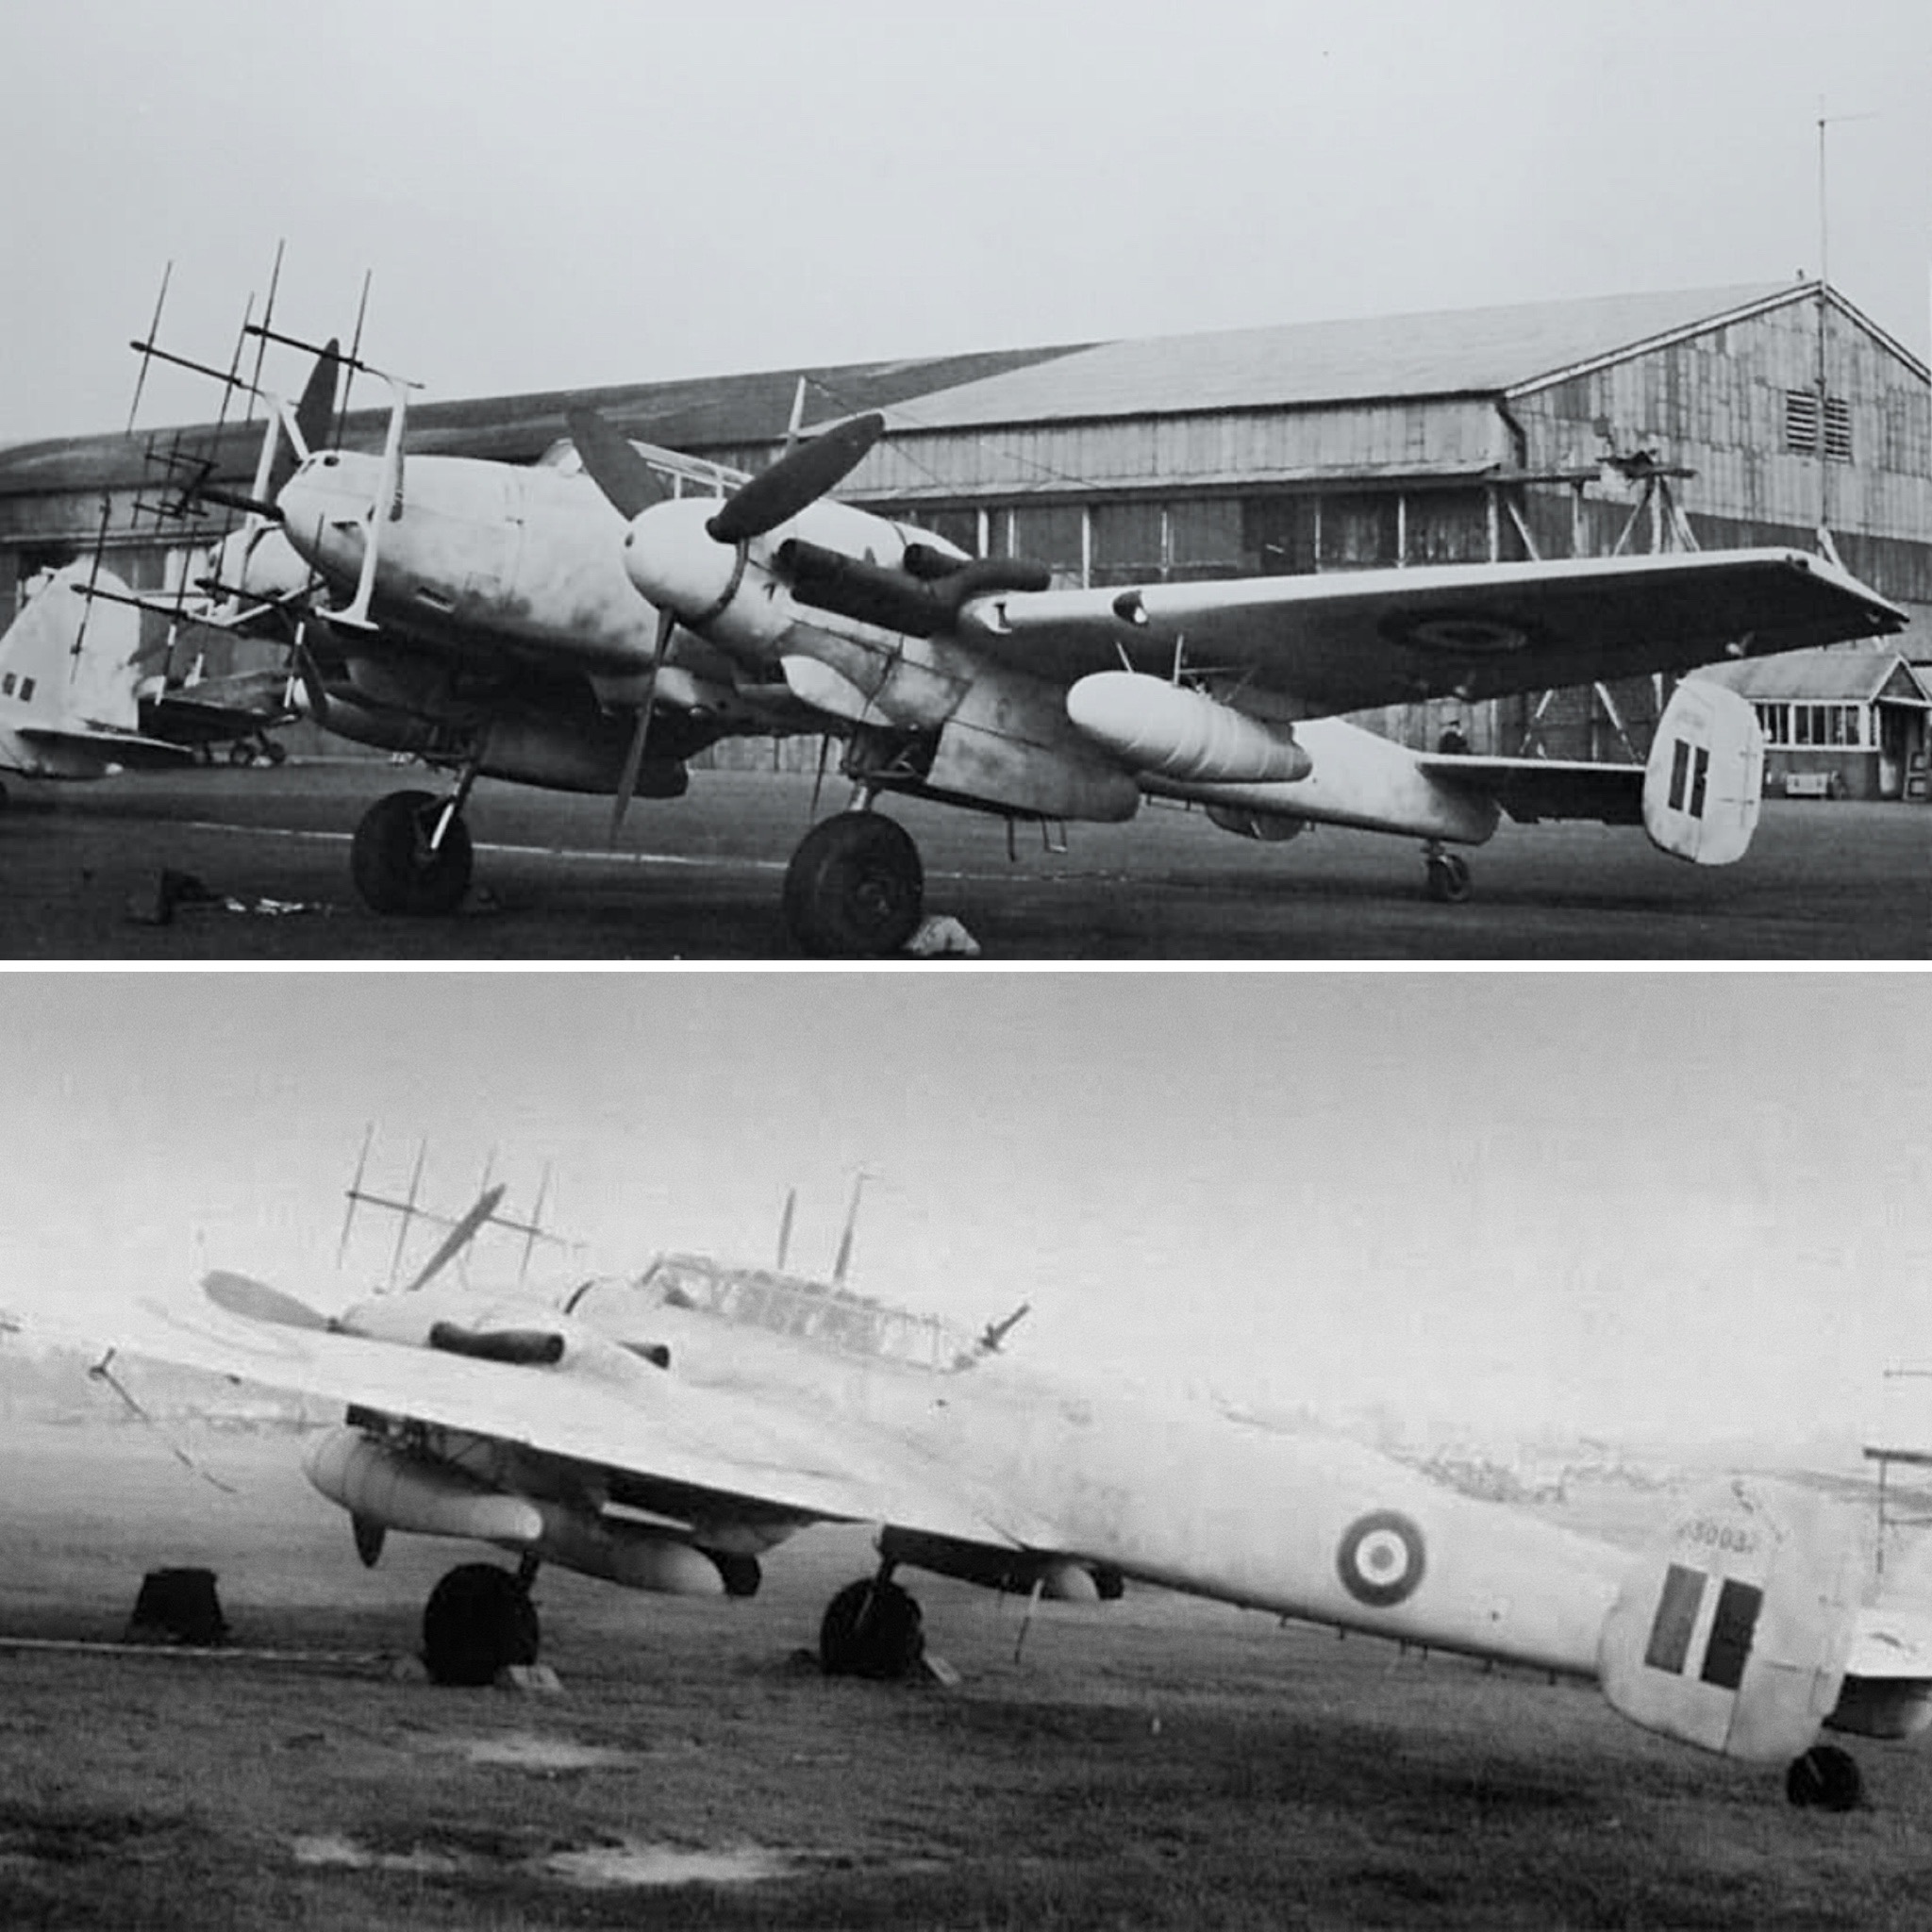
Using the same references, I applied the RAF markings. I made a few assumptions in that the Luftwaffe markings had to have been over-painted, probably with grey. I also assumed the AIR MIN number would have been applied. Later, after the model was finished, I found a photo in Phil Butler’s “War Prizes: An illustrated survey of German, Italian and Japanese aircraft brought to Allied countries during and after the Second World War” that confirmed with of these assumptions but also showed the “AIR MIN 30” was actually painted in two lines – “AIR MIN” over “30” – and with formal font not the casual font I used.
Click on any of the images below to scroll through the gallery.


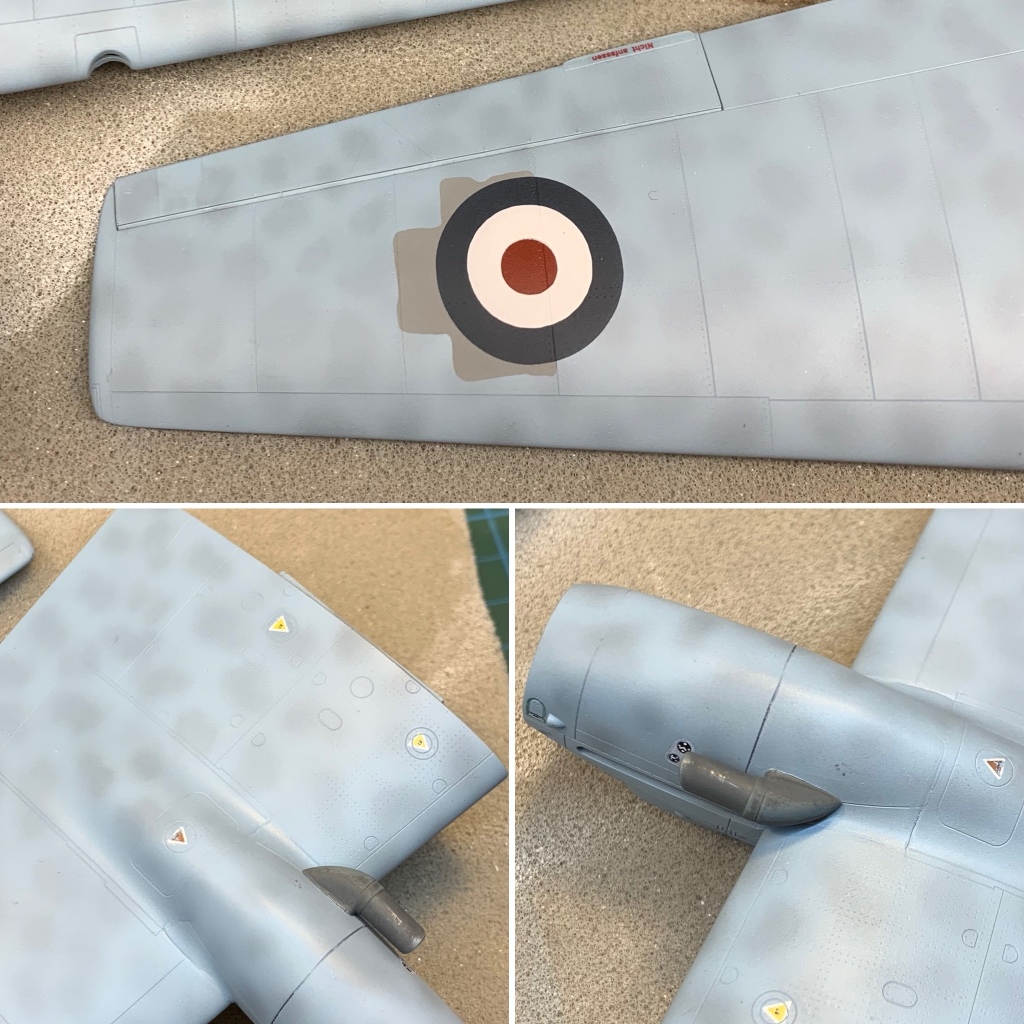


I also added a few of the stencil decals, my first experience with Eduard’s new decals. Not a fan, but they can be made to work.
Weathering
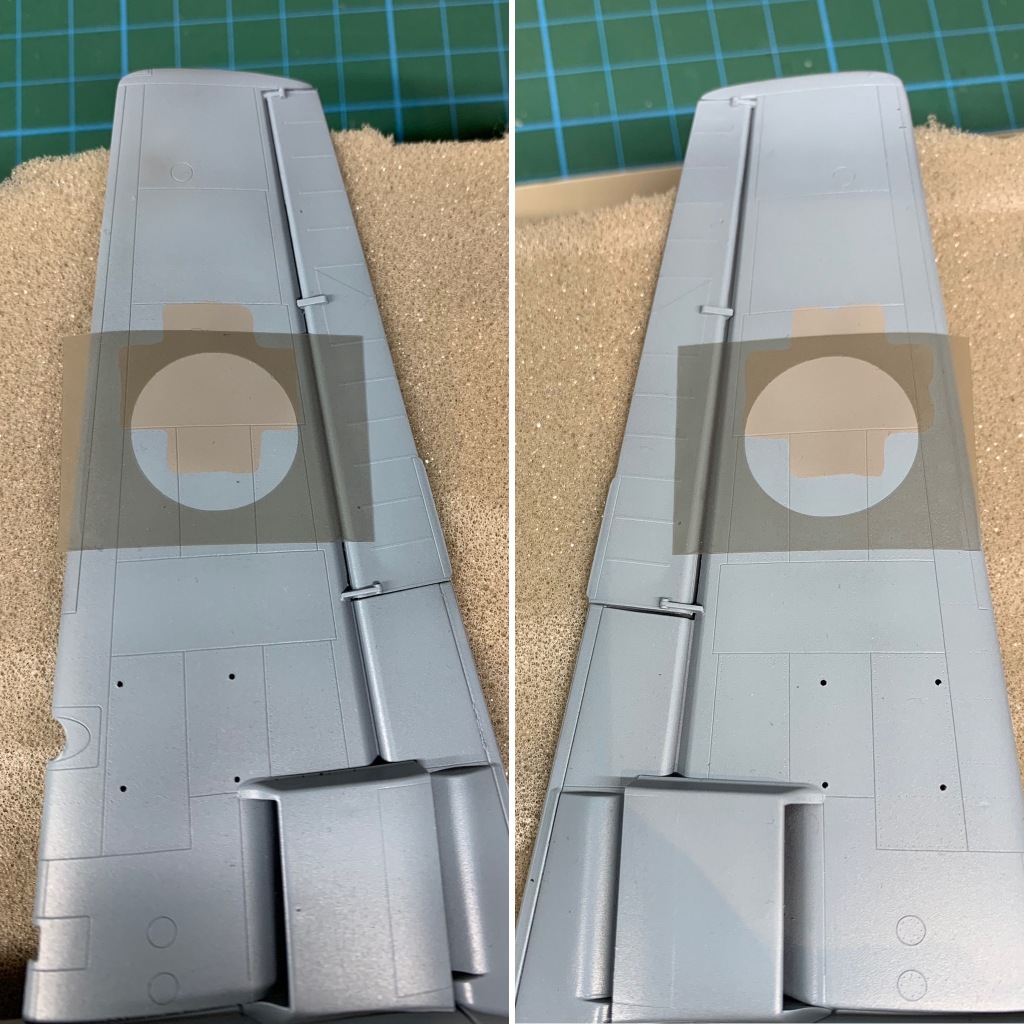
At this point I revisited the camouflage mottle. I didn’t like the regularity of the mottle on the first wing I did – it was basically spots – and also I realised the mottle went further down the fuselage than I had it. Some careful masking, a little repaint and re-weathering and I had it just how I wanted it.
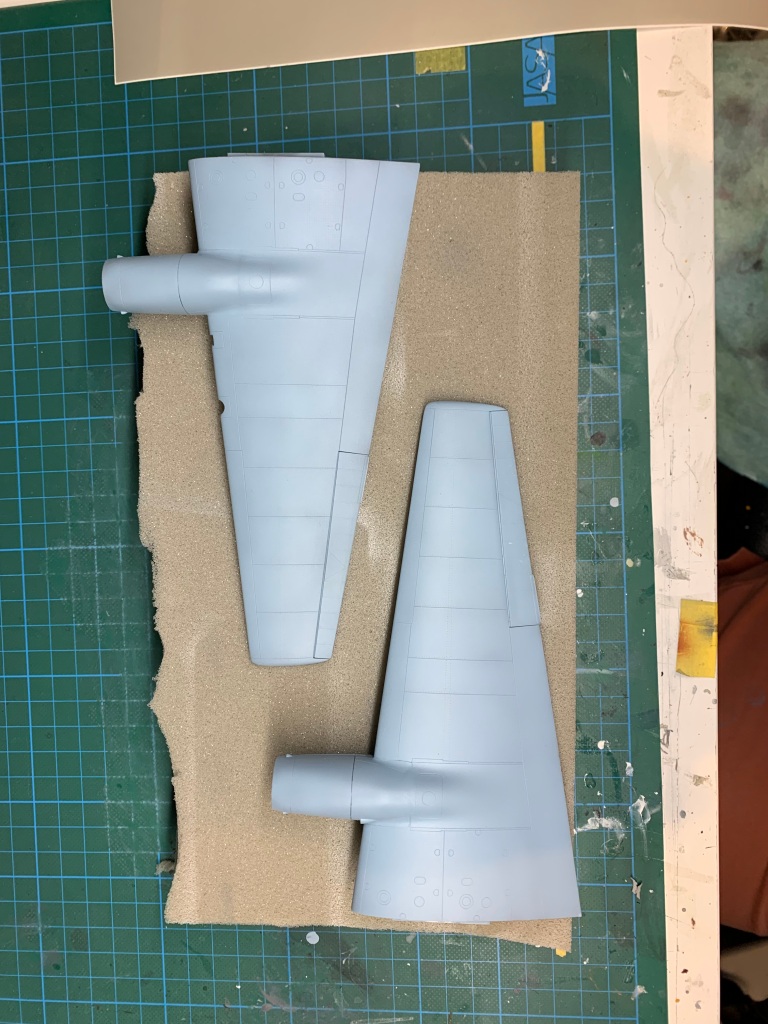
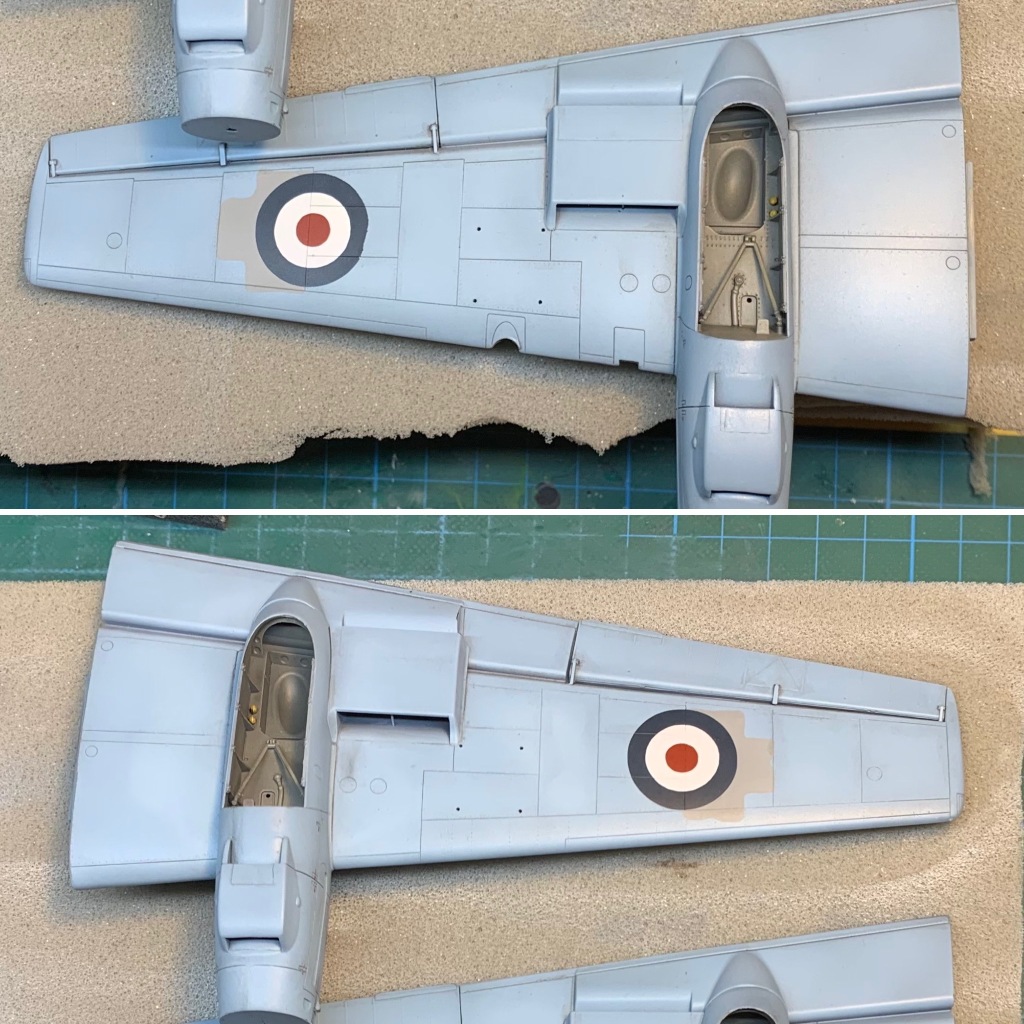
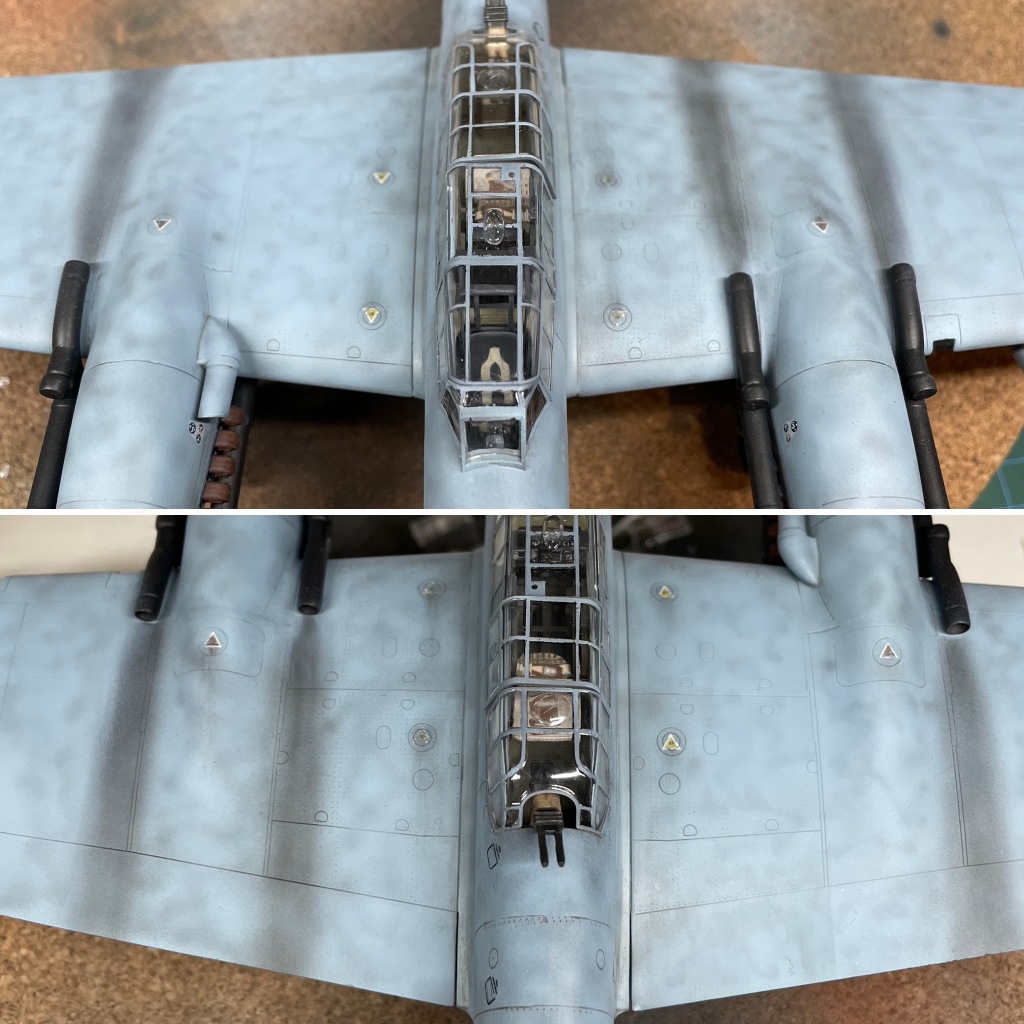
After attaching the wings, which went surprisingly well on a kit where nothing else did, I looked at weathering. As it happens, there’s not a lot of weathering visible in the reference photos so I added a basic wash and grime, some exhaust staining and left it at that.
Click on any of the images below to scroll through the gallery.


Finish
I scratch built the antenna on the lower fuselage as it wasn’t included in the kit but is clearly visible in the photos. Further research shows that the wire between the posts wasn’t always taught so I allowed mine to have some variation along its length.
I weathered the wing fuel tanks more than most of the model to represent their use and reuse in operations. The Eduard decals offer weathering opportunity here because in removing the film the decal underneath shows wear and tear to match how they fade in life.
Click on any of the images below to scroll through the gallery.


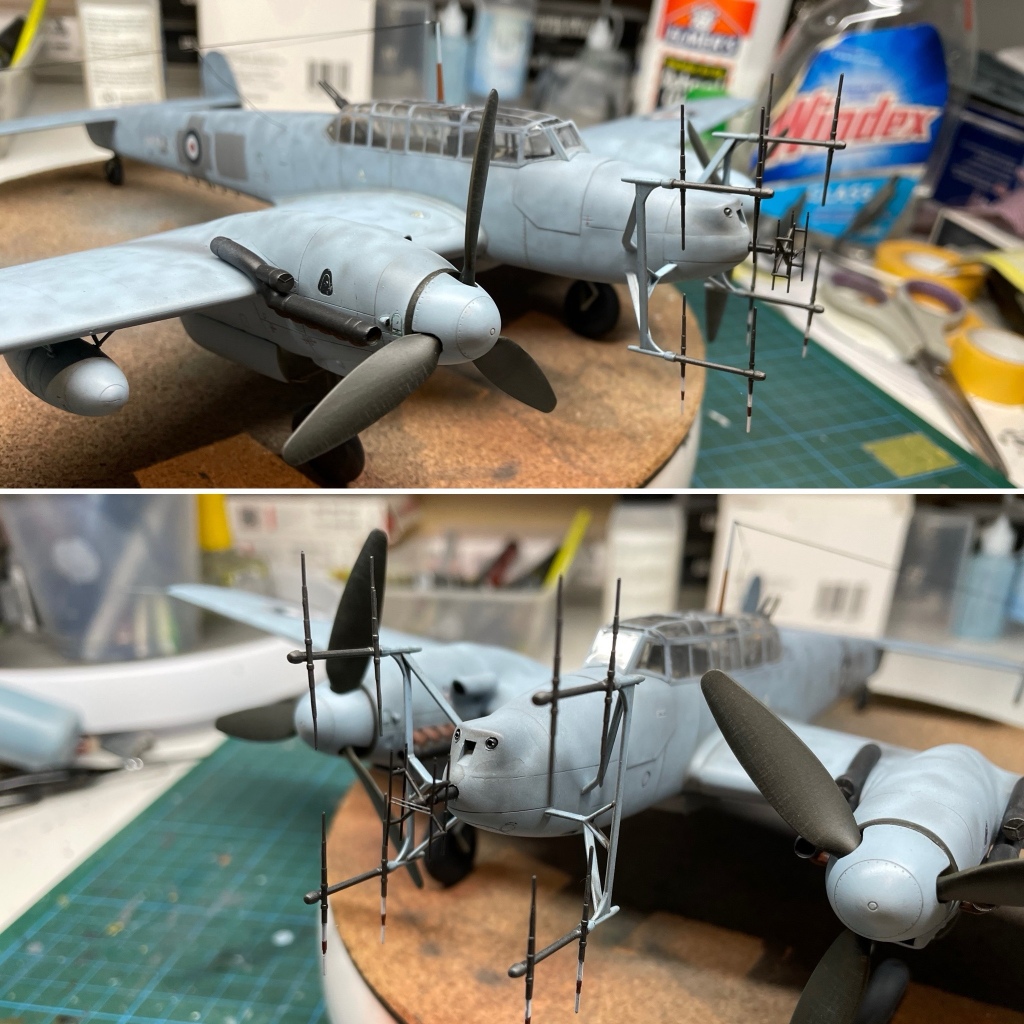


Finally, attaching the radar antenna was a mission. I didn’t get them quite right. It really summed up the kit for me; there were no locating pins, recesses or markings of any kind and the modeller literally has to wing it in terms of placement. As a final frustration in a frustrating kit, one that offered such potential as well, I was glad to see the back of it to be honest.
Gallery


References and Sources
The specific websites I used to research this piece are listed below.
If you are interested in following the build as it unfolded, my full build diary is logged in the Britmodeller Aircraft WIP Section.
I really hope you enjoyed this article!
Making-History is a labour of love for me, but it’s becoming more expensive and time consuming. I’m loath to put advertising on it, so if you feel inclined please consider making a donation to help cover site hosting costs as well as the time it takes to produce its content. All donations get a receipt with my thanks.
Mark.
Make a one-time donation
Make a monthly donation
Make a yearly donation
Choose an amount
Or enter a custom amount
Your contribution is very much appreciated and 100% of it will be recycled back into Making-History.
Your contribution is appreciated.
Your contribution is appreciated.
DonateDonate monthlyDonate yearlyCopyright ©2024
This article, its text, and photos of the model is my original work and except where noted is protected by copyright in its entirety. All research sources are listed in the References and Sources section above, including photos from official sources. All other images and quoted content were sourced from the internet and are used here under protection of fair-use. Any copyrighted content will happily be removed and/or credited forthwith upon request by its rightful owner.


Leave a comment